Giving your scene an atmosphere
Rendering is the Mathematical process of taking a 3D image and converting it into a 2D image
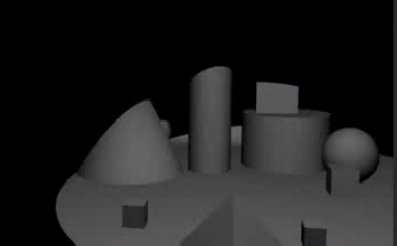
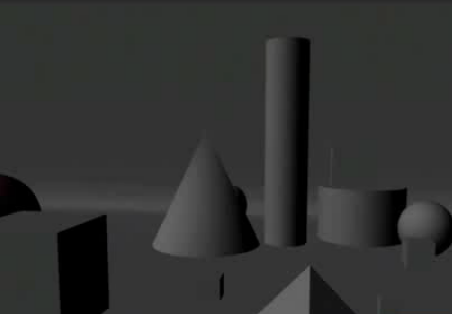
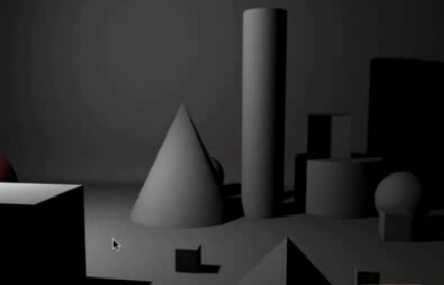
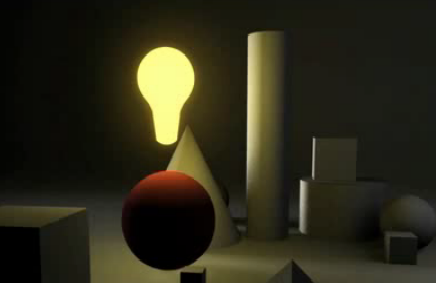
Lighting helps us visually read a scene, it makes it more realistic and can create mood and atmosphere
|
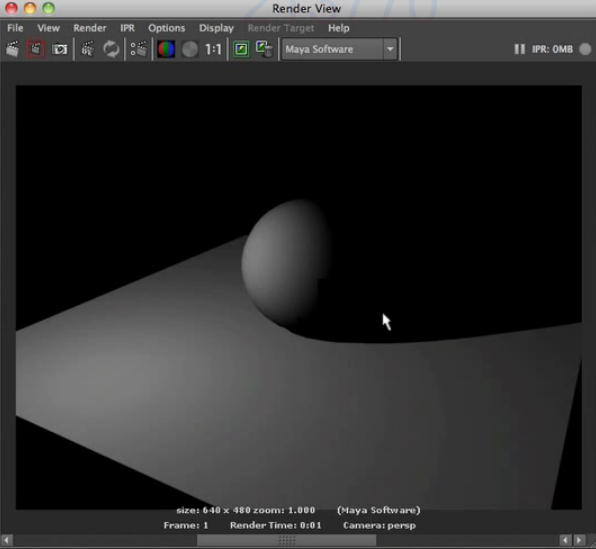
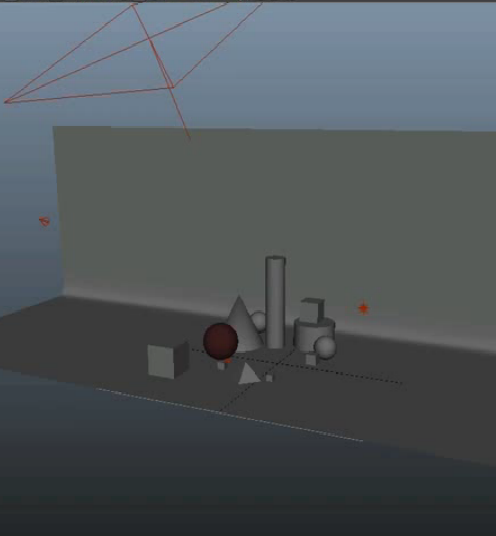
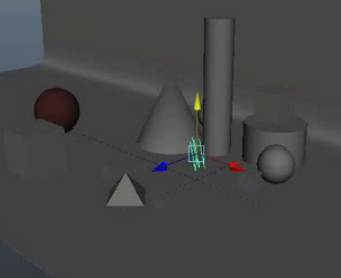
1. Create a sphere on a surface and press '7' to show the lighting
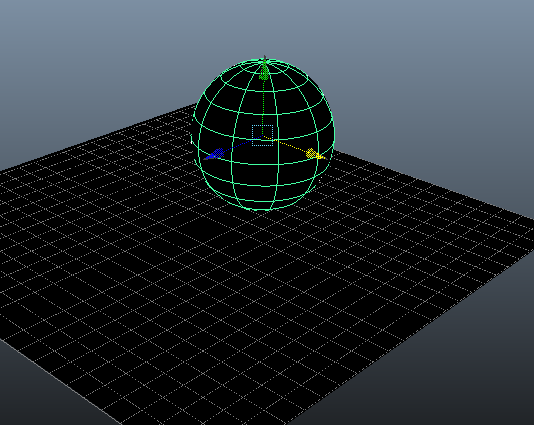
Actually all your objects will turn pitch black because you have no lights yet
|
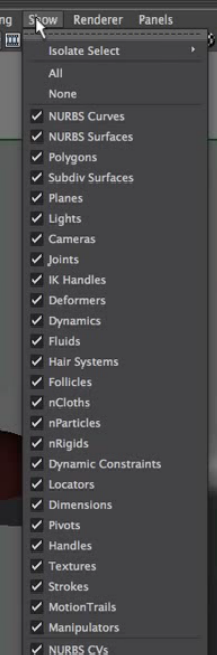
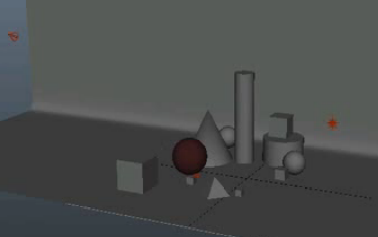
2. Turn off wire frame shading > turn off wire frame shading and make sure you can see the lights. You can select the different lighting. Choose Ambient for this demonstration.
Ambient light = light coming from all directions 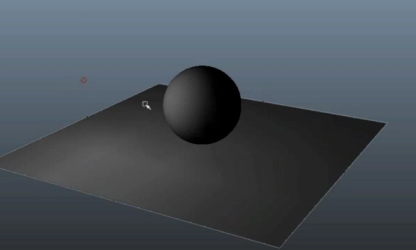
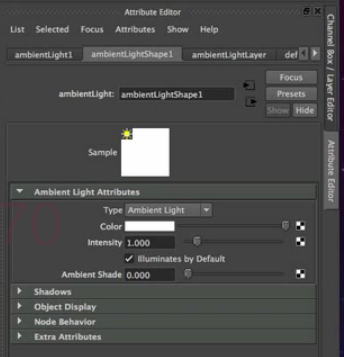
3. Play with the values in Attributes editor. See how when you change the ambient shade the object turn into silhouettes? You can also change the color and intensity.
|
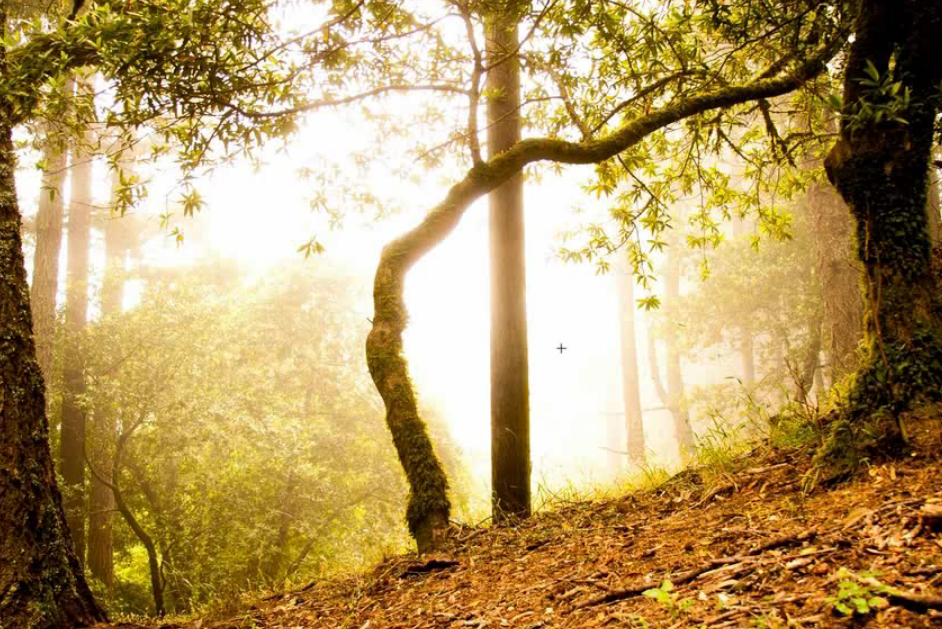
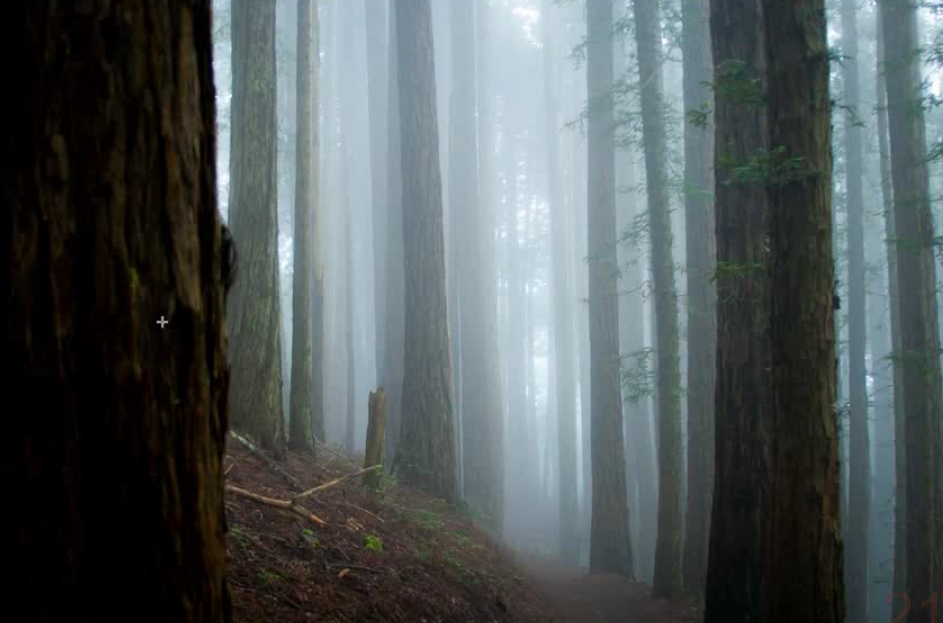
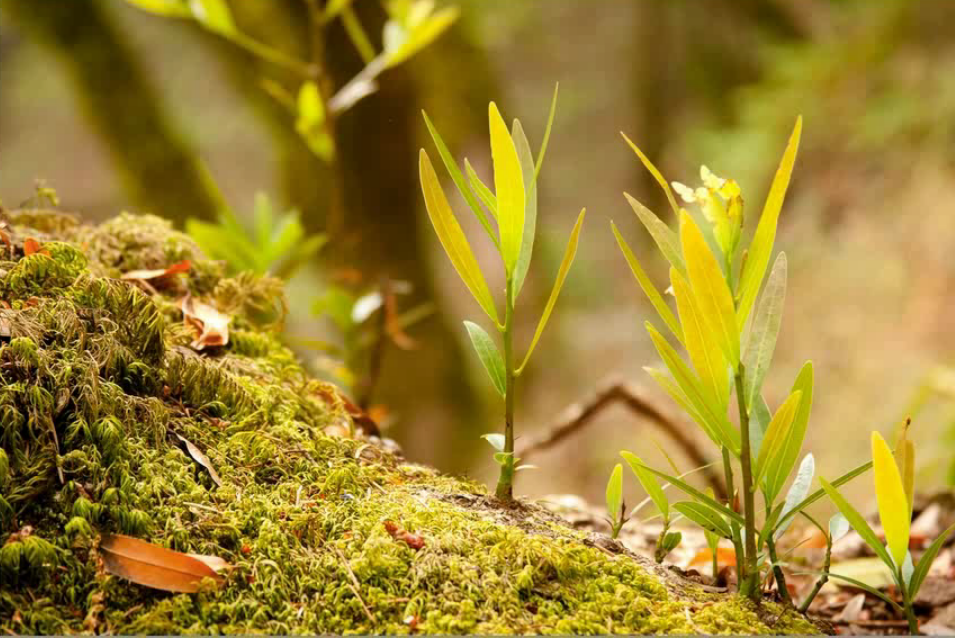
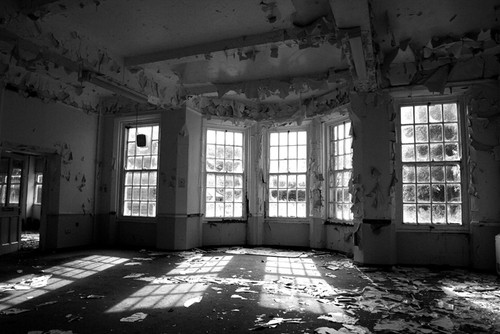
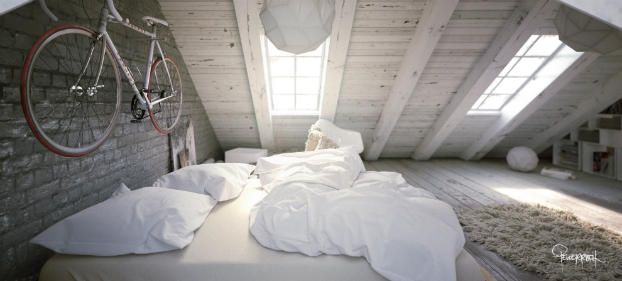
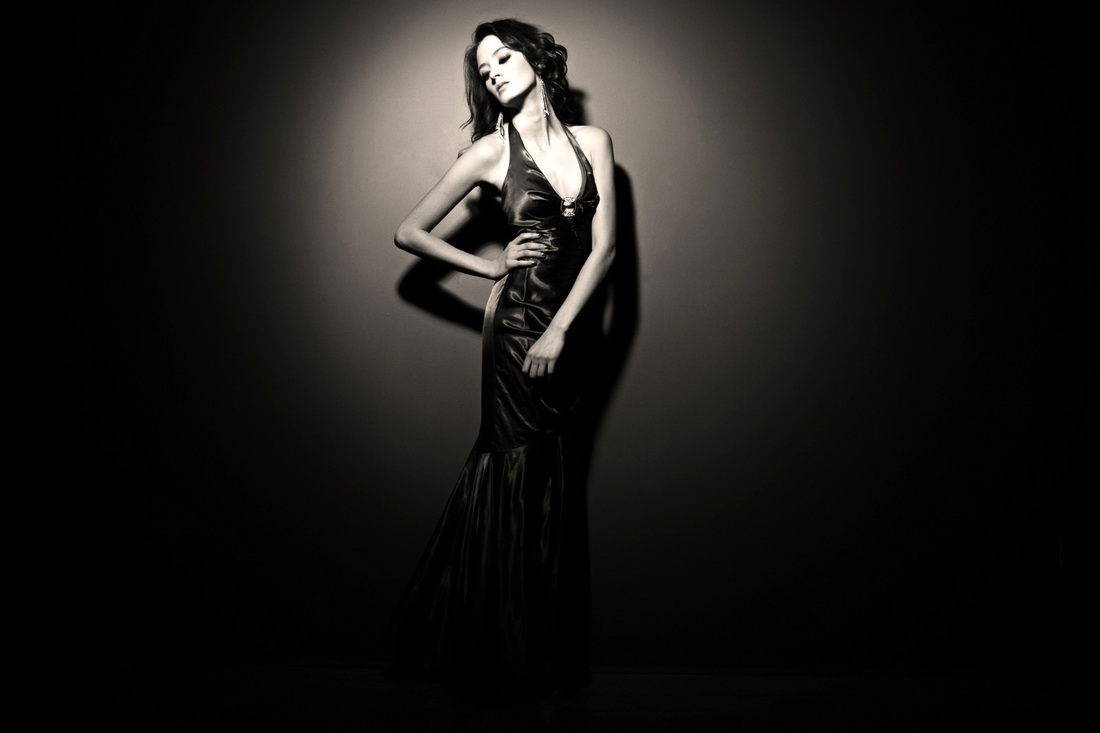
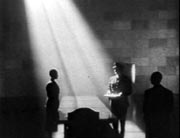
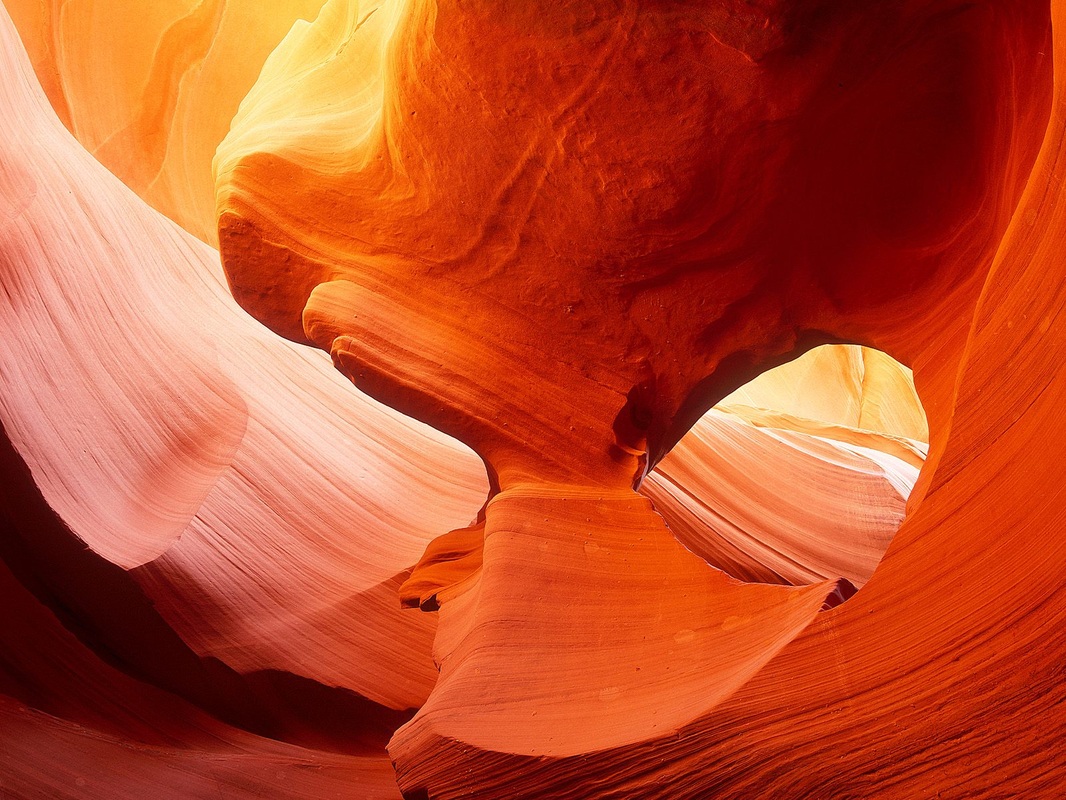
what kind of lighting is used in these photos?


|
|
Setting up
|
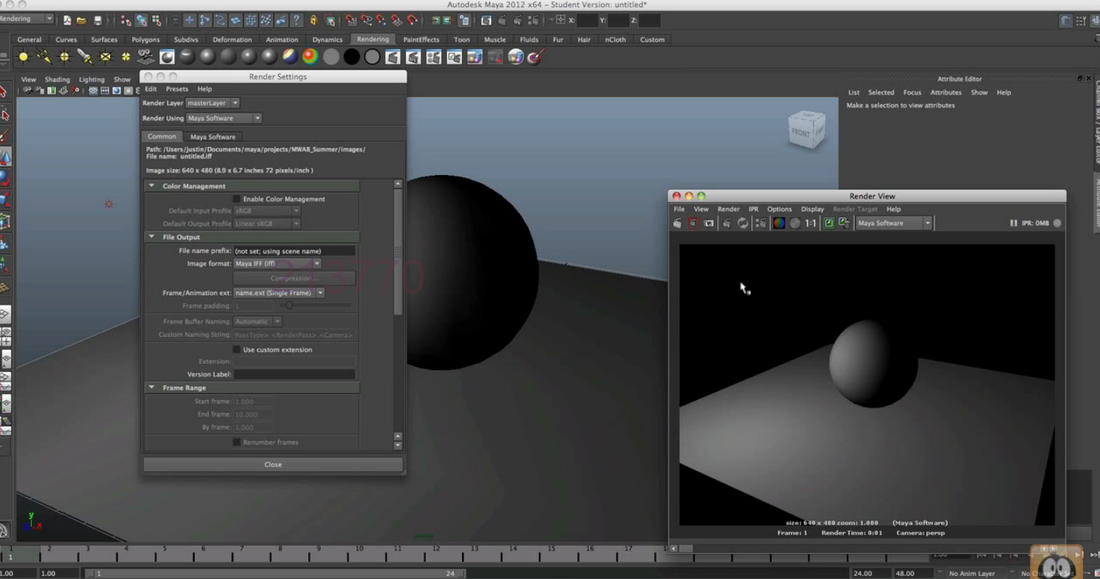
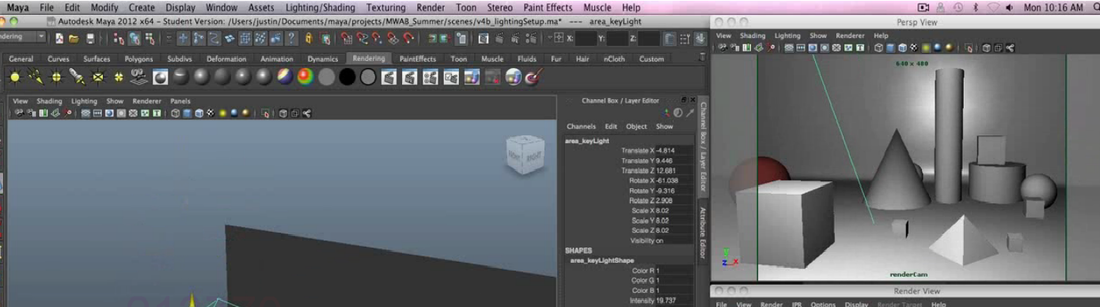
1. You'll need to set maya to Rendering Mode
There's the lights

You can see the shaders we used before

6. Check the following - Render Using : maya Software
Under the common output > File output : JPEG. Now your render will be in quite low quality, but that's all we need right now. 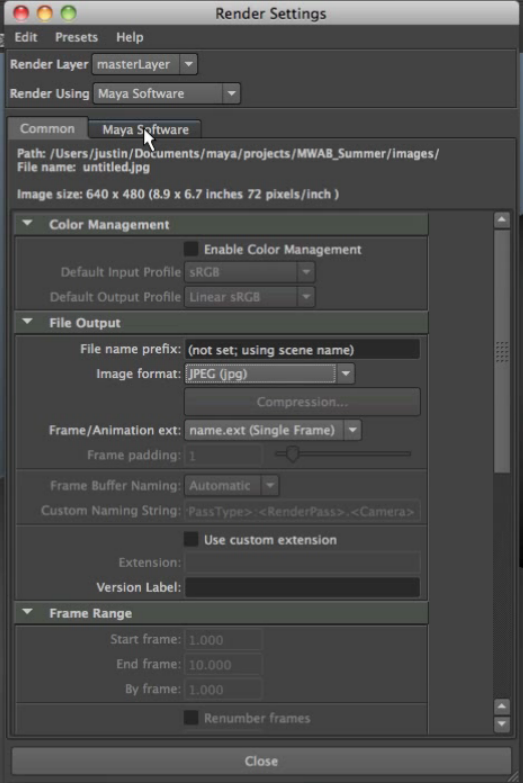
Why not just make it high all the time?
Shadows |
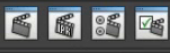
2. And choose the rendering tab

And here is the rendering tools, the same as we used before
5. Have render settings open and render view
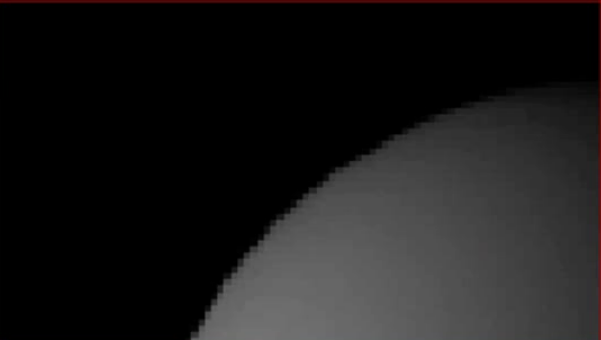
7. Under maya Software tab > Anti-allising Quality : Low quality.
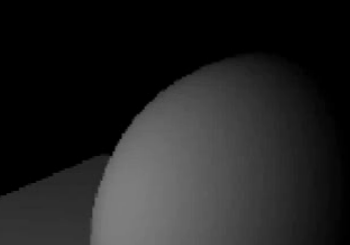
As you do this make a render to see the different. Change it to production quality and make another render 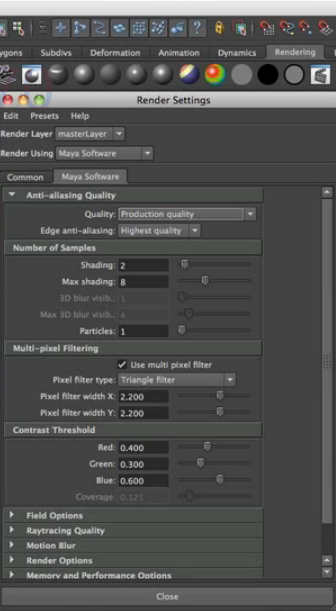
|
1. There's two thing you need to do to get shadows.
|
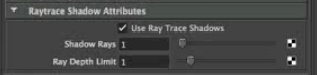
In render settings > Ray Tracing Quality > check the box
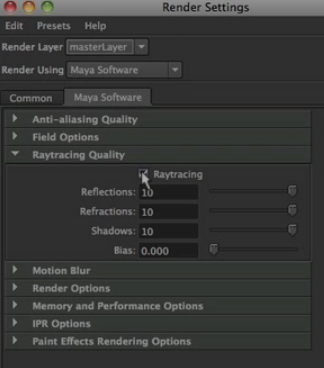
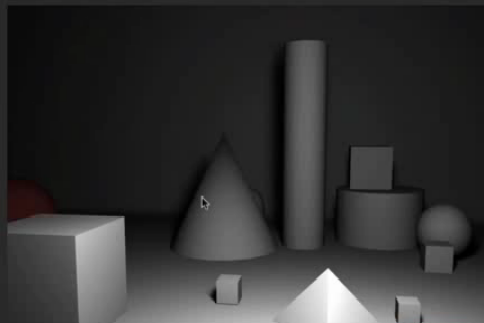
2. Now make a Render and you'll see a thick black shadow. Not very realistic! and very very dramatic!
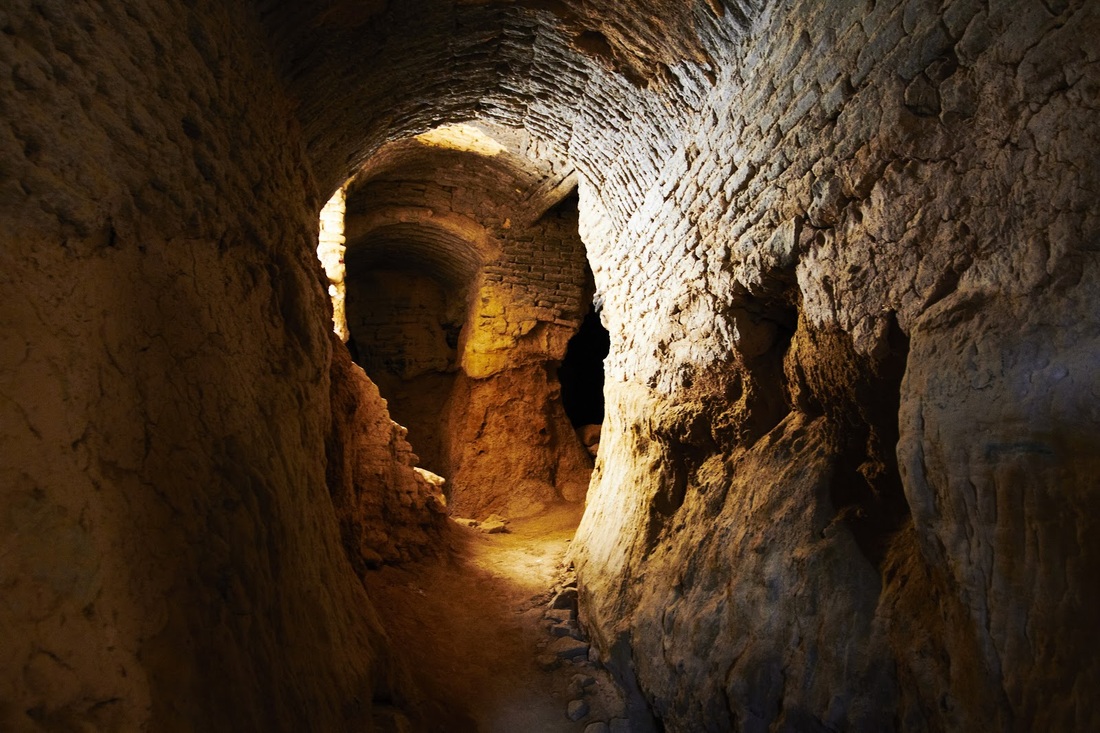
See how light is bounced around inside this cave. No black areas here!
|
in Attribute Editor > Shadows > Raytrace Shadows Attributes > Check the box
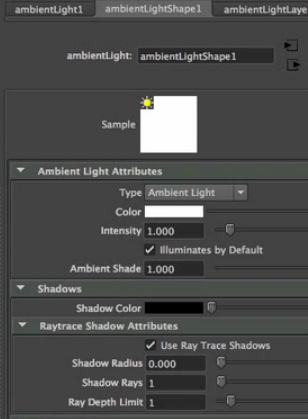
Why is it not realistic to have shadows?
Light bounces of different textured surfaces. if rough it absorb and not much is reflected. If smooth or shiny, Lots of light bounces around and back onto your objects.
We will get into this complicated process another time!
|
Projects - get organized
You're going to need to think about your organisation a bit now. here's a little thing you can do:
|
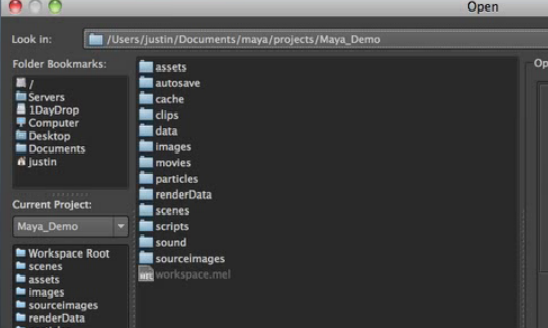
1. Go to file > project window and name your project. Now when you go t find your work you will find the folder you have created with organised folders inside. For example if you create flashbacks or renders, you can file them easily.
|
2. To switch between projects you can go: File > Set projects and select the one you want.
|
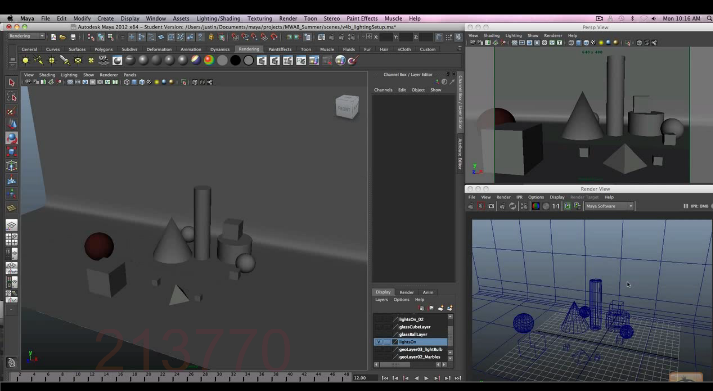
setting up the work space
|
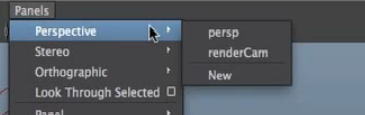
1. IN panels > perspective > Render cam. You'll have a true idea of what's happening. Or you can look through selected
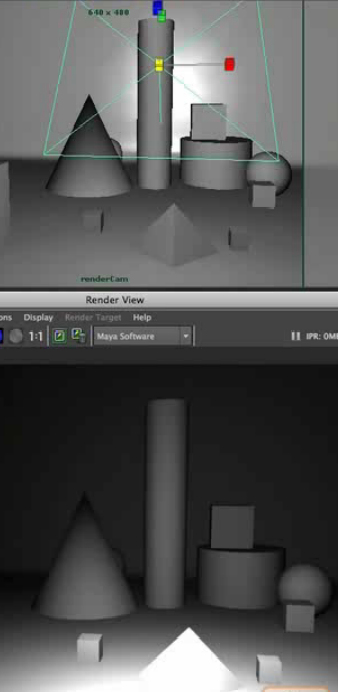
3. Panels > tear off copy. Now you can see your render view on the side and go back to your main view in perspective to keep working
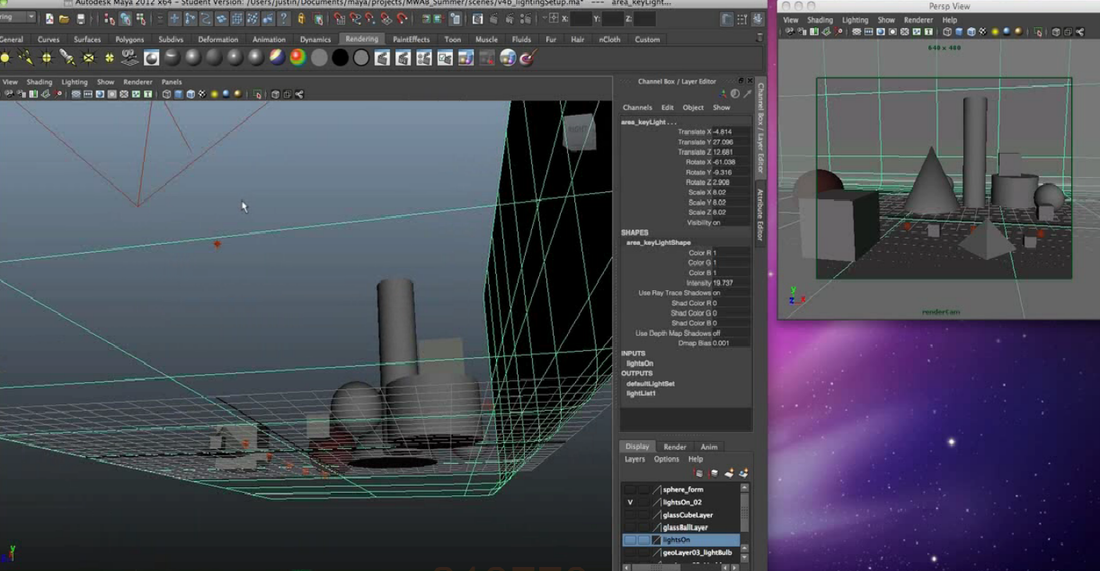
4. Now open up the render winder and place that on the bottom right. You may want to shorten your maya window to as image
|
2. Make sure all your cameras are on!
|
Top Right - render camera Bottom right - render view left - normal perspective view
Rendering from where
|
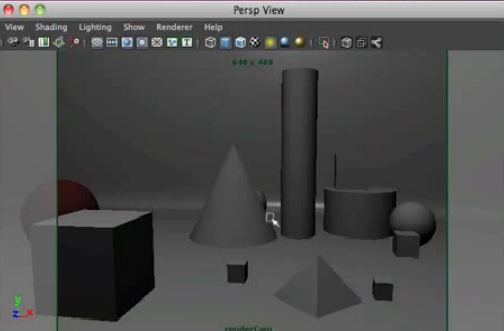
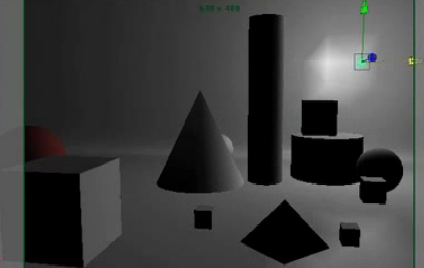
1. On render camera press '7' and you'll see how the lights work without see the light itself
|
2. You can continue to edit the light perspective view and see how it really looks in render camera
3. Now in render view we can change the view to Render Cam Render > Render > Render cam
Now it will always render from Render cam view (top left and your life will be better!! 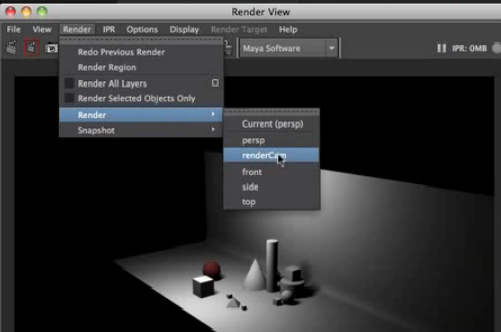
|
more lighting
You can select 5 or so different lights and with each one, you can play with the different attributes and pre-settings. You can move them around, scale them and rotate as any other object
|
Point Light
Think of it as an incandescent light bulb emitting light in all directions from it's source.

When you move around the light you'll see how the light is affected. here the objects are backlit
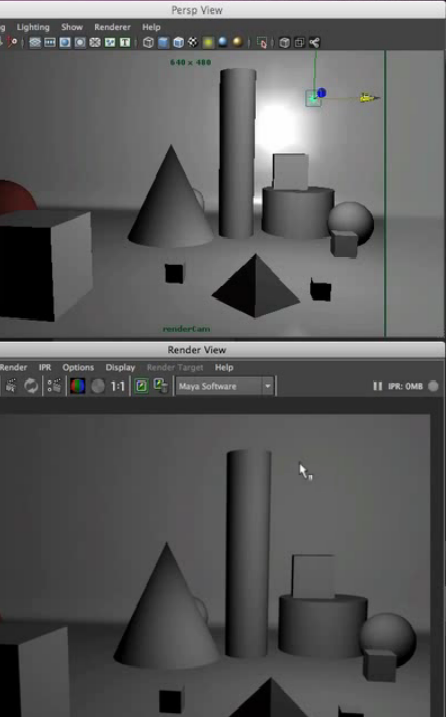
|
In render cam you can see where the light is but in render view you'll only see how the light is cast
|
Spot Light
|
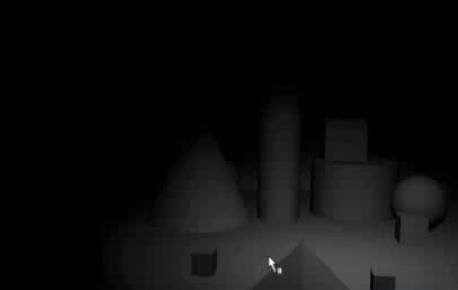
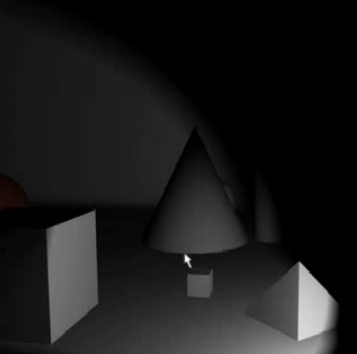
The spot light will help you to highlight certain things.

The Penumbra Angel will give you a hard edge
The Drop off can make it fade out towards the sides. Strong in the center and weaker towards the edges.
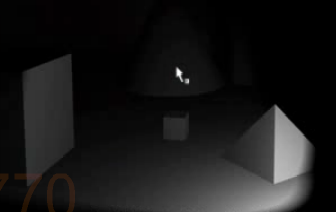
Set the Decay Rate to Quadratic and you'll be able to have the most realistic look but you'll need to up your intensity even more
|
In attributes Editor > Spot light attributes you can change how wide the cone is, the angle of the cone, it's intensity, it's color....
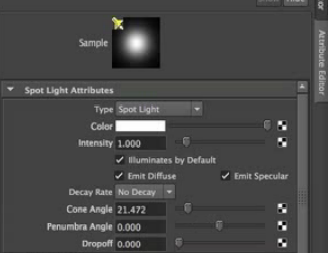
Decay rate is similar to drop off but from the light to the ground. Change decay rate to linear and you may have to up the intensity to let it hit the floor.
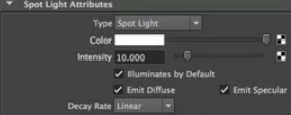
..to look like this where the light is strong on objects that are closer.
|
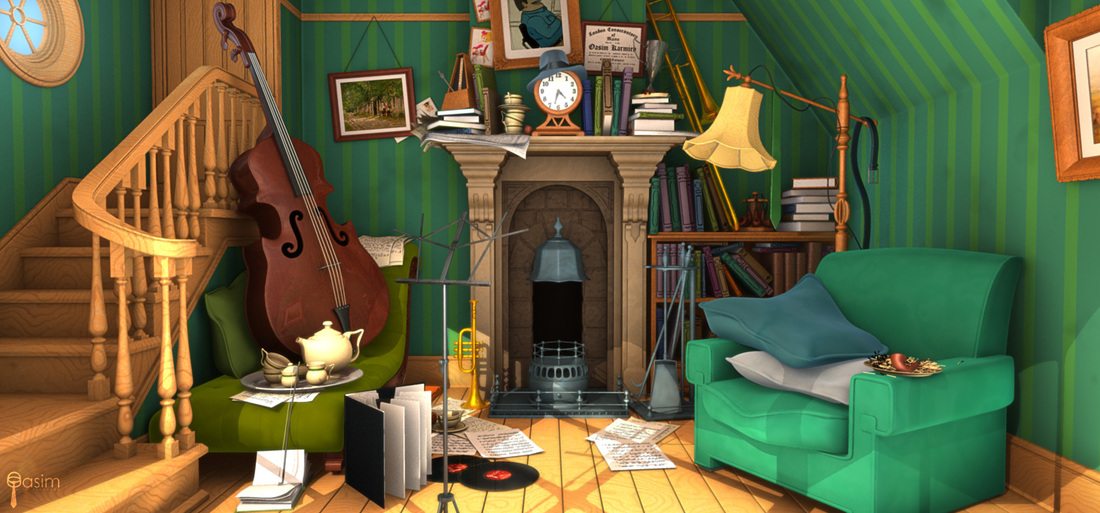
TIP: Keep in mind that bounce back! In real life you have lots of surfaces light can reflect onto objects and lighten them from all angles. Maya doesn't do this so you'd need to do it for Maya by putting in lots of lighting.
Think about the lights in this Disney image below
Think about the lights in this Disney image below
|
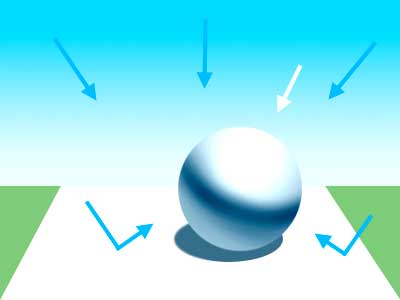
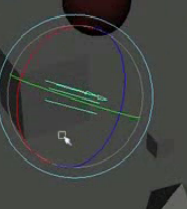
Directional Light

You'll notice when you move it around there's not change. Only when you rotate it will change. That's because the light travels through parallel lines from an infinite point in space. See the arrows?
|
The directional light is good because you don't have to move it inside your scene, it can stay outside and still work well.
|
|
Area Light
The area light is similar to the lighting a photographer would use - it has a large surface from which the light emits

When you scale the light you won't see a change until you render.
|
|
Box Light
|
Box light only adds lighting effects to everything inside the shape

|

You can change the shape in Attribute Editor
|
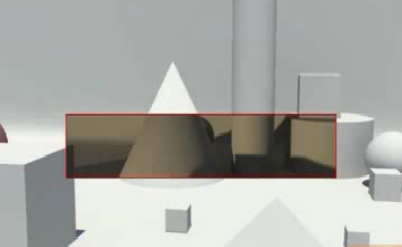
more Shadows
|
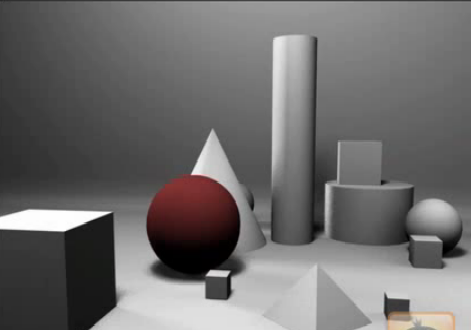
1. Choose your light and the in Attribute Editor go to shadows > depth map shadow attributes. > use depth map shadows
This will take your render times longer but if you have textures it will cast realistic shadows according to those textures. 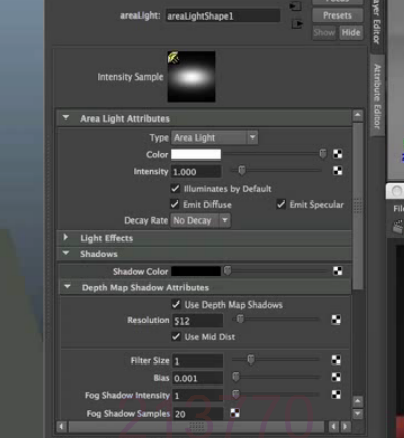
Here's our scene with shadows
|
Depth map shadows demo
Depth map Shadows demo texture

TIP: Tweak the settings in attribute editor, if there's glitches with the shadows. Change the resolution etc
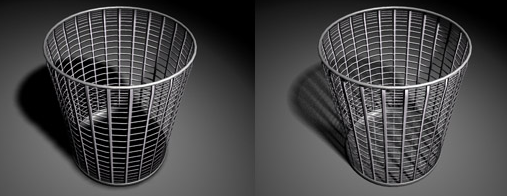
In Ray trace you can make fuzzy shadows by upping Shadow Rays. Make them longer by lowering your light. That's called Shadow Fall-off
|
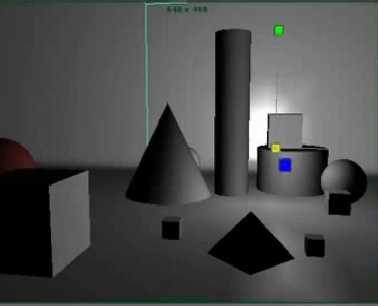
Using Multiple lights
|
1. Start Adding lights into layers so they can be turned on and off easily
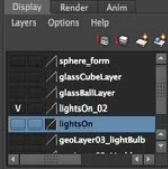
3. Then add the main light . Area light
|
2. Stat with small lights Spot light or/and point to focus on the most important parts of the scene
See how you have those subtle accents
Why not try adding your light bulb in. See previous lesson on shading.
|
Rendering finish
When rendering an animation, you have to render every frame individually.
|
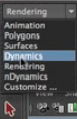
1. Check you have Rendering selected
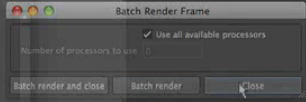
3. use all available processors
5. make sure you choose the cameras you want to render in. (still in render settings) You can choose to do a single camera render or a batch camera render (different cameras)
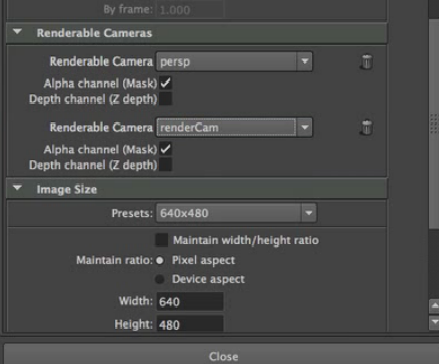
6. If you want just one camera on perspective view on the left, view > select camera . The in Attribute editor under output settings renderable should be off.

7. Close and reopen render settings and you'll only see one camera.
|
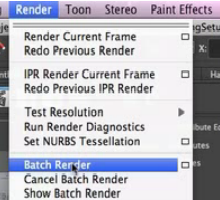
2. Open Batch Render Settings
4. open Frame Setting.Choose:
Image Format - JPG Frame Animation/ext - Name_# Frame Padding - 2 (if frame number 48) Frame Range - what ever your animation frame is 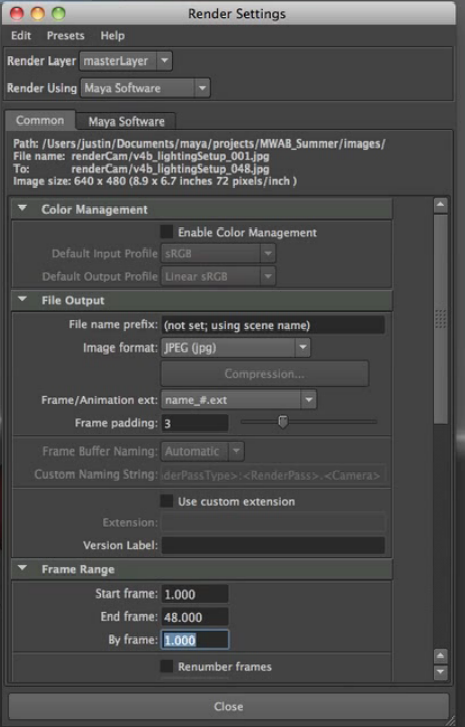
8. Go to render > Batch render
9. Next open quicktime and File > open file ......
|
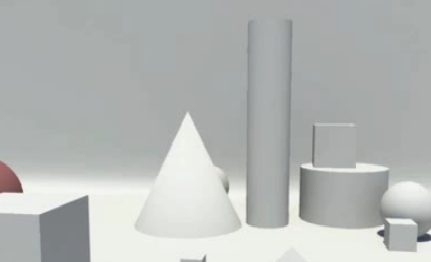
natural lighting render
|
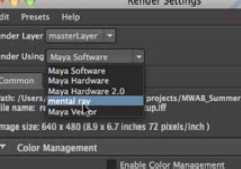
1. Render settings > Mental ray
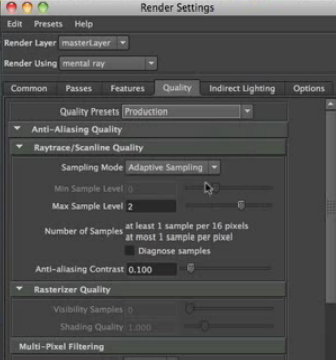
2. Render settings > Quality tab > Production
and here's the view when you render
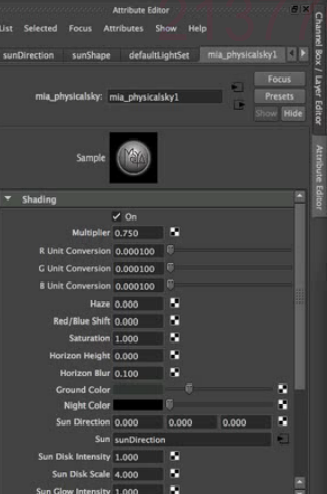
4. To make a sun set, lower the light and angle it and in Attribute Editor> Select the light you have just inserted> shading > multiplier > 0.75....
how to batch render and make into video |
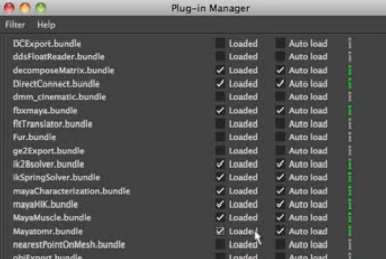
If no mental ray then you can go to windows > Plug-in manager and check mayatomr.bundler is on auto load
3. Render settings > Indirect lighting > Click physical sun and sky > create
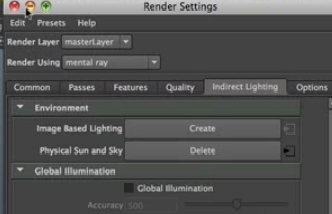
A directional light will appear and you'll have a ver bright feel. here's the view in perspective view
..and you'll see it when you render
If you have an open area it will also create a sky color and a horizon and there you are...THE OUTSOORs!
how to change the file type1.Search FCheck in your program files and open
2.File>open sequence (open animation) and search for where your files were rendered to (Documents>Maya>projects>default>images) Select the first render image For example : kay_set_000001 3.File>Save as movie>No transformations YOUR MOVIE IS COMPLETE BUT…. …it’s too big! It’s a huge file. Download free software- ‘Won Tube Convertor’ Open the movie and turn it into an Mp4 Format. THEN ITS DONE Upload into 09. Lighting and Rendering |
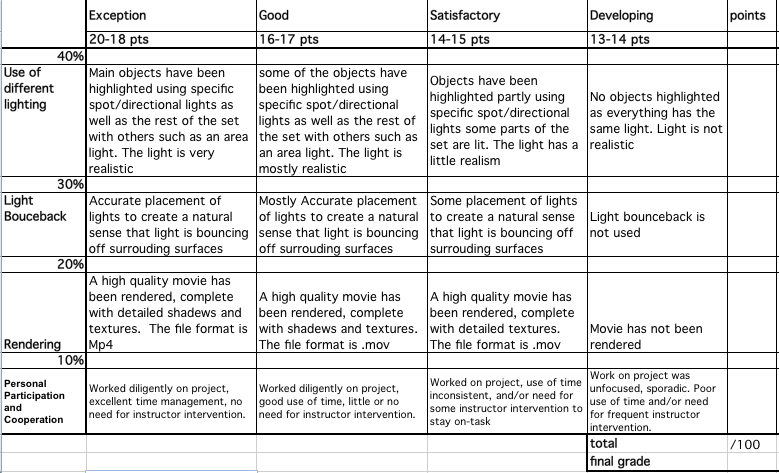
LIGHTING EXERCISE: Apply the concepts and tools you have learned regarding working with lights and rendering! Heres what to do:
- Open the set file you created:Modeling and Camera Navigation
- Import your bouncing balls basic animation you created.
- Apply basic shaders on the ball and set. you may have already done this
- Create basic lighting for your scene.
- Render and save as a .jpg(s).
- We will make an animation in class - you need to zip the animation and upload to the drive