task list


Task list for this Project:
1. Study Nicky Forman as a base for your research create an art work research page
2. Record from your environment through photography and make a primary research page
3. Make secondary research by creating line sketches of your photographs
4. Use Pencil Colors techniques to make Realistic and Inverted Coloured drawings
5. Develop your technical skills with Black ink making Negative Space Experiments
6. Take rubbings with pencil Colour or Crayon, or chalk, or Oil Pastels from your environment.
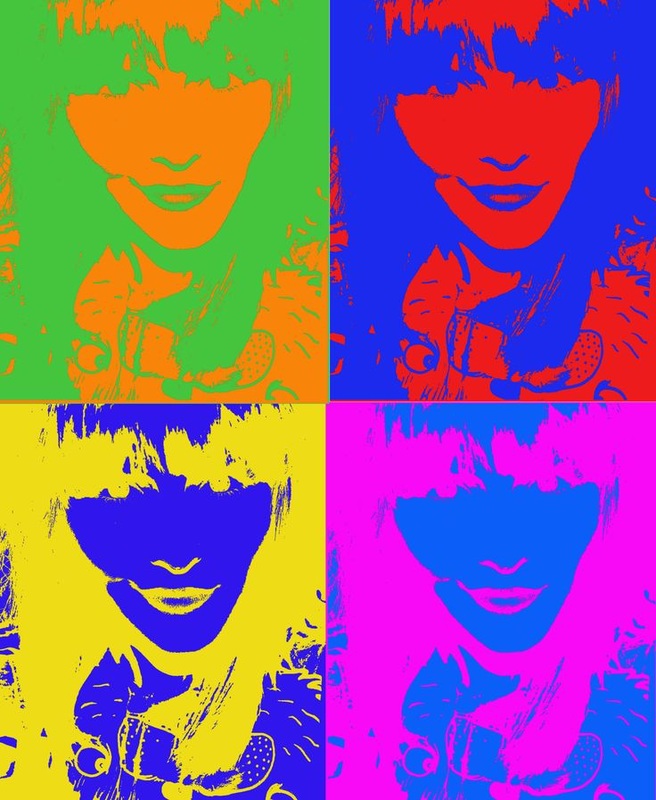
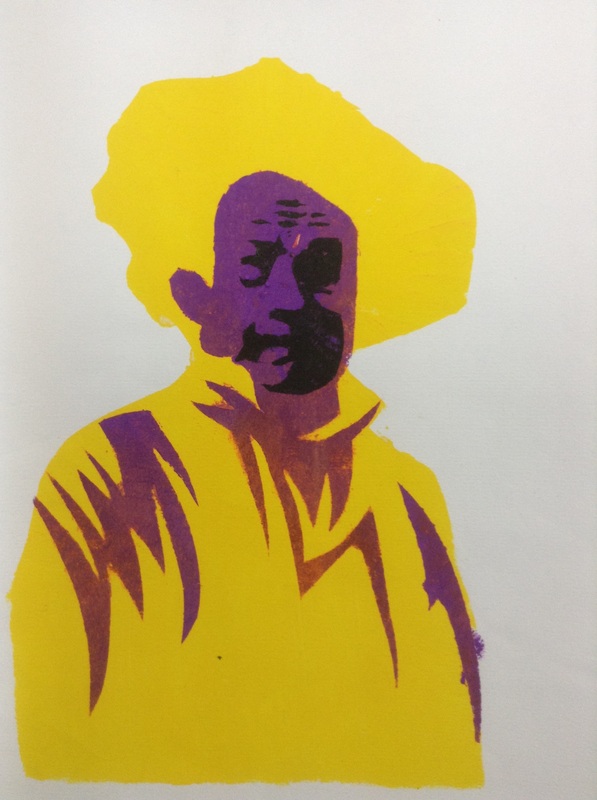
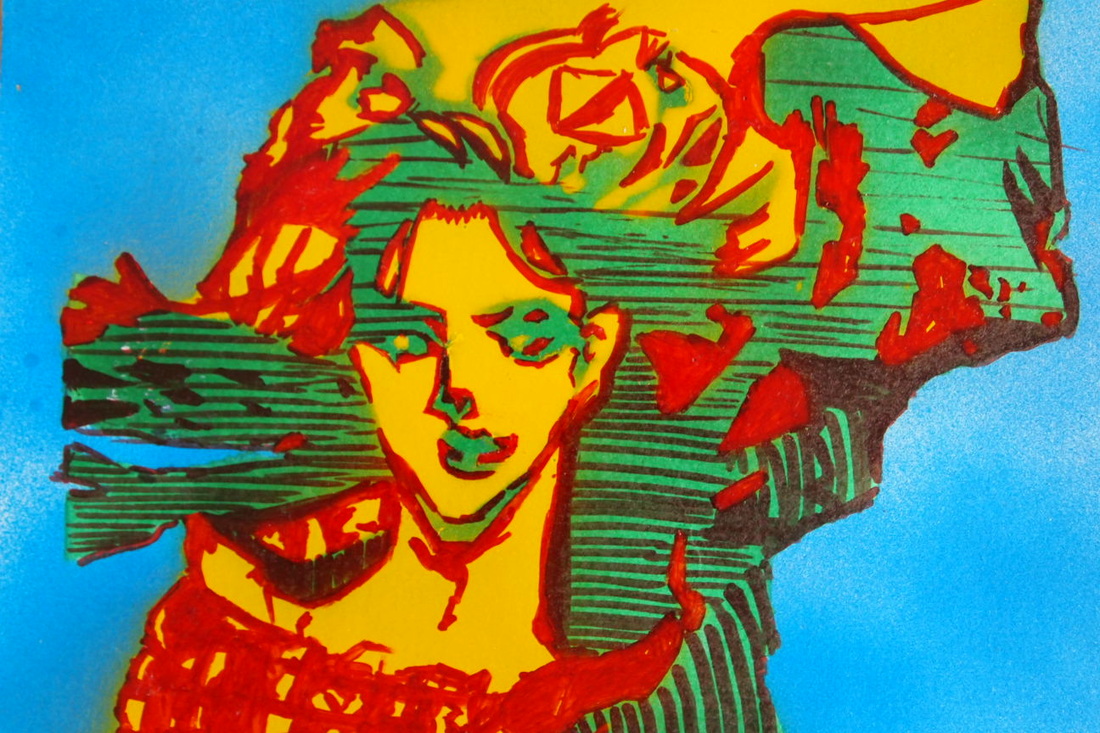
7. Create Research pages about the Wonderful World of Andy Warhol and Pop Art whilst focusing on Colour and Shape
8. Use Photoshop, to simplify one of your photos and Send to Ms Kay
9. Go a step further with photoshop, experimenting with color combinations
10. Use your images to paper cut stencils.
11. Create at least 5 sprays with your stencils trying different colors
12. Draw from Road Maps, focus on your investigation area and create abstract images
13. Paint and try different combinations with road signs
Studio Work -
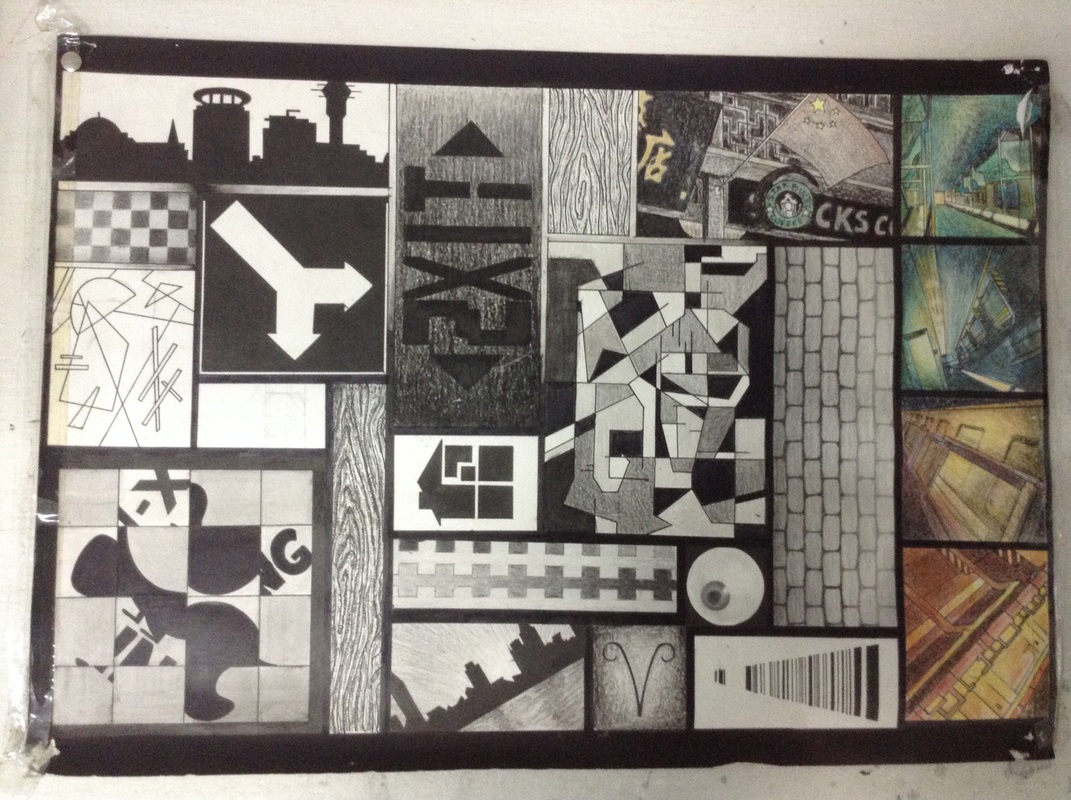
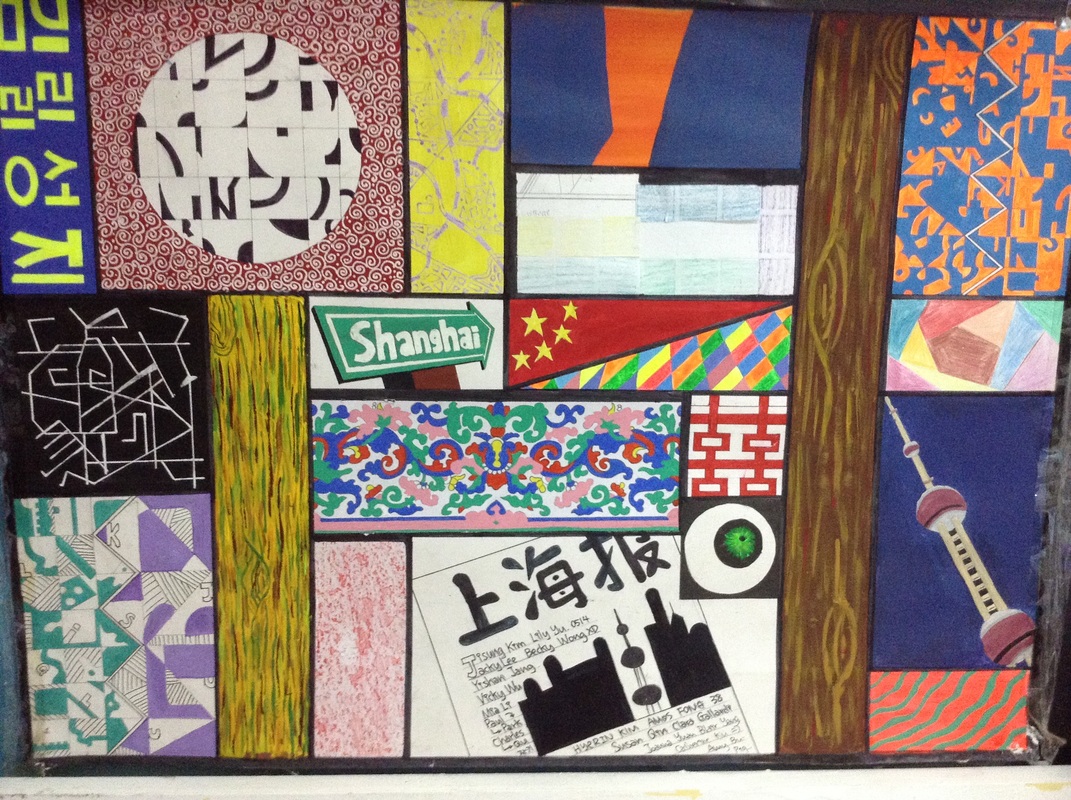
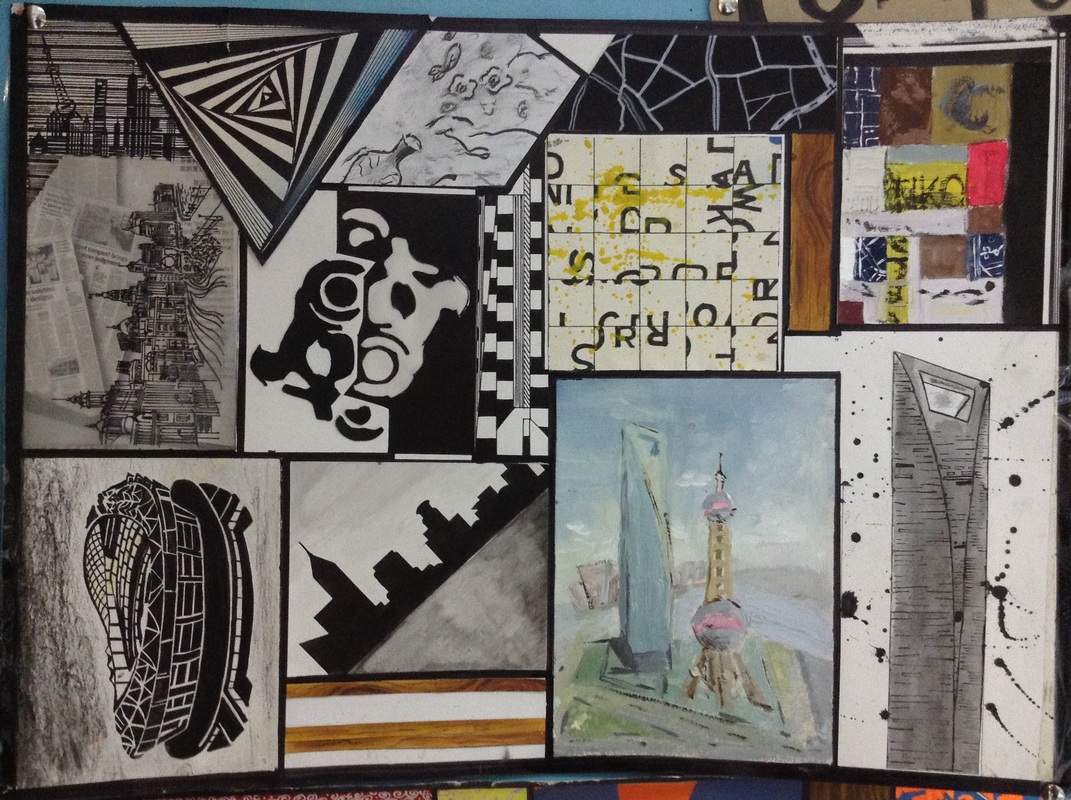
Use all this research to put together a mixed media composition.
1. Study Nicky Forman as a base for your research create an art work research page
2. Record from your environment through photography and make a primary research page
3. Make secondary research by creating line sketches of your photographs
4. Use Pencil Colors techniques to make Realistic and Inverted Coloured drawings
5. Develop your technical skills with Black ink making Negative Space Experiments
6. Take rubbings with pencil Colour or Crayon, or chalk, or Oil Pastels from your environment.
7. Create Research pages about the Wonderful World of Andy Warhol and Pop Art whilst focusing on Colour and Shape
8. Use Photoshop, to simplify one of your photos and Send to Ms Kay
9. Go a step further with photoshop, experimenting with color combinations
10. Use your images to paper cut stencils.
11. Create at least 5 sprays with your stencils trying different colors
12. Draw from Road Maps, focus on your investigation area and create abstract images
13. Paint and try different combinations with road signs
Studio Work -
Use all this research to put together a mixed media composition.
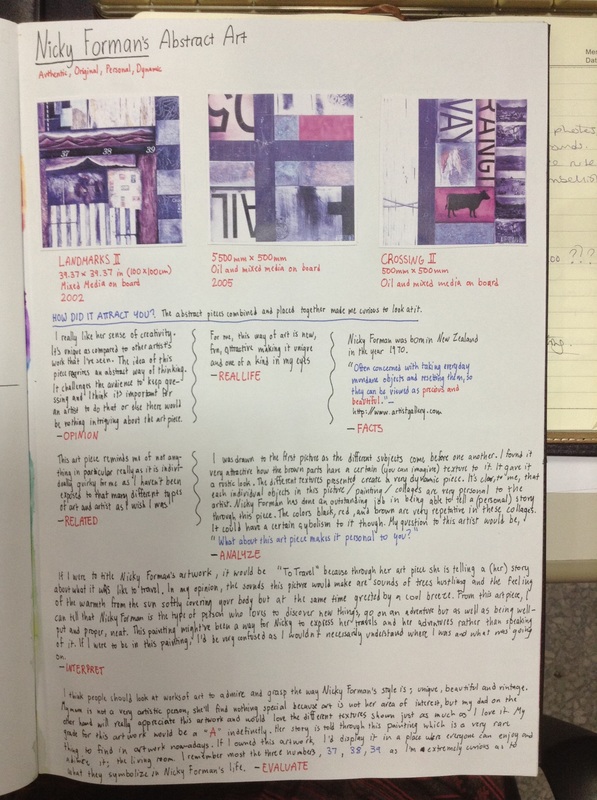
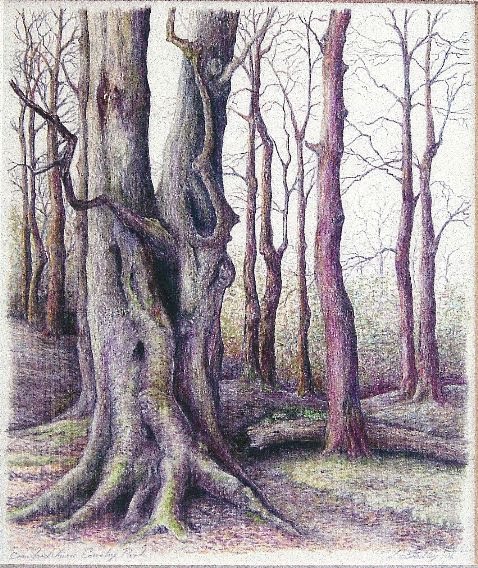
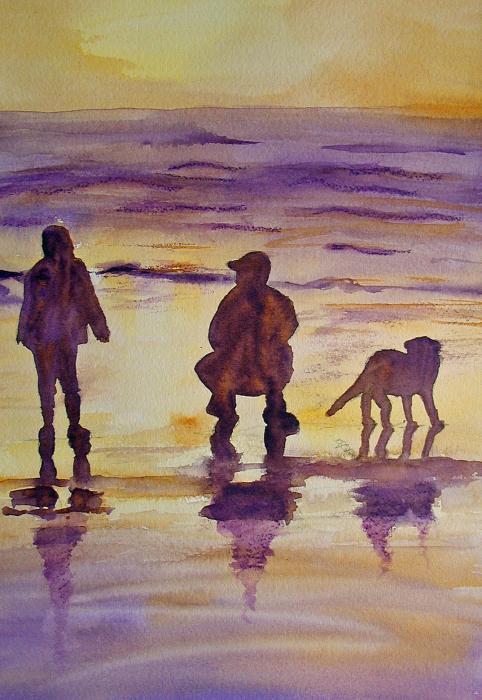
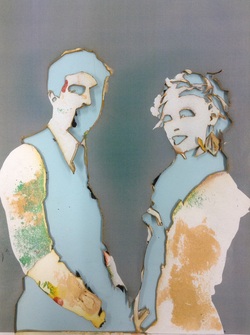
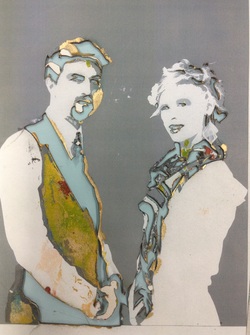
Nicky Forman
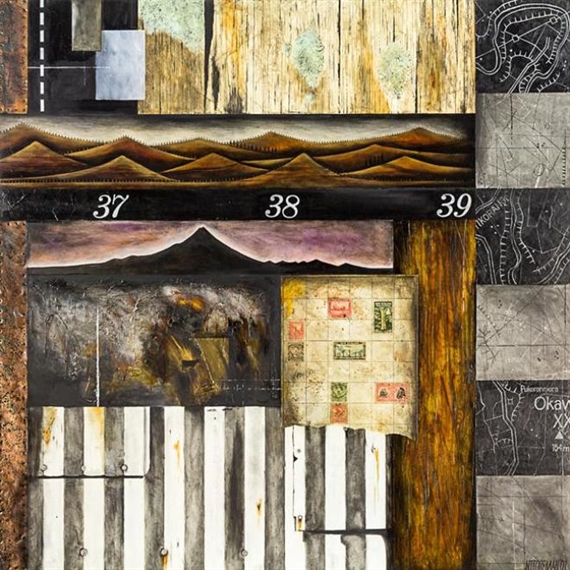
landmarks II
39.37 X 39.37 in (100 X 100 cm) mixed media on board 2002 |
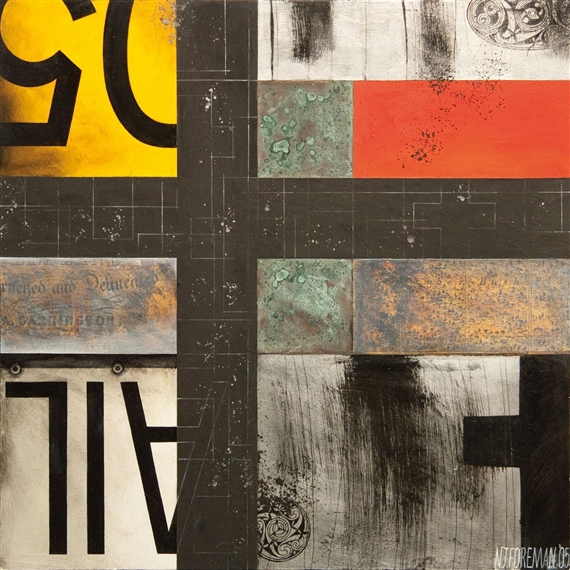
5500mm x 500mm
oil and mixed media on board 2005 |
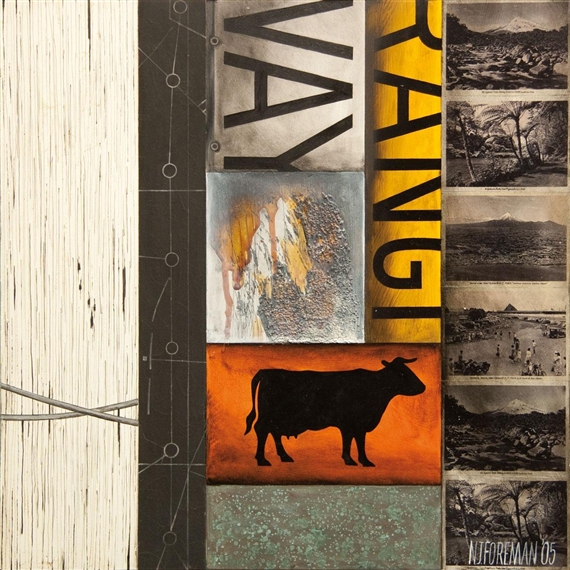
Crossing II
500mm x 500mm oil and mixed media on board |
artist research
Look at the work of Nicky Forman. Find your Favorite Artwork and write a review.
Due next, next lesson
1. Put the name of the Artist as your title
2. Print out one Art work and glue it on the page
3. Write down when the work was made and where the artist was from and which art movement it was.
4. Now you need to talk about the work...
describe it.
• What do you see in this picture? What else do you see?
• What words would you use to describe this painting? What other words might we use?
• What does this image show?
• How would you describe the lines in this picture? The colors?
• How would you describe this picture to a person who hasn’t seen it?
• How would you describe the people in this picture? How are they like you? How are they
different from you?
relate it.
• What things do you recognize in this work of art?
• What does this art work remind you of?
• How is this image like some other artwork you have seen? How is it different?
• How is this picture different from real life?
• What interests you most about this work of art?
analyze it.
• What is the largest and the smallest thing you see in this picture?
• What objects seem closest to you? Further away?
• What can you tell me about the colors in this painting?
• What can you tell me about the person in this painting? What can you tell me about how this person lived? What makes you say that?
• Which colors seem closer to you? Further away? Why?
• What color is used the most in this painting?
• What do you think is the most important part of this picture? Why?
• How do you think the artist made this work of art?
• What questions would you ask the artist about this work, if s/he were here?
interpret it.
• What title would you give to this painting?
• What sounds would this painting make (if it could)?
• What can you tell us about the person in this painting?
• What do you think this painting is about? Why do you think that?
• Pretend you are inside this painting. What does it feel like?
• Why do you think the artist made this painting?
evaluate it.
• Why do you think other people should see this work of art?
• What do you think your parents would say about this painting?
• What grade would you give the artist for this painting? Why?
• What would you do with this work of art if you owned it?
• What do you think is important to remember about this painting?
gathering primary research
Primary research consists of drawings, painting, photographs you make on site. If you draw from a photo, that's secondary research because the photo existed first.
Take photos of your environment and presents them on a primary research page
Take photos of your environment and presents them on a primary research page
City Scape Silhouettes
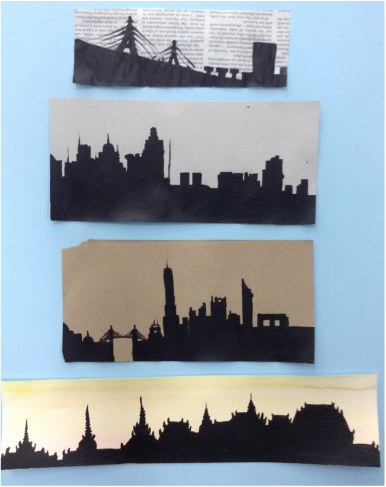
Here you can see Acrylic painted onto newspaper, recycled paper, brown parcel paper and water color paper with a paint wash background. Try using a pointed object like a sharpened end of a paint brush to paint in sharp corners and fine details
Positive/negative space
Example photos of environment BANGKOK
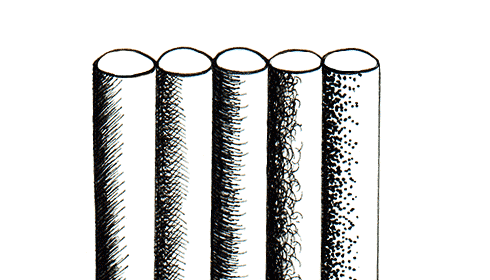
little Pen sketches
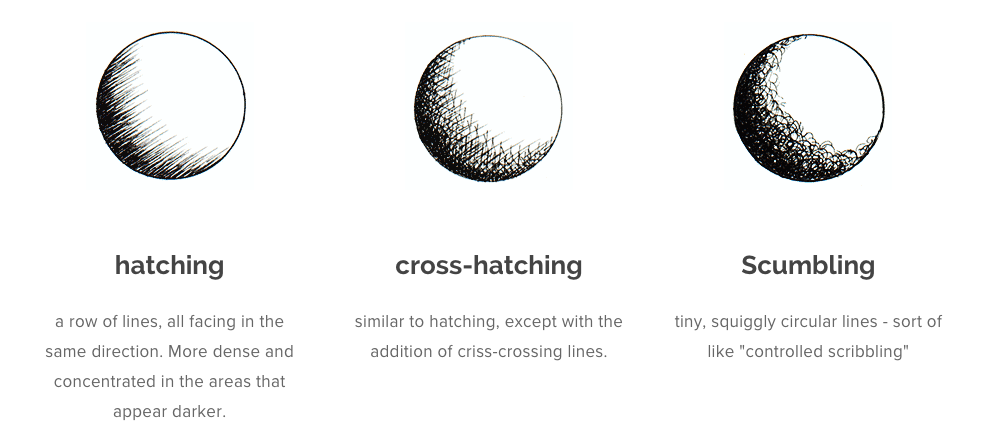
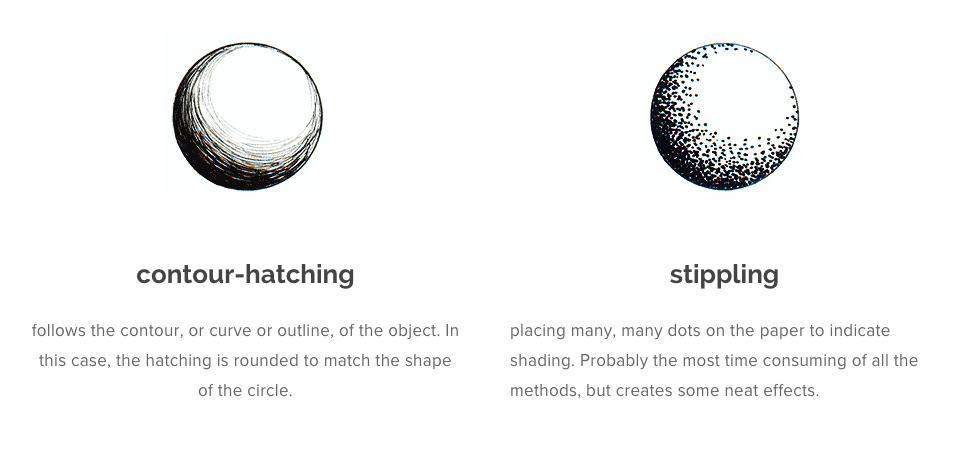
There is one main difference between shading with a pencil and shading with a pen: with pencil, you can apply shading by increasing pressure - in other words, pressing the pencil harder against the paper in the areas that you want to appear darker.
With the exception of ball point pens, you can't use the pressure technique in pen and ink to create value. Instead, you must use one of the techniques demonstrated below.
You might be surprised to learn that, aside from the pressure technique, the basic drawing techniques for creating value when drawing with pen involves exactly the same strokes as when using pencil. The basic strokes include hatching, cross-hatching, scrumbling, contour-hatching, and stippling, as shown in the examples below.
Blind Drawings
Blind Drawings are simply drawing whilst looking only at the object or photo you are drawing. do not look at what is happening on the paper. The result is supposed to be messy, it's a 'style' you have created. This forces you to study a scene closely, observing every shape and edge with your eyes, as your hand mimics these on paper. The aim is not to produce a realistic artwork, but rather to strengthen the connection between eyes, hand and brain: a reminder that, when drawing, you must first learn to see. Here's some examples:
Blind Drawings are simply drawing whilst looking only at the object or photo you are drawing. do not look at what is happening on the paper. The result is supposed to be messy, it's a 'style' you have created. This forces you to study a scene closely, observing every shape and edge with your eyes, as your hand mimics these on paper. The aim is not to produce a realistic artwork, but rather to strengthen the connection between eyes, hand and brain: a reminder that, when drawing, you must first learn to see. Here's some examples:
Continuous line Drawings
This time you can look at what you draw but you cannot take you pen or pencil off the paper. EVER! You must find creative ways to connect shapes that float in space.
This time you can look at what you draw but you cannot take you pen or pencil off the paper. EVER! You must find creative ways to connect shapes that float in space.
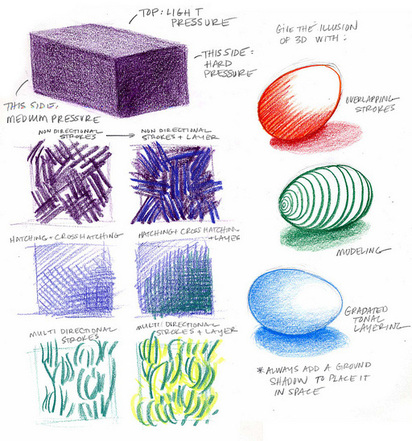
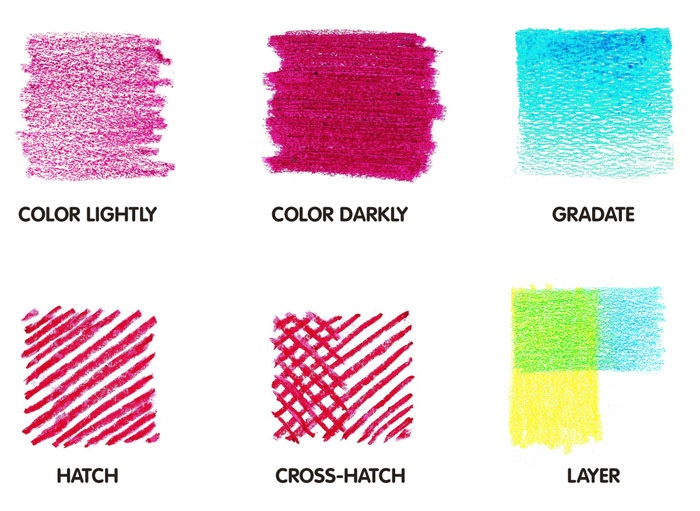
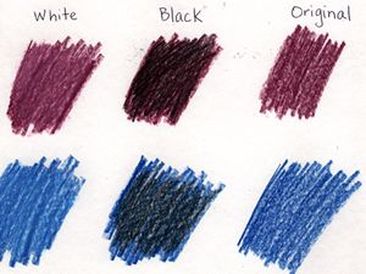
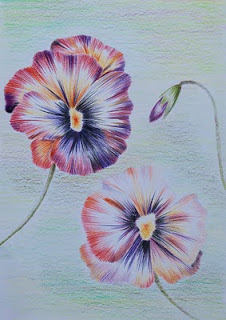
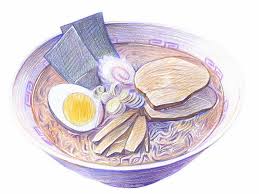
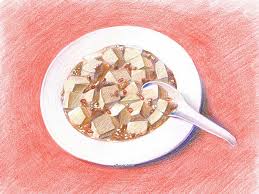
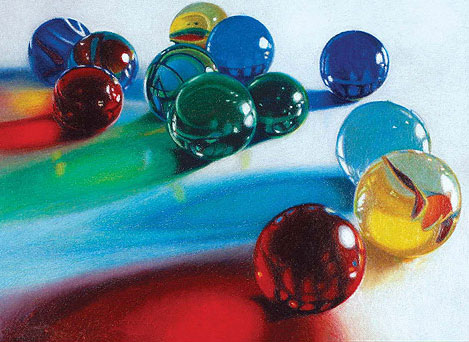
Pencil color techniques
Colouring in! Easy? no any more! here's some tips on some professional pencil color use.

|
|
| andy_warhol_photoshop_tutorial_handout.docx |
|

| ||||
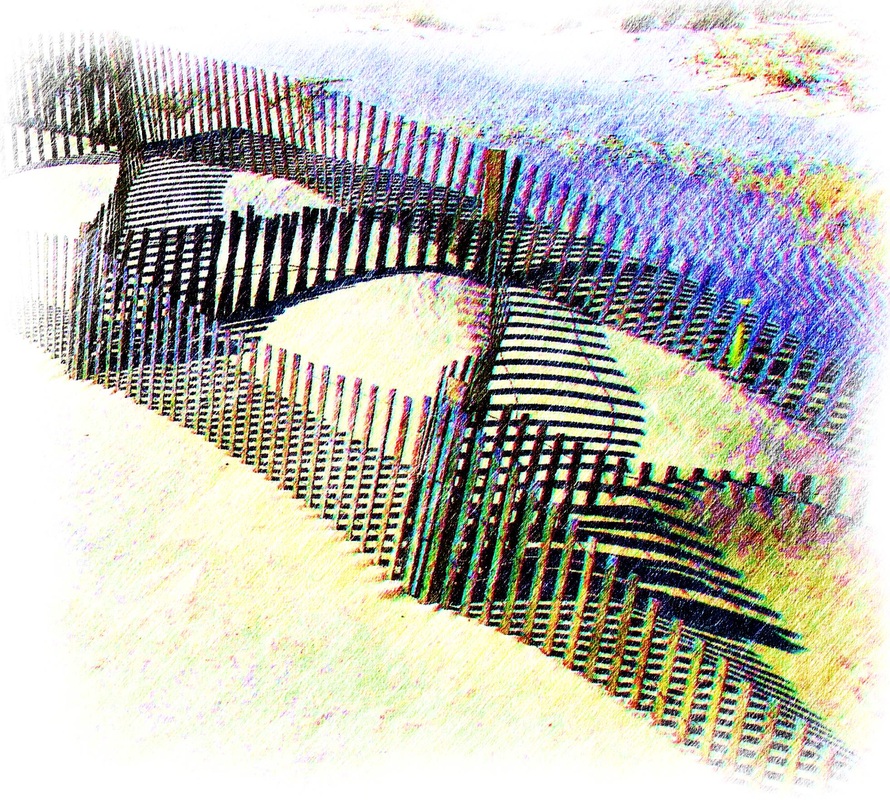
gathering rubbings
|
|
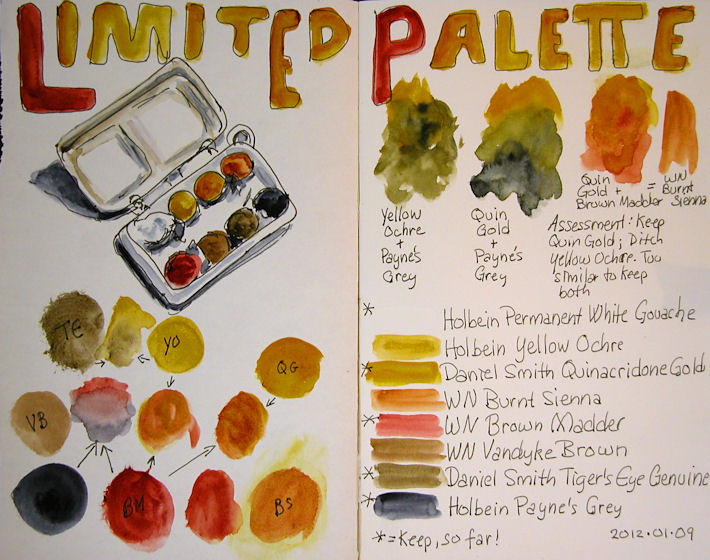
Limited palette
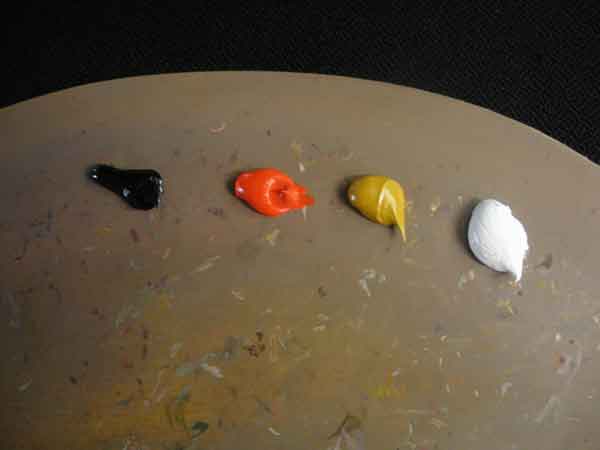
When an artist deliberately restricts the number of colors they use in a painting, they're said to be using a limited palette. (A palette being what paints are squeezed out onto, ready for use.)
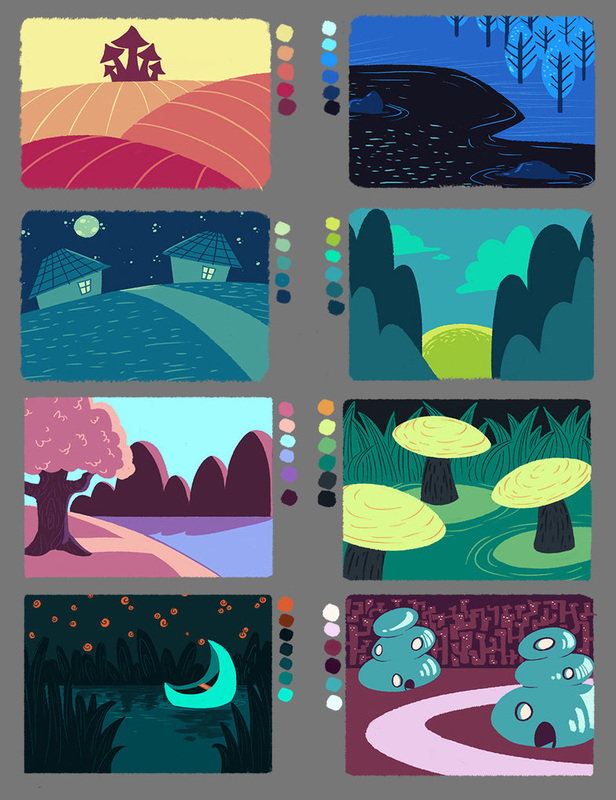
Those original colors that you chose can be mixed in to new colors, HUES, TINTS and SHADES

Rosalie Gascoigne
3. On the back draw a grid. You grid doesn't have to be square it could be rectangles and as small as you want. Here is an example of a not very neat one. make sure yours is much neater.
|
technique
Draw out your sign carefully in pencil, make it flat and straight as possible.
2. Paint your sign with flat colors. Don't worry about tones. Just make it as neat as possible.
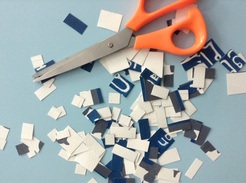
4. Cut it up very carefuly
|
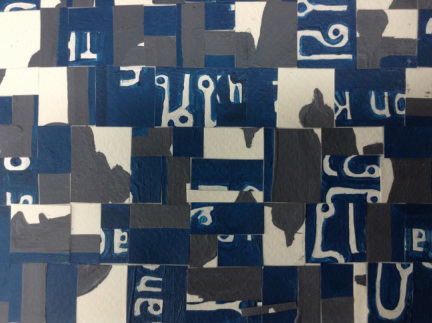
5. Glue the pieces back down onto a new piece of paper, twisting and turning them.
You could try having different sizes of squares, mixing two or more signs together, cutting triangles...
You could try having different sizes of squares, mixing two or more signs together, cutting triangles...
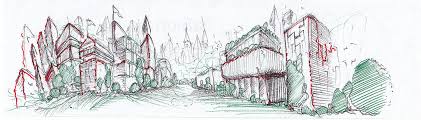
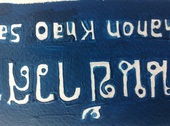
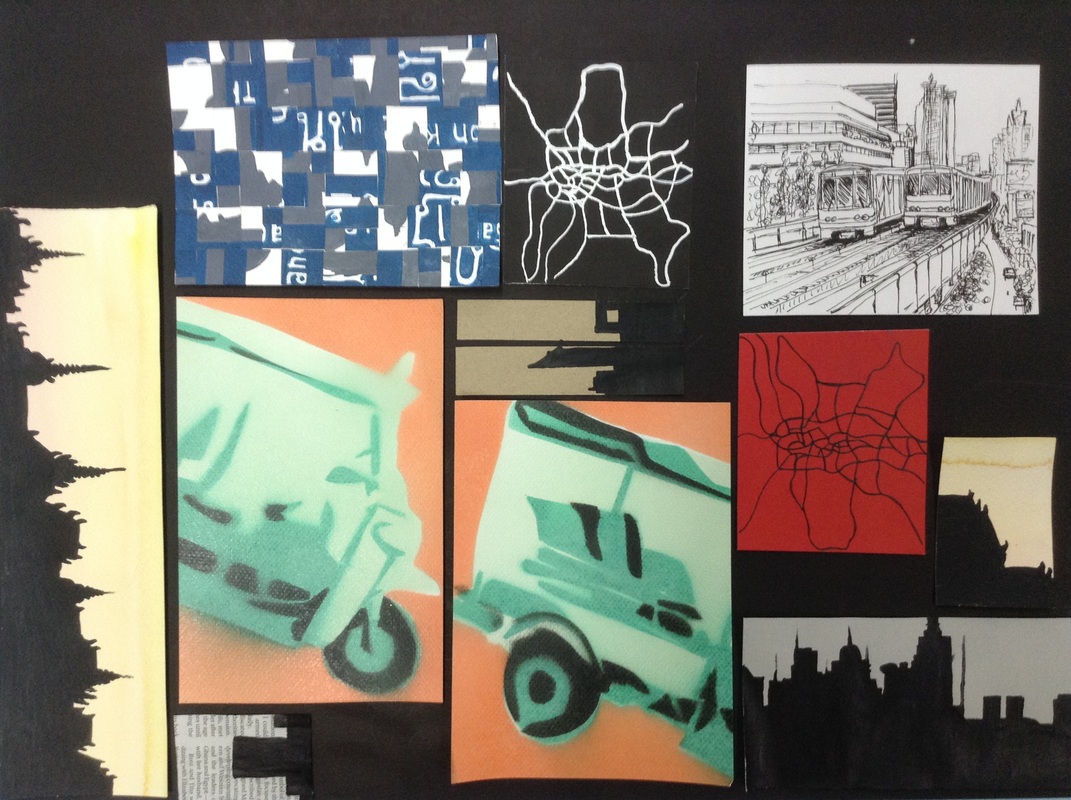
Mapping it!!
|
See what artists can do with maps. What ideas do you get?
|
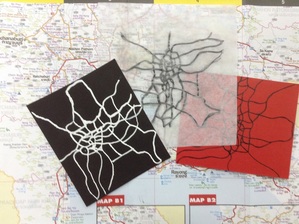
Try using tracing paper to copy your Bangkok map and transfer it to different colored papers. Try black with white-out, red with black pen or just use the tracing and layer it over something else like news paper!
|
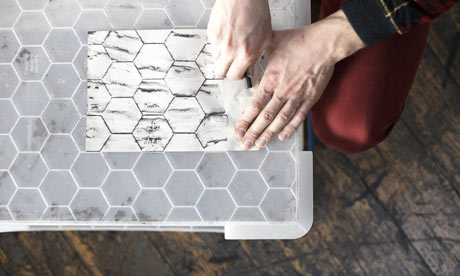
turn your work into a stencil
Before you begin copy your work 3 times and glue it onto 3 pieces of thick paper or card.

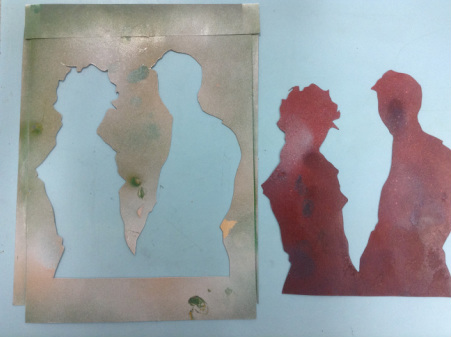
1. Cut away the complete shape, ensuring you have lots of space around the outside
|
2. Next cut away the same area but leave behind the first lightest tone. here you see I have not cut away any white.
|
3. For the final one, cut away only the darkest areas. You can see I have left behind the grey and white
|
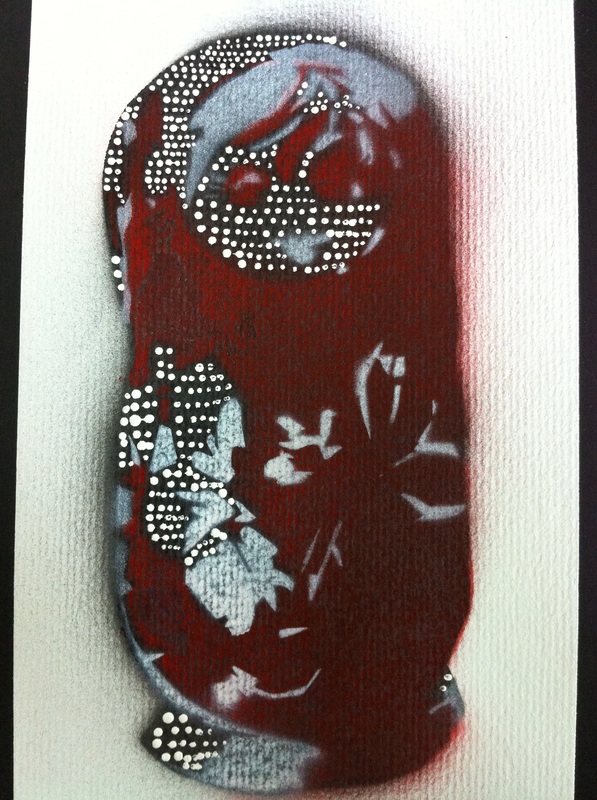
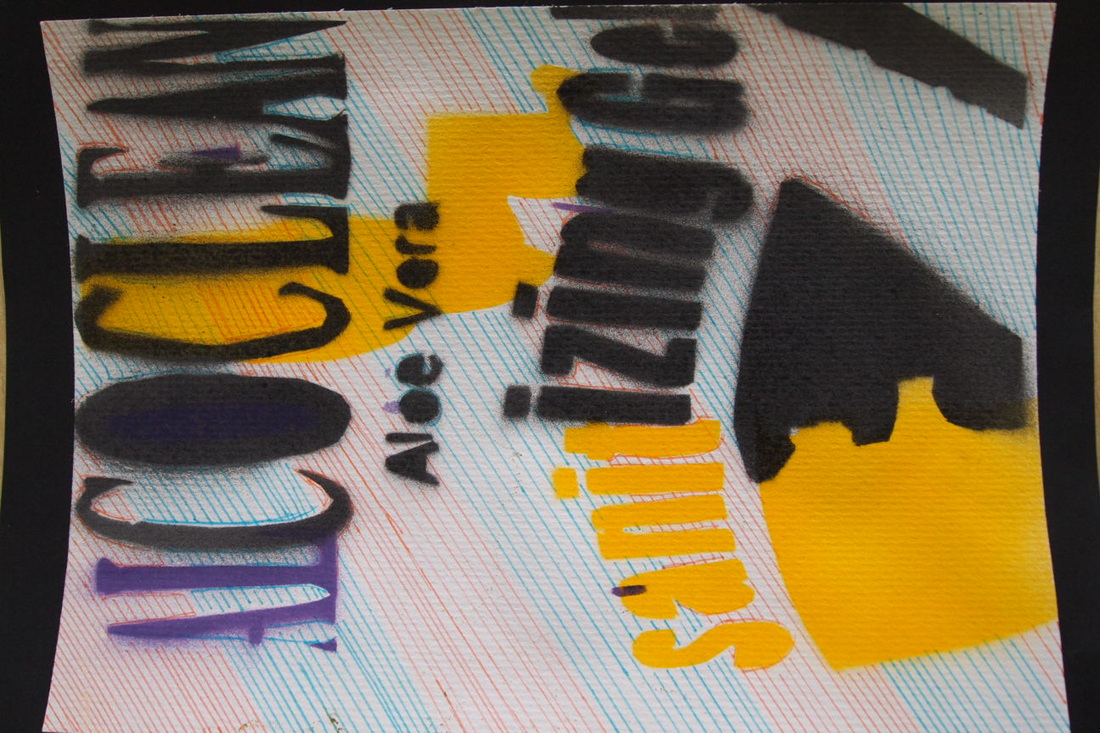
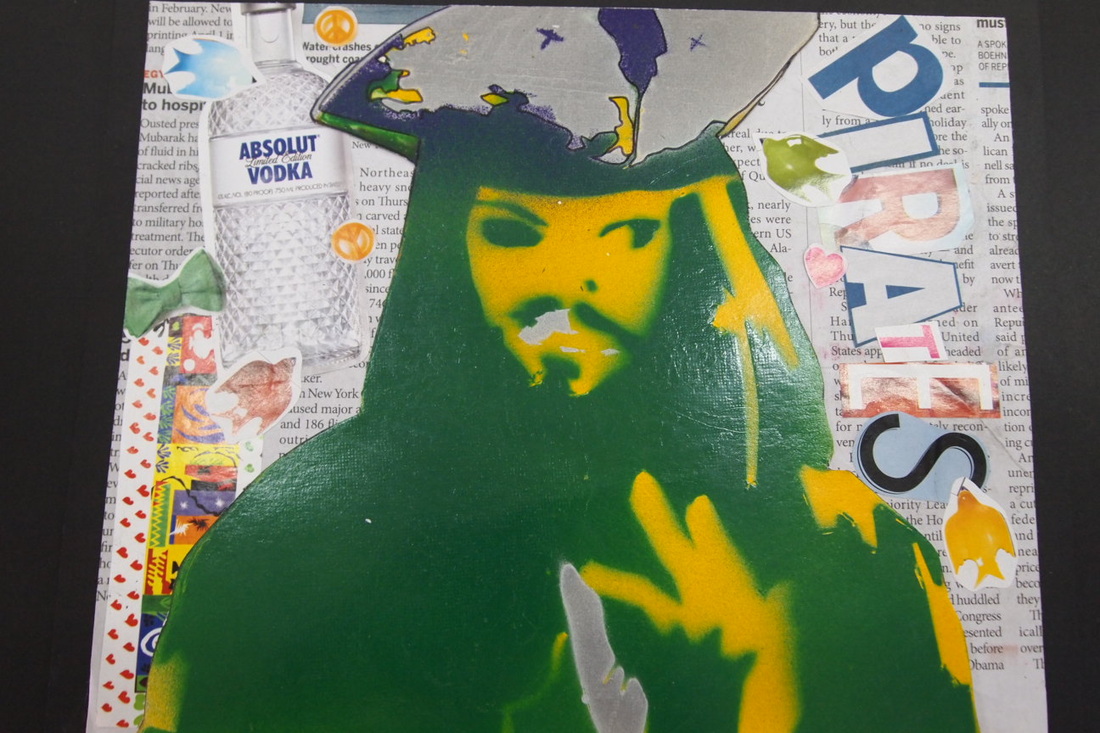
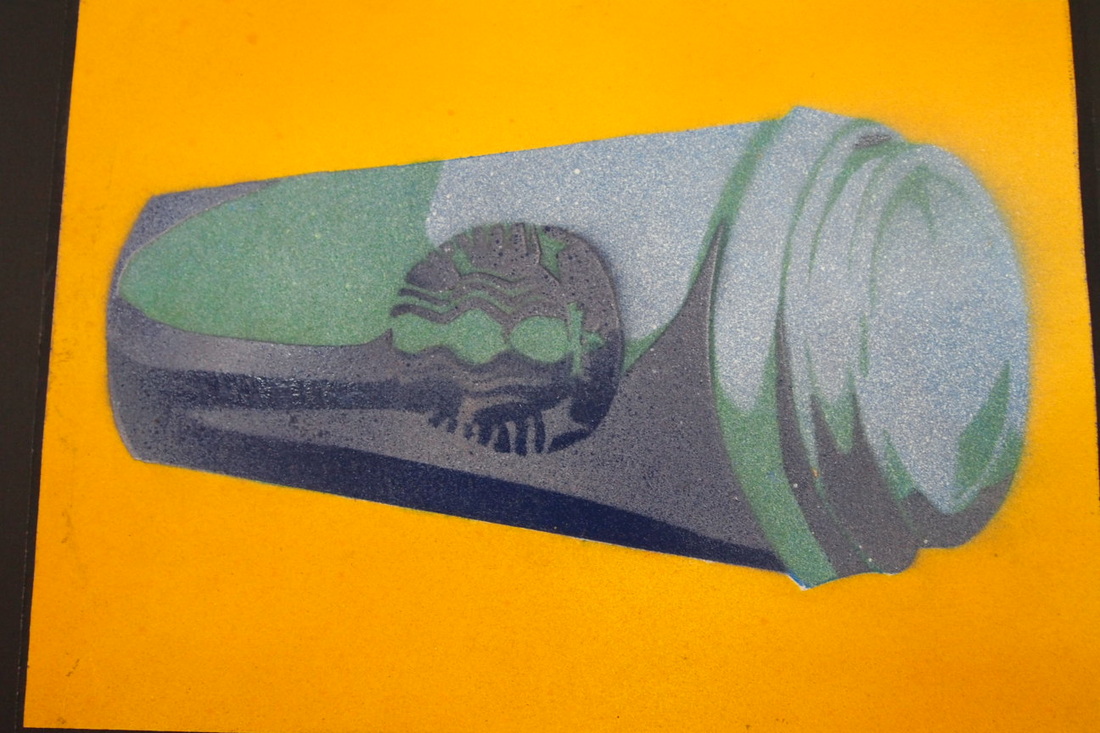
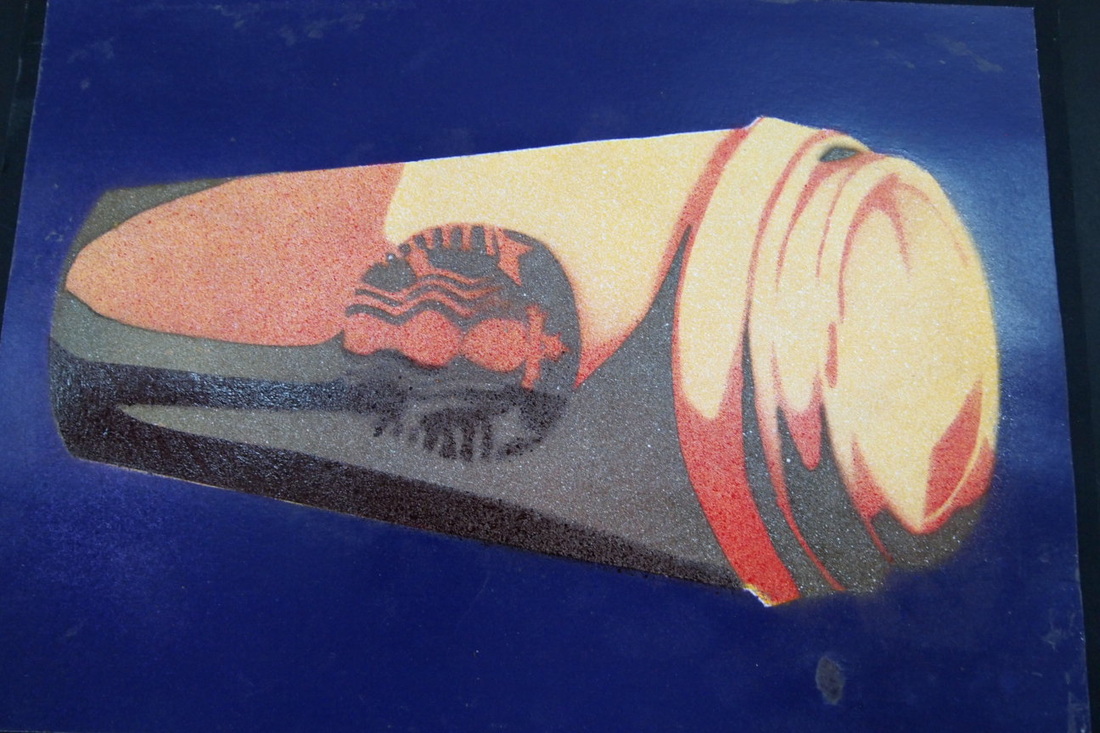
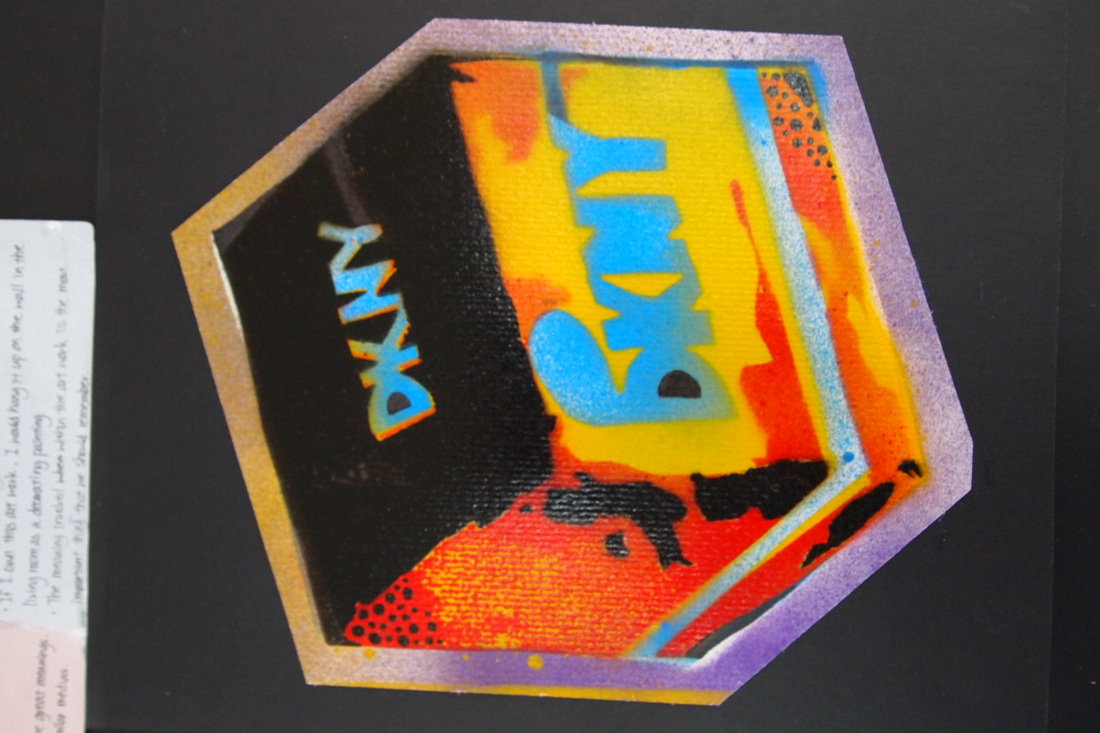
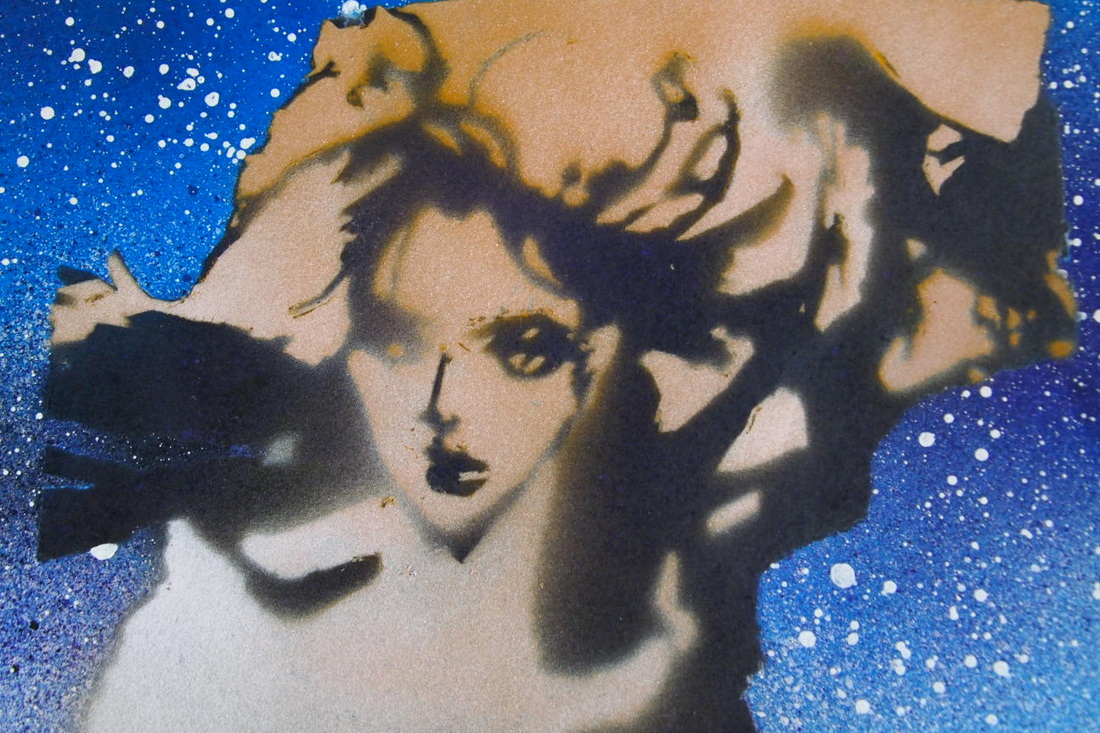
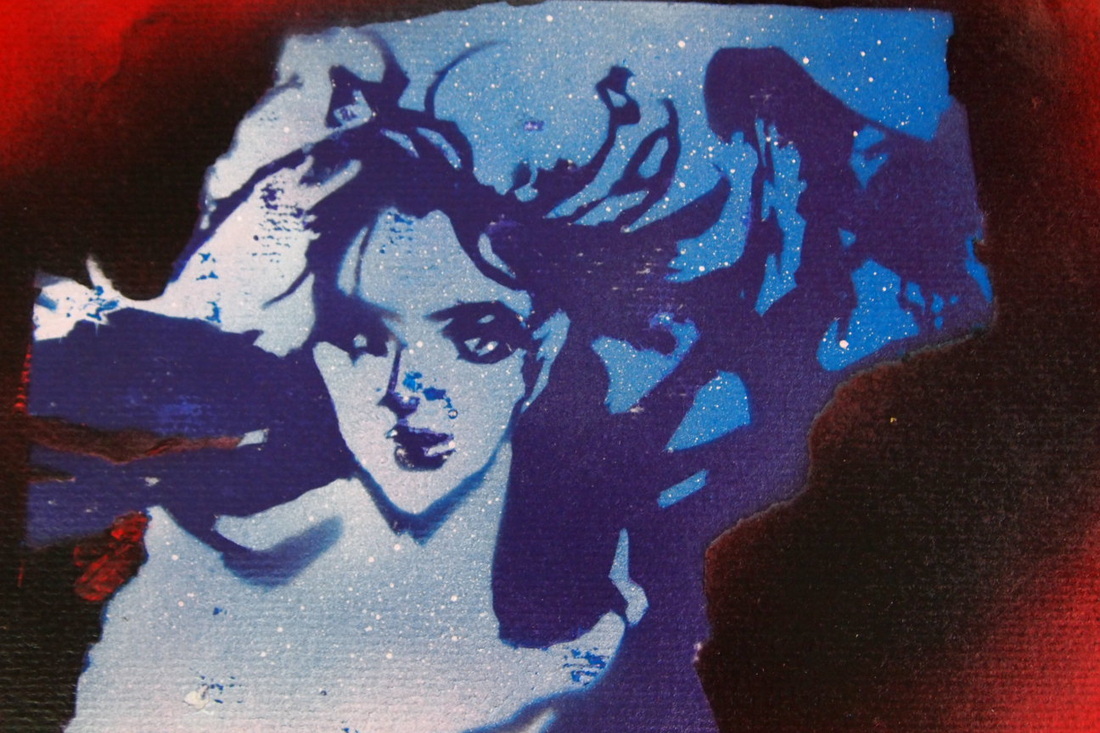
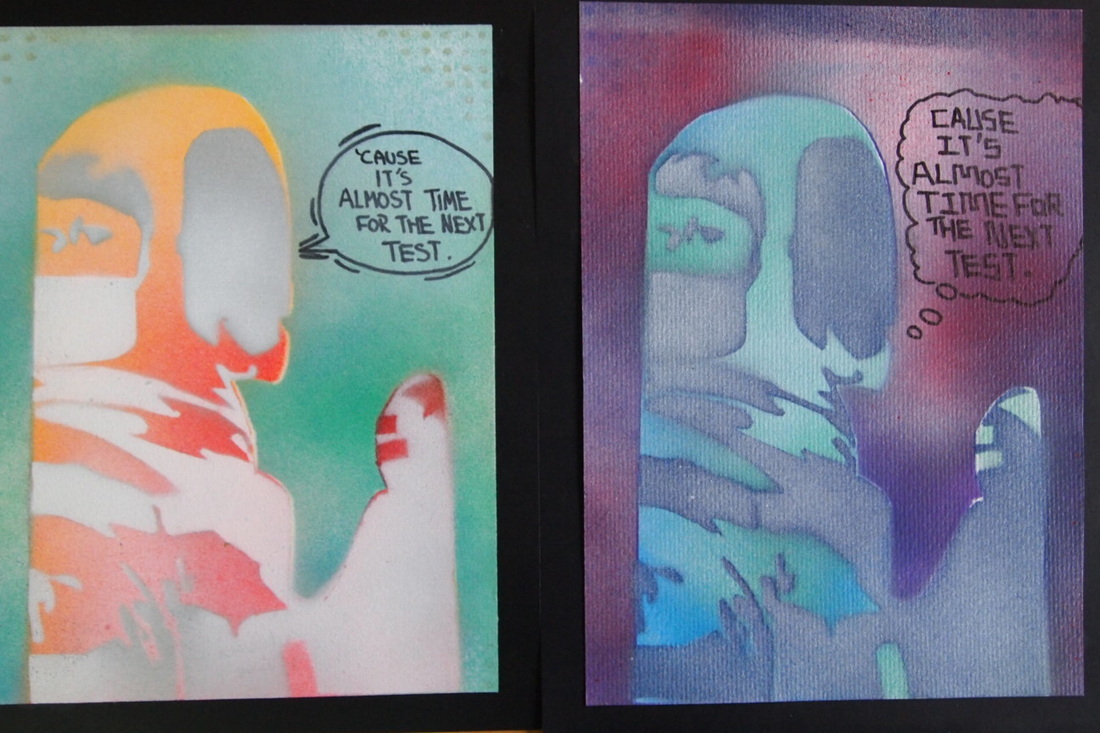
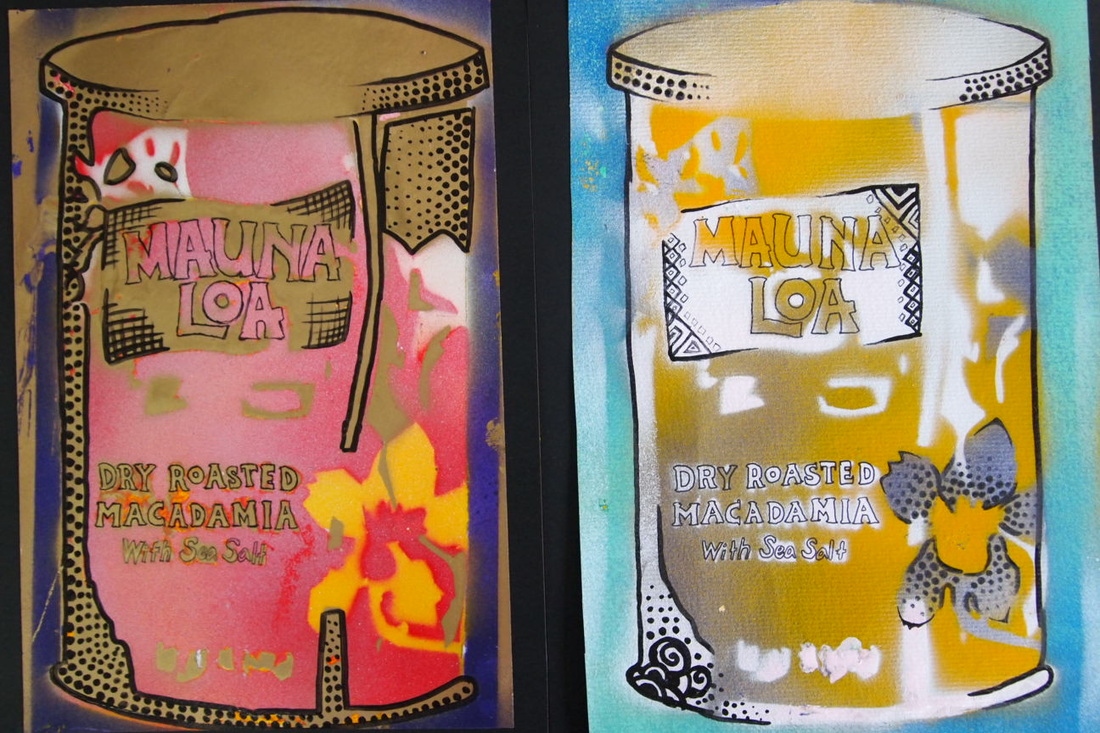
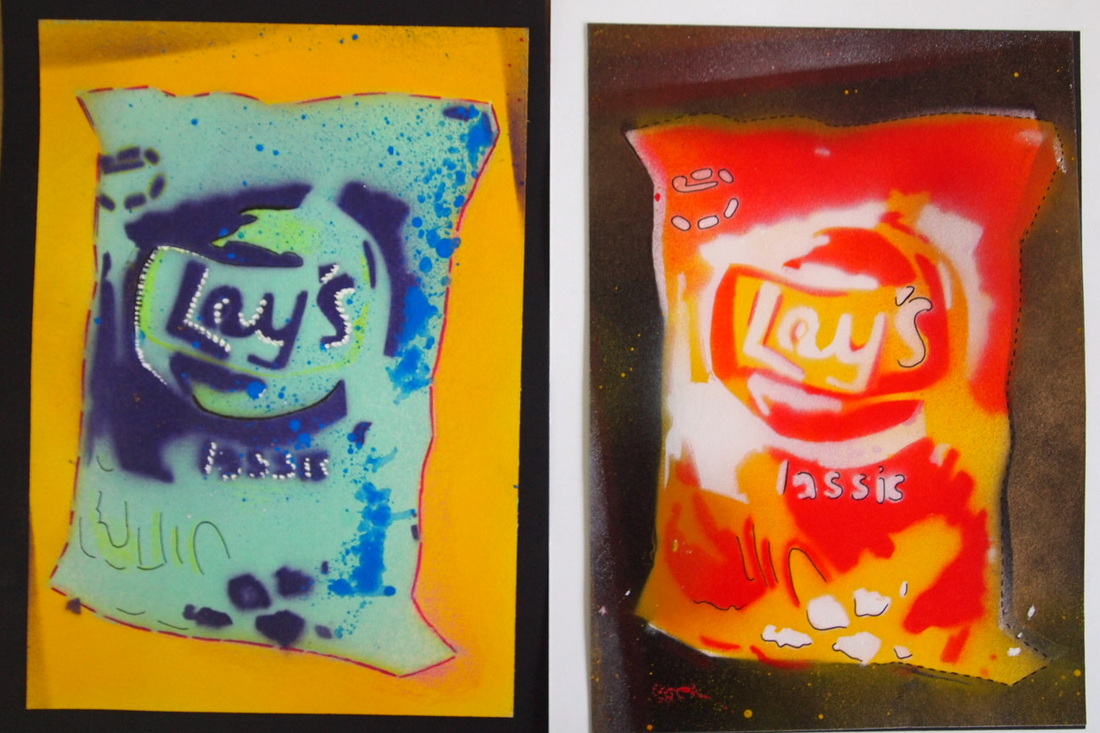
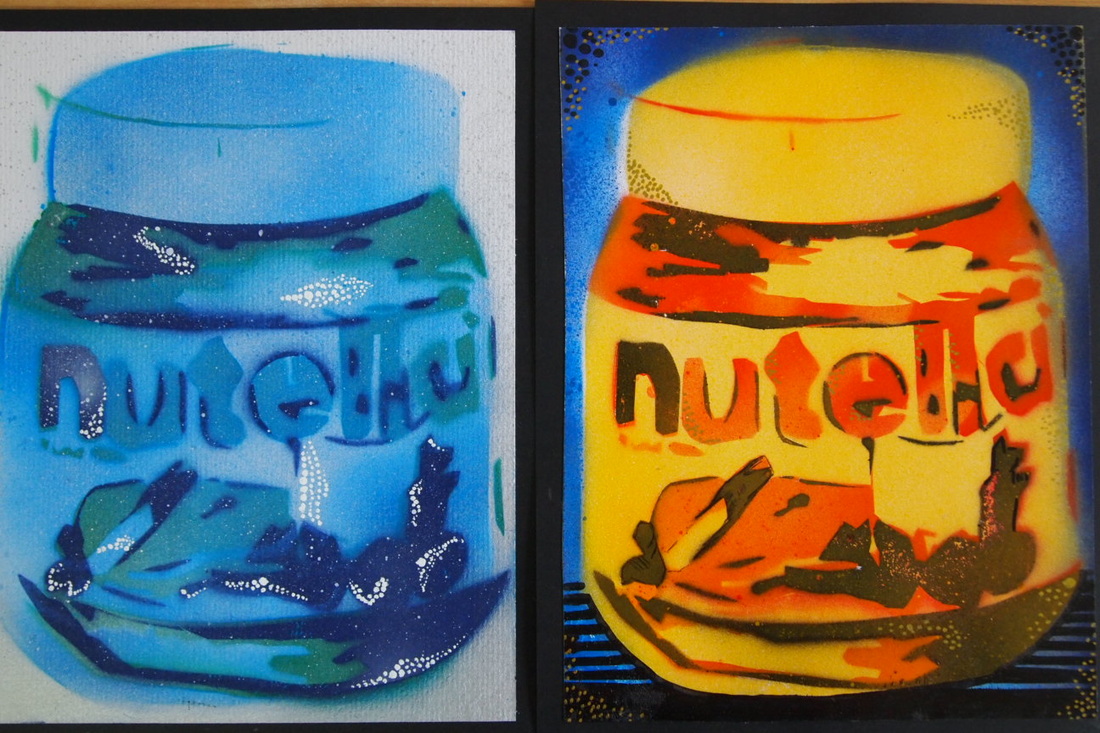
Make a Spray Paint
You will need to use an absorbent material to spray on - water colour paper is good!
You need to build up the layer from the largest to smallest and from the lights colour to the darkest. However, rules are there to be broken, so experiment and have fun!
You need to build up the layer from the largest to smallest and from the lights colour to the darkest. However, rules are there to be broken, so experiment and have fun!

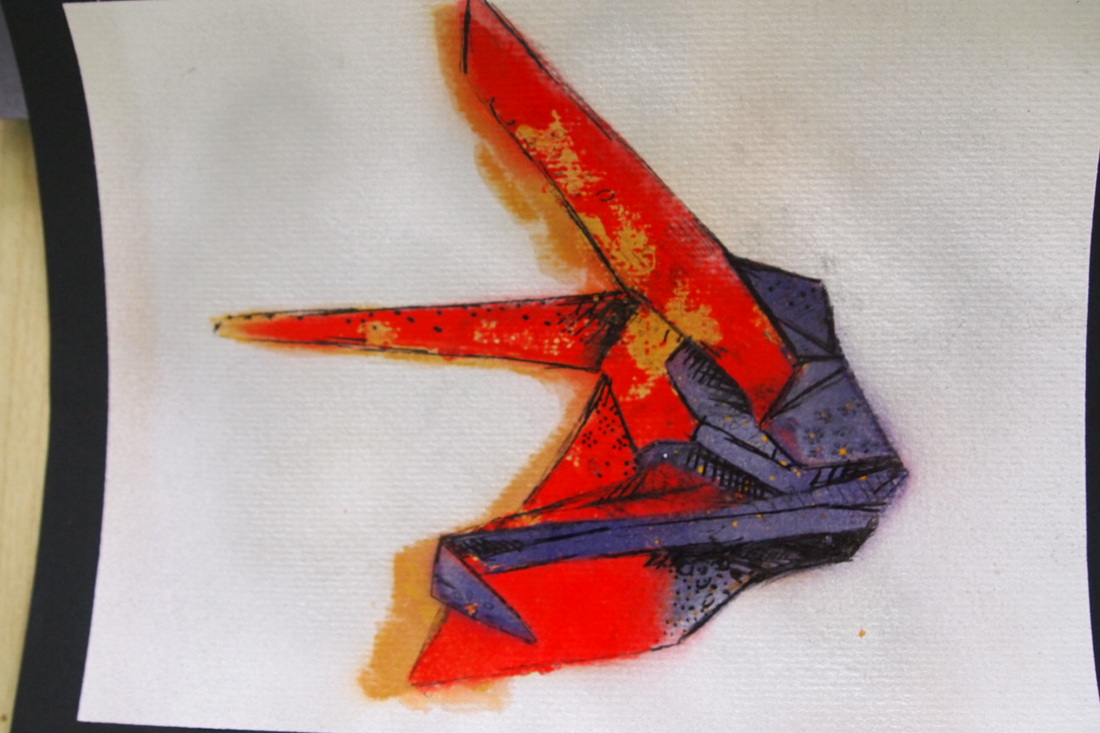
Add some Detail to finish
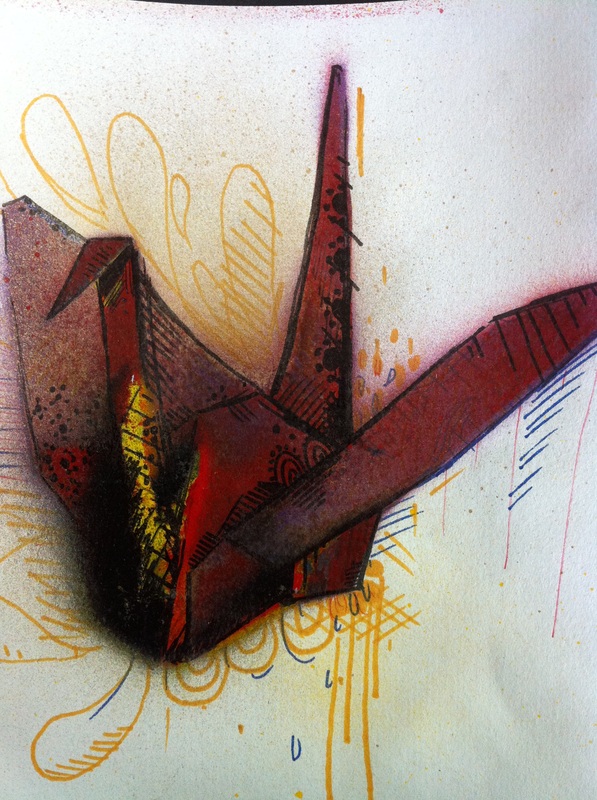
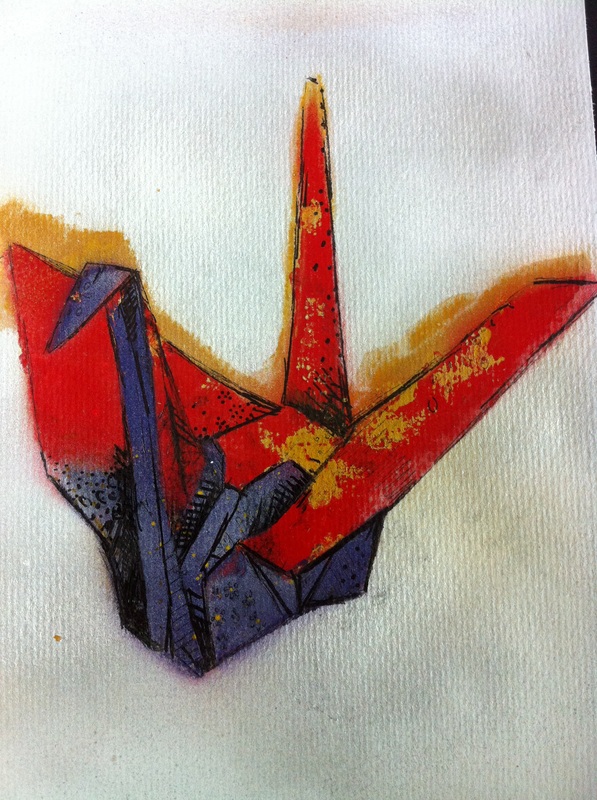
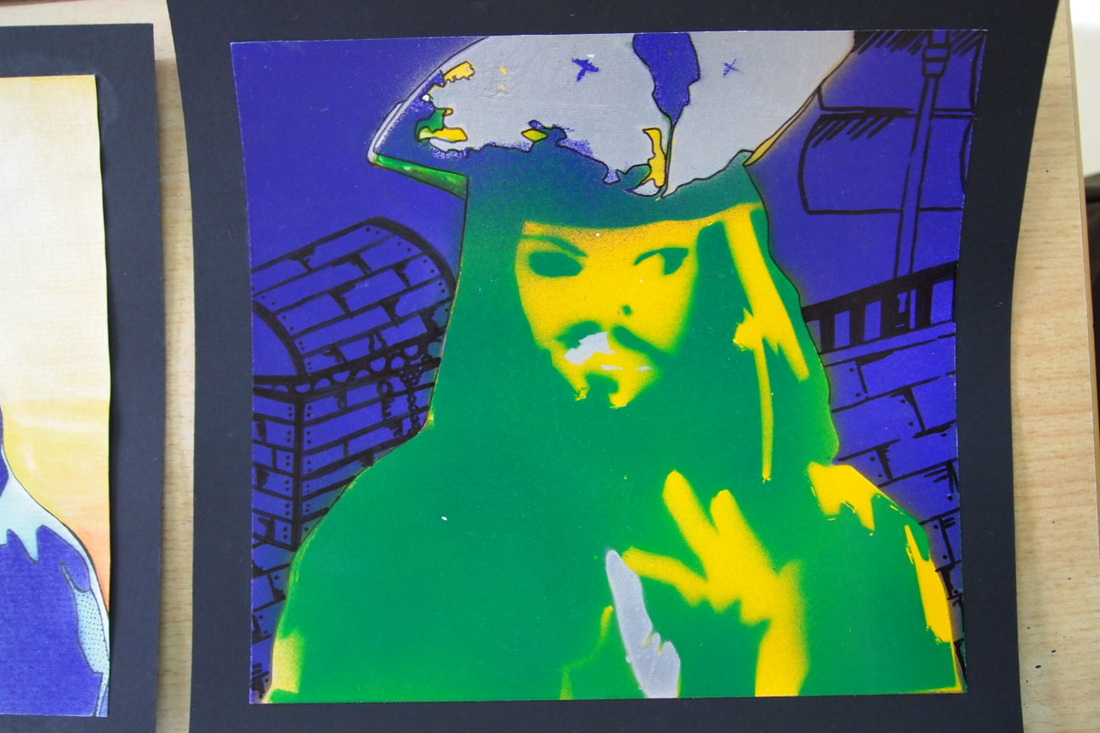
Use black or coloured pen to build in some details and finish your work off nicely. See these student examples below.


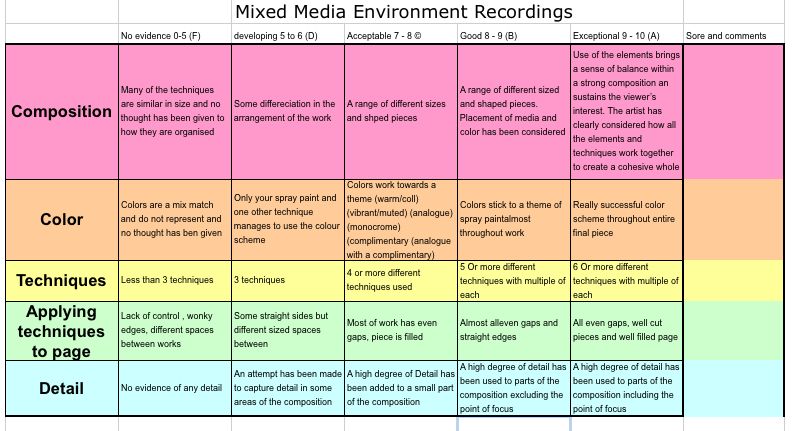
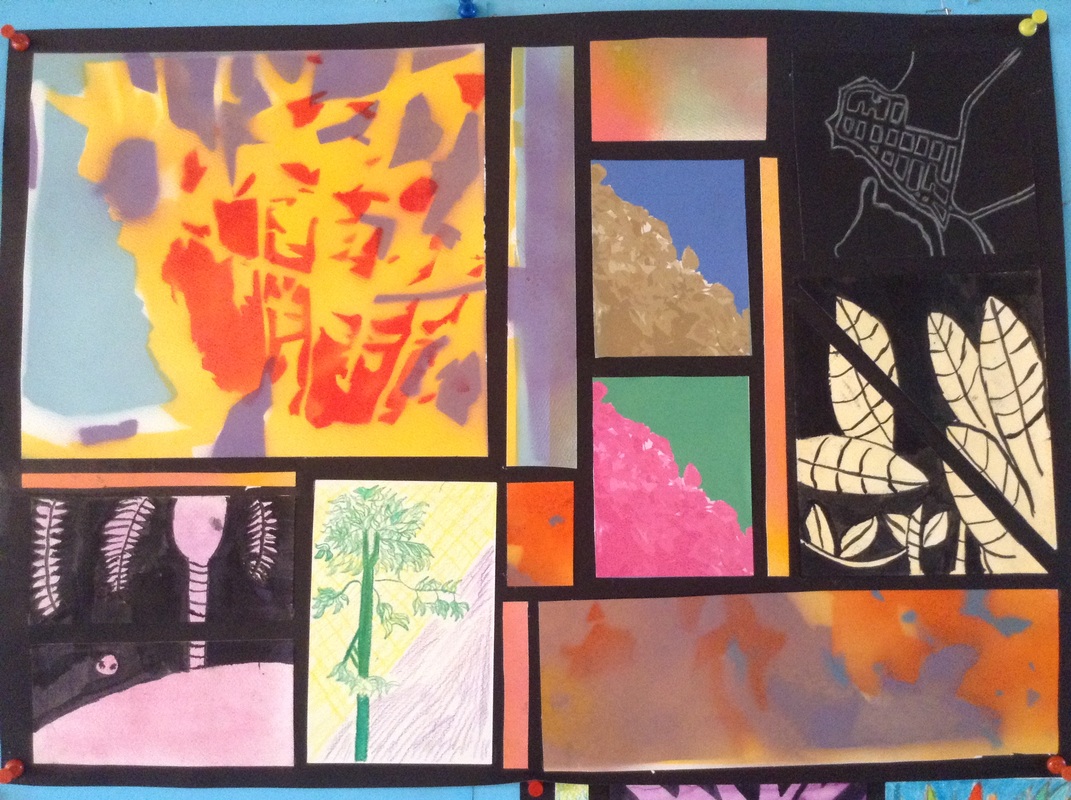
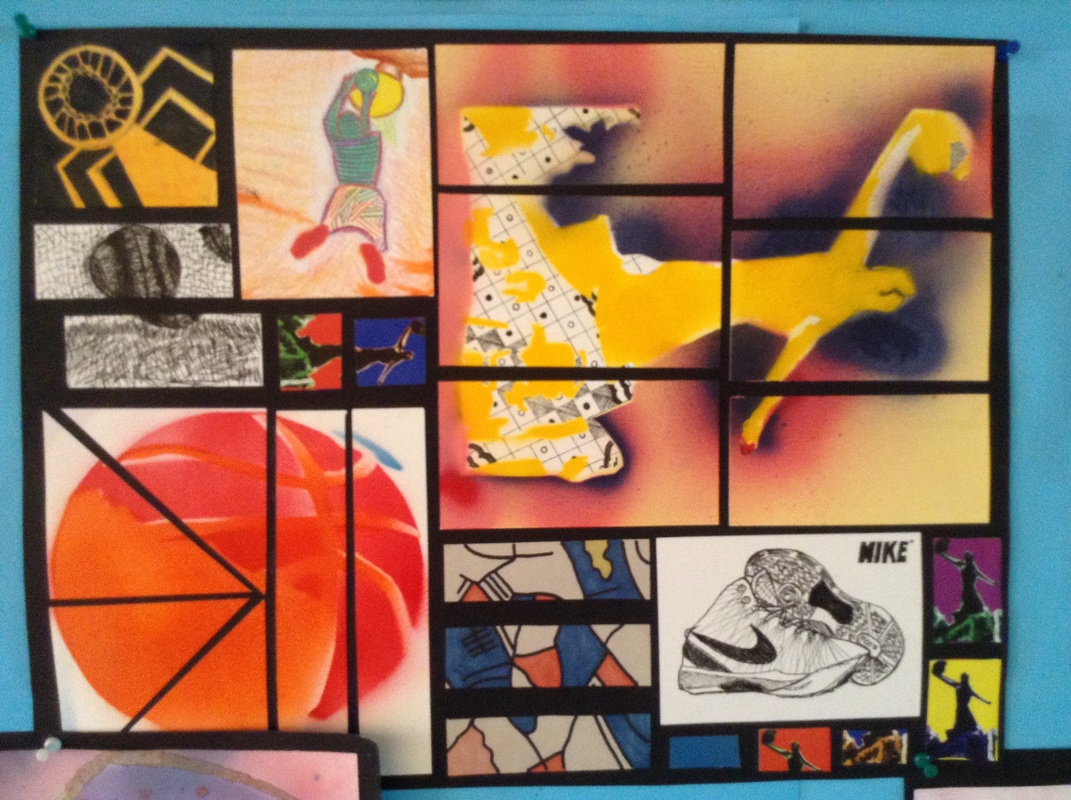
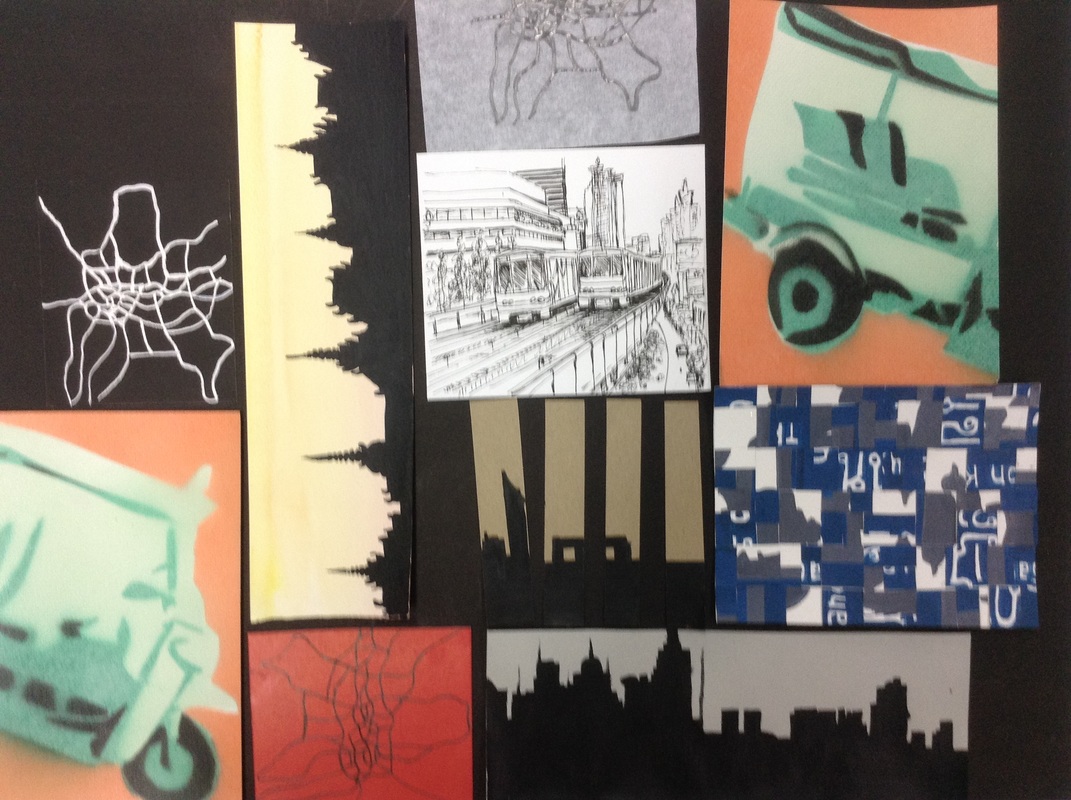
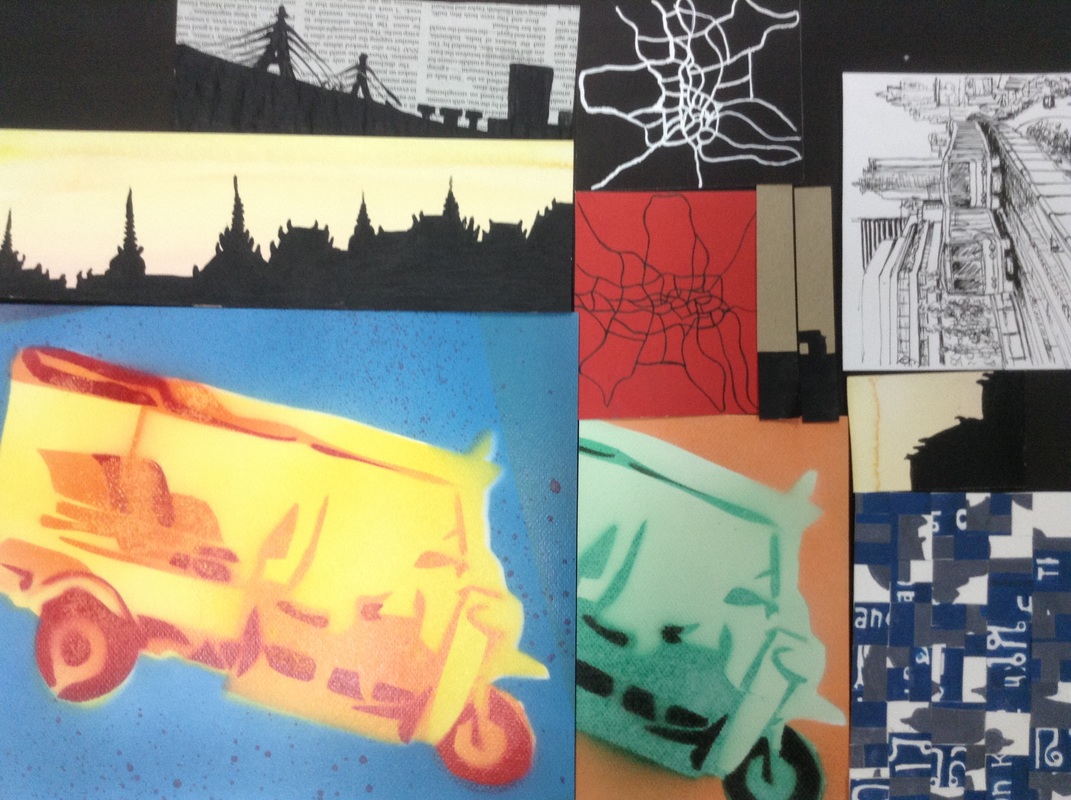
put it all together....
| unban_environment_recordings_assignment.docx |
Which composition?


step-by-step
|
1. Plan out your layout. Draw and measure your shapes to fill your paper.
Things you thought looked good: - Keeping the edges straight - Using a variety of shapes - making sure there was an equally spaced bored running around all the shapes. 
|

|
2. Make some decisions! Decide what will go where. What is your colour scheme?
-Which media? Which media technique are you going to use? Where will it go
-Which images? Which photos will inspire that? Remember all work needs to be from your photos from one specific area (like on your photo walk). Just as our inspiration Artist did, Nicky Forman. If you're not happy with the photos you took, you can always take more, as long as they're from the same place.
- What colours are you using, choosing only some is called a restricted pallet. You already chose them when you chose your spray paint.
You may want to write on the back of your paper, this plan
|
3. Where are you going to start to add media? Think about what could smudge..you might want to leave that to the end. Maybe you want to start with the most difficult, to get it out of the way? Or leave it until the end, when you feel more confident. It's up to you!
REMEMBER:
1. USE YOUR PRIMARY RESEARCH 2. USE YOUR COLOUR SCHEME 3. USE YOUR SKETCHBOOK FOR HELP |
Techniques you've done
|