murals
Learning Objectives:
- Understand the History of Guernica and how symbolism is used
- Work in a pair to design a mural for school, applying symbolism
-Record an Audioboo talking about the history of a mural of your choice and interprete, focusing on the symbols
- Understand the History of Guernica and how symbolism is used
- Work in a pair to design a mural for school, applying symbolism
-Record an Audioboo talking about the history of a mural of your choice and interprete, focusing on the symbols
| school_mural_power_point.ppt |

using symbolism
The term Symbolism means the systematic use of symbols or pictorial conventions to express an allegorical meaning. Symbolism is an important element of most religious arts and reading symbols plays a main role in psychoanalysis. Thus, the Symbolist painters used these symbols from mythology and dream imagery for a visual language of the soul.
Try this short exercise to see if you can fins the symbols in the art
Try this short exercise to see if you can fins the symbols in the art
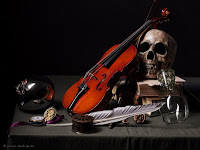
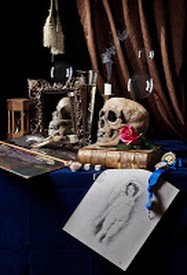
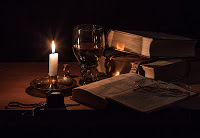
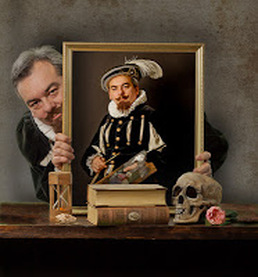
Symbolic meanings of objects used in vanitas' paintings
|
In the arts, vanitas is a type of symbolic work of art especially associated with still life painting in Flanders and the Netherlands in the 16th and 17th centuries, though also common in other places and periods. The Latin word means "vanity" and loosely translated corresponds to the meaninglessness of earthly life and the transient nature of all earthly goods and pursuits.
|
|
design a mural
1. What is the message? What do you want to tell the viewers?
2. Draw 7 symbols you can use to help communicate your message
3. What colors will you use and why?
4. What will the composition look like (which objects; near/far small/big high/low)
5. What will be your quote and by who
2. Draw 7 symbols you can use to help communicate your message
3. What colors will you use and why?
4. What will the composition look like (which objects; near/far small/big high/low)
5. What will be your quote and by who
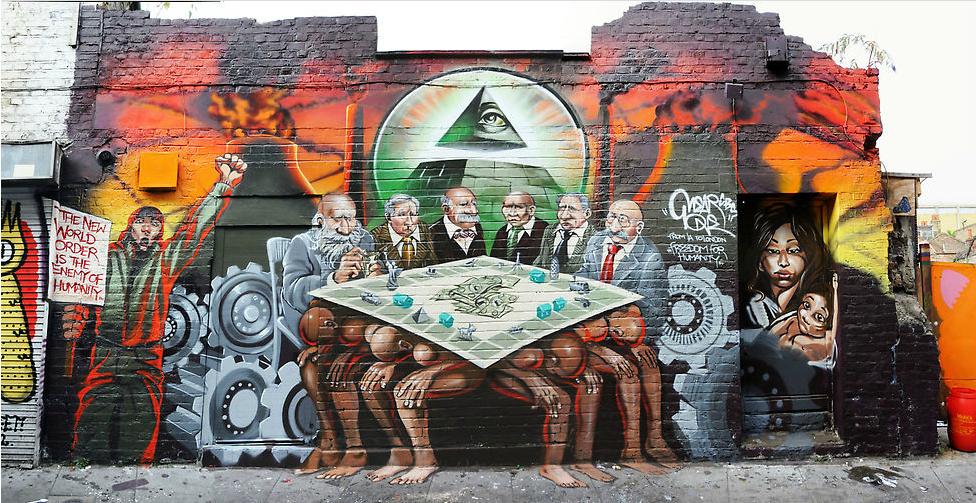
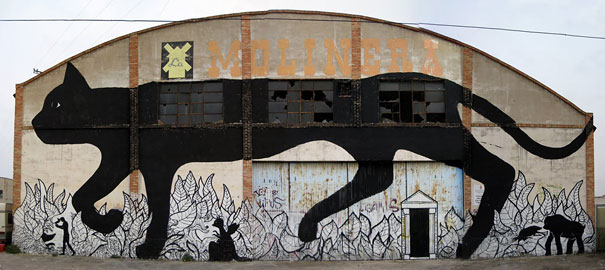
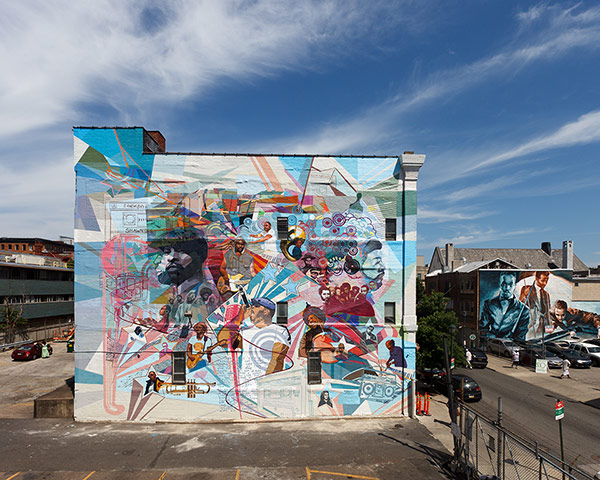
interpret a mural
|
link's to find murals
|
|
Choose any mural with you can identify symbols.
1. Save the image 2. Where is the mural? Does the mural have a name? When was it made? 3. Do you know what was happening in this place at that time? 4. Are there an objects used as symbols? 5. Does the composition (arrangement) represent anything? 6. What is the color like and does it represent anything? 7. How does it make you feel and why do you think it make you feel like that? 8. Can you guess why the artist/s made the work? 9. What is the art work about? |
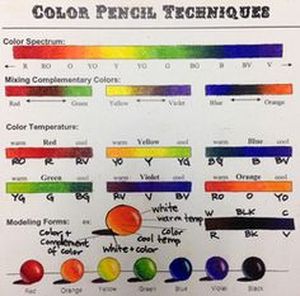
making some decisions about colour
| choosing_color.pptx |
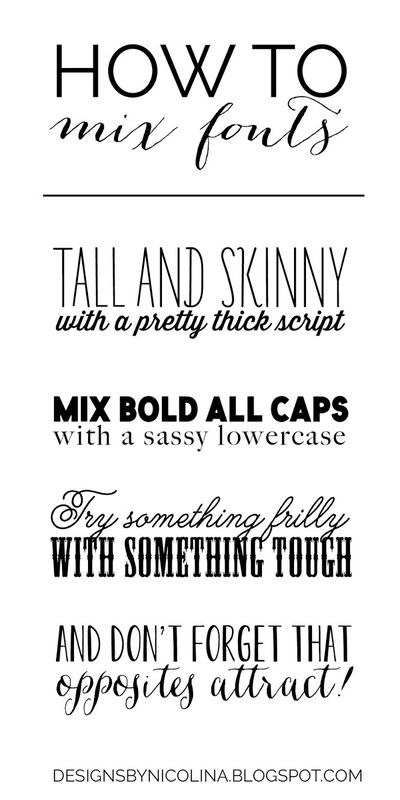
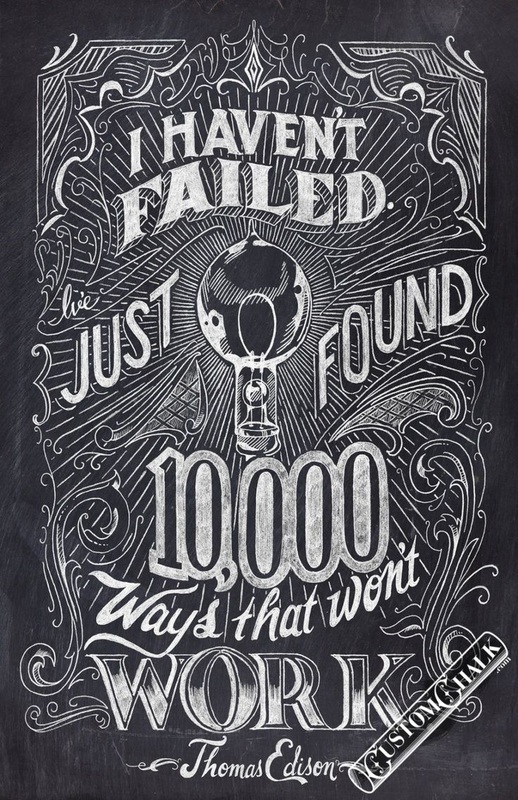
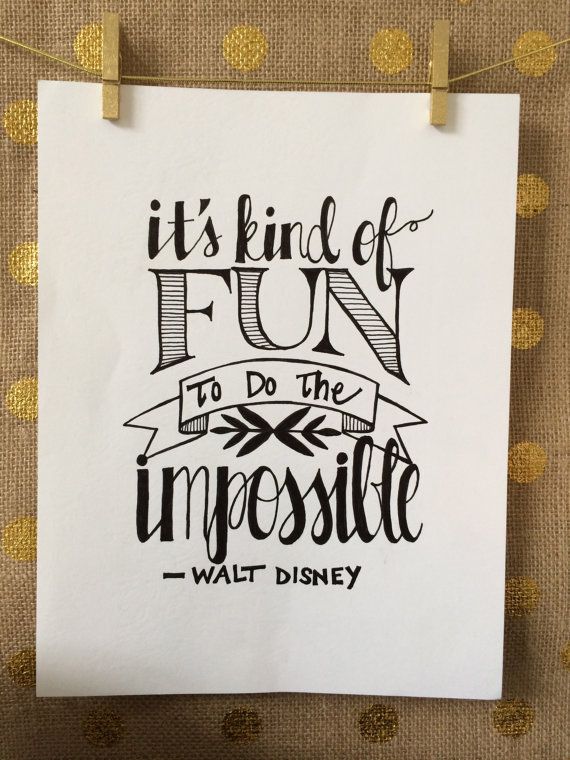
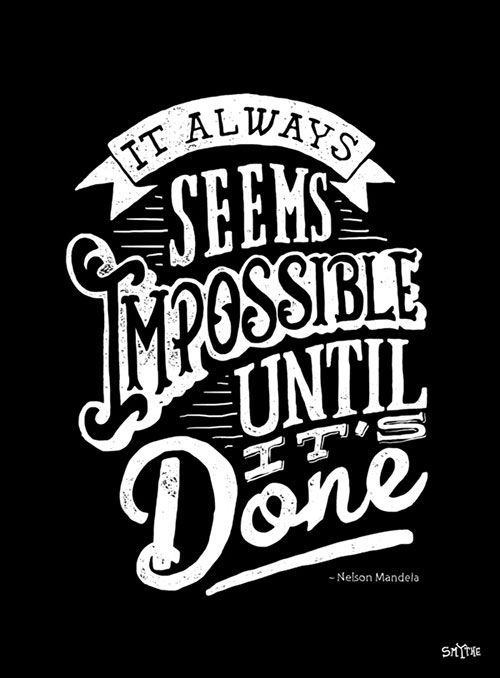
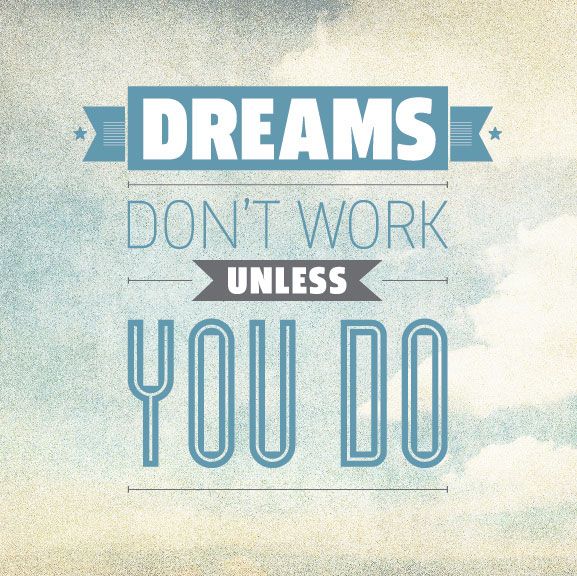
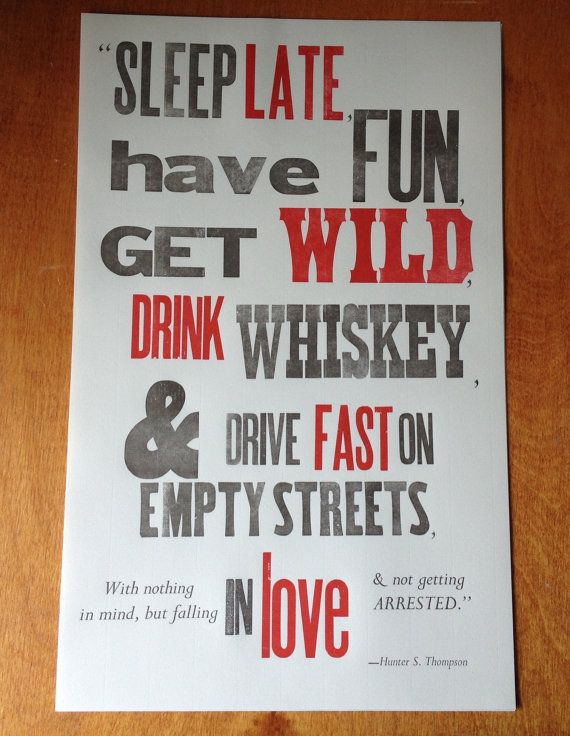
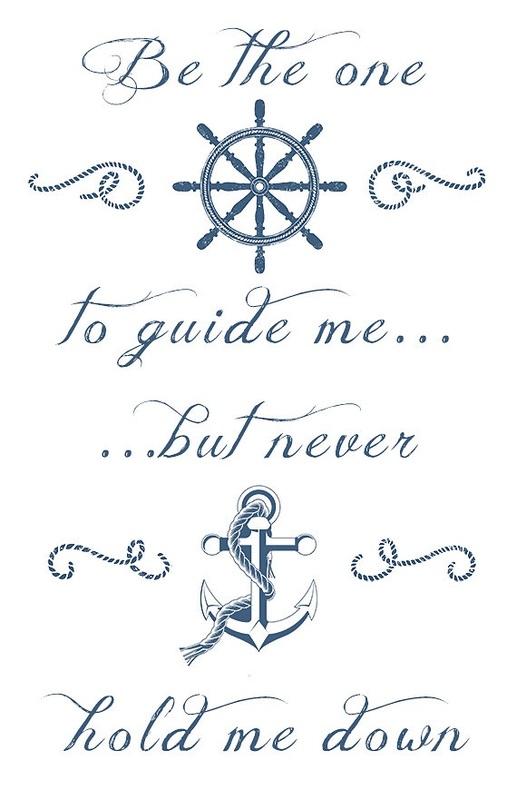
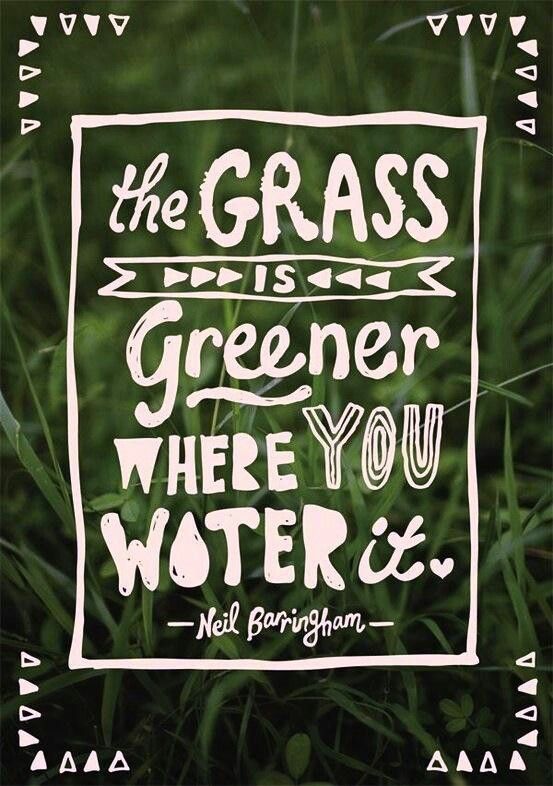
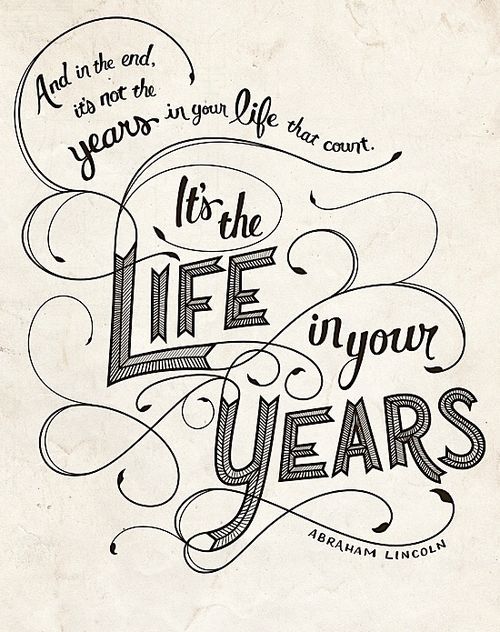
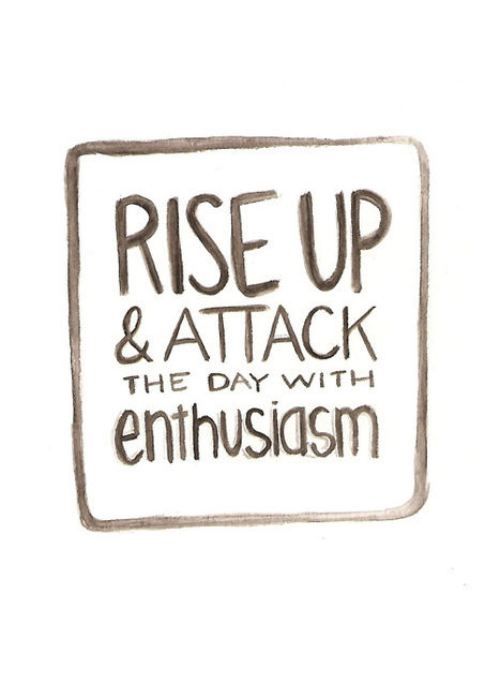
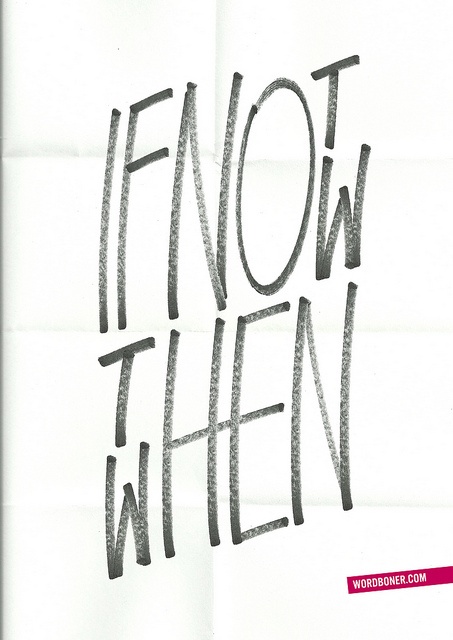
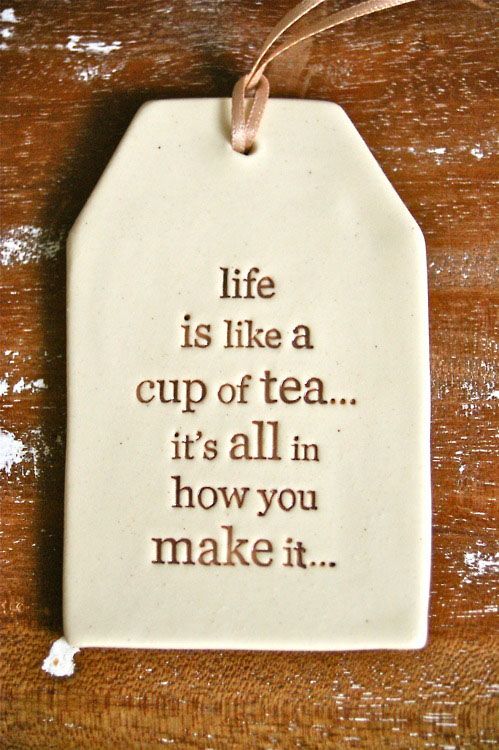
using fonts: typography
| typography.pptx |

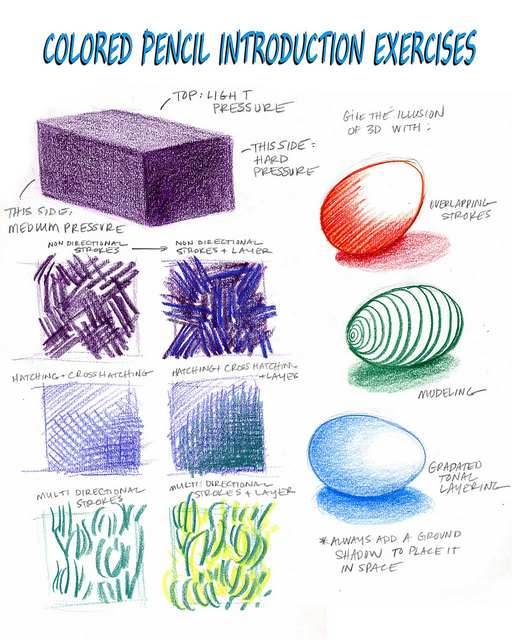
tips and tricks for pencil colour
|
|
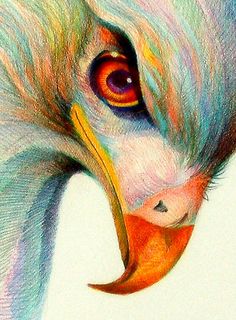
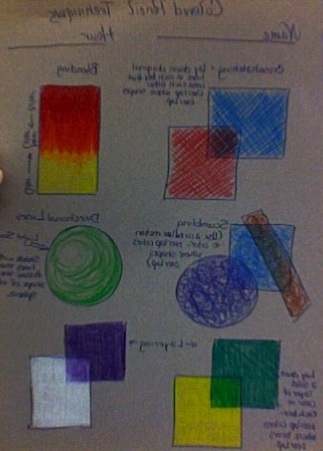
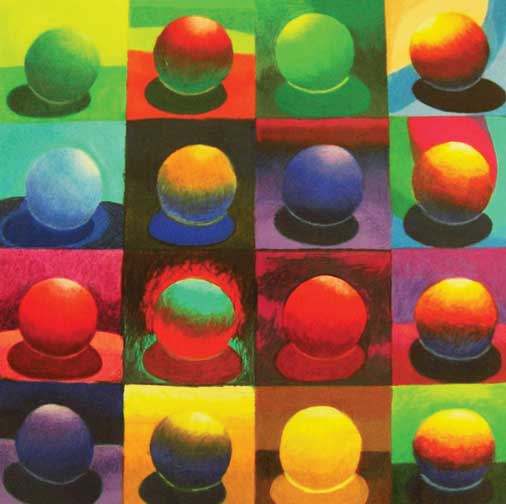
Making the most of Colored pencils
TIP #1-" Color Heavy"- or at least build up your color gradually so that the colors are intense and complex. Don't rely on the value of your paper to make your tints and shades.
TIP #2- "Layer Your Colors"- Build up many layers of your colors. Do not rely on just one application of color to bring you success. Building up and layering your colors will make your colors more complex and realistic.
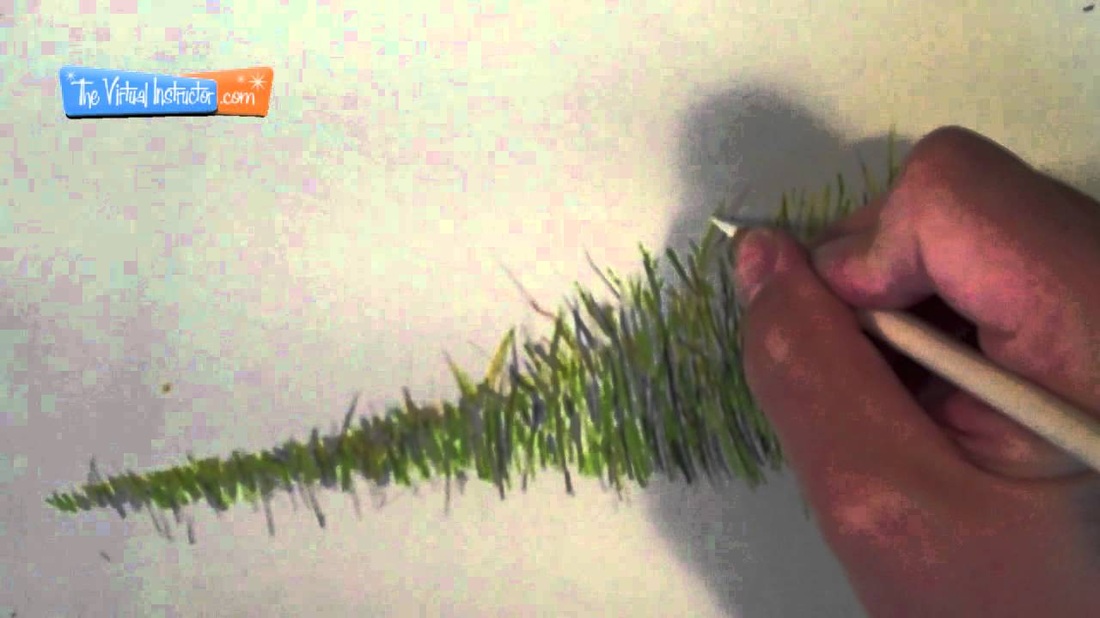
TIP #3-"Mix Your Colors"- When using any colored medium, you should ALWAYS mix colors. Colored pencils are no different. For example, if you are drawing grass, don't just grab that manufactured green. Instead use blue and yellow, and green.
TIP #4- "Outline Last"- If you like to outline, wait and do it when you are finished drawing the object. Colored pencils can overlap themselves very easily, enabling you to outline objects last. (Don't use black to outline)
TIP #5- "Take Your Time"- Colored Pencils are a medium that demands time. You must work deliberately. It takes time to craft a well-drawn colored pencil image.
TIP#6- "Burnish"- By taking a white colored pencil or a colorless blender, smooth the colors and values out to make a consistent texture and solid finish.
TIP #1-" Color Heavy"- or at least build up your color gradually so that the colors are intense and complex. Don't rely on the value of your paper to make your tints and shades.
TIP #2- "Layer Your Colors"- Build up many layers of your colors. Do not rely on just one application of color to bring you success. Building up and layering your colors will make your colors more complex and realistic.
TIP #3-"Mix Your Colors"- When using any colored medium, you should ALWAYS mix colors. Colored pencils are no different. For example, if you are drawing grass, don't just grab that manufactured green. Instead use blue and yellow, and green.
TIP #4- "Outline Last"- If you like to outline, wait and do it when you are finished drawing the object. Colored pencils can overlap themselves very easily, enabling you to outline objects last. (Don't use black to outline)
TIP #5- "Take Your Time"- Colored Pencils are a medium that demands time. You must work deliberately. It takes time to craft a well-drawn colored pencil image.
TIP#6- "Burnish"- By taking a white colored pencil or a colorless blender, smooth the colors and values out to make a consistent texture and solid finish.