In this project you will study the work of Chuck Close and experiment with various 2D medias, creating tiny squares, that, when put together will make a complete artwork.
Read the student overview below for lesson by lesson details.
Read the student overview below for lesson by lesson details.
chuck close
LO: Be able to analyse and interpret Art
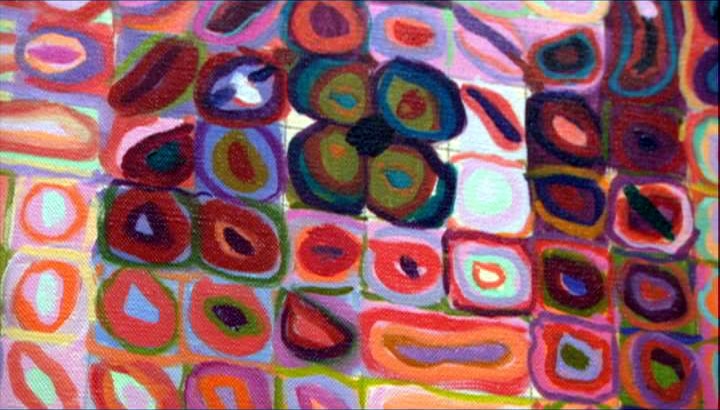
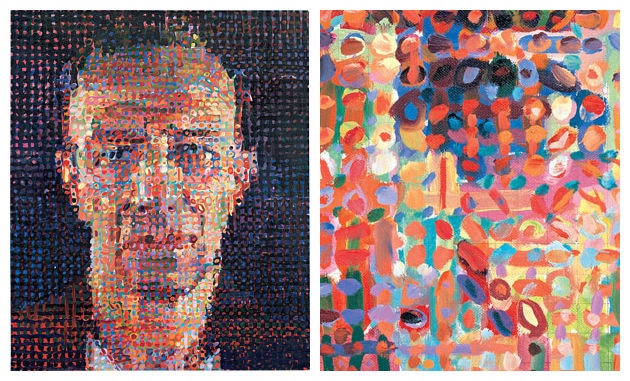
Charles Thomas "Chuck" Close (born July 5, 1940) is an American painter and artist and photographer who achieved fame as a photorealist, through his massive-scale portraits. Close often paints abstract portraits of himself and others, which hang in collections internationally.

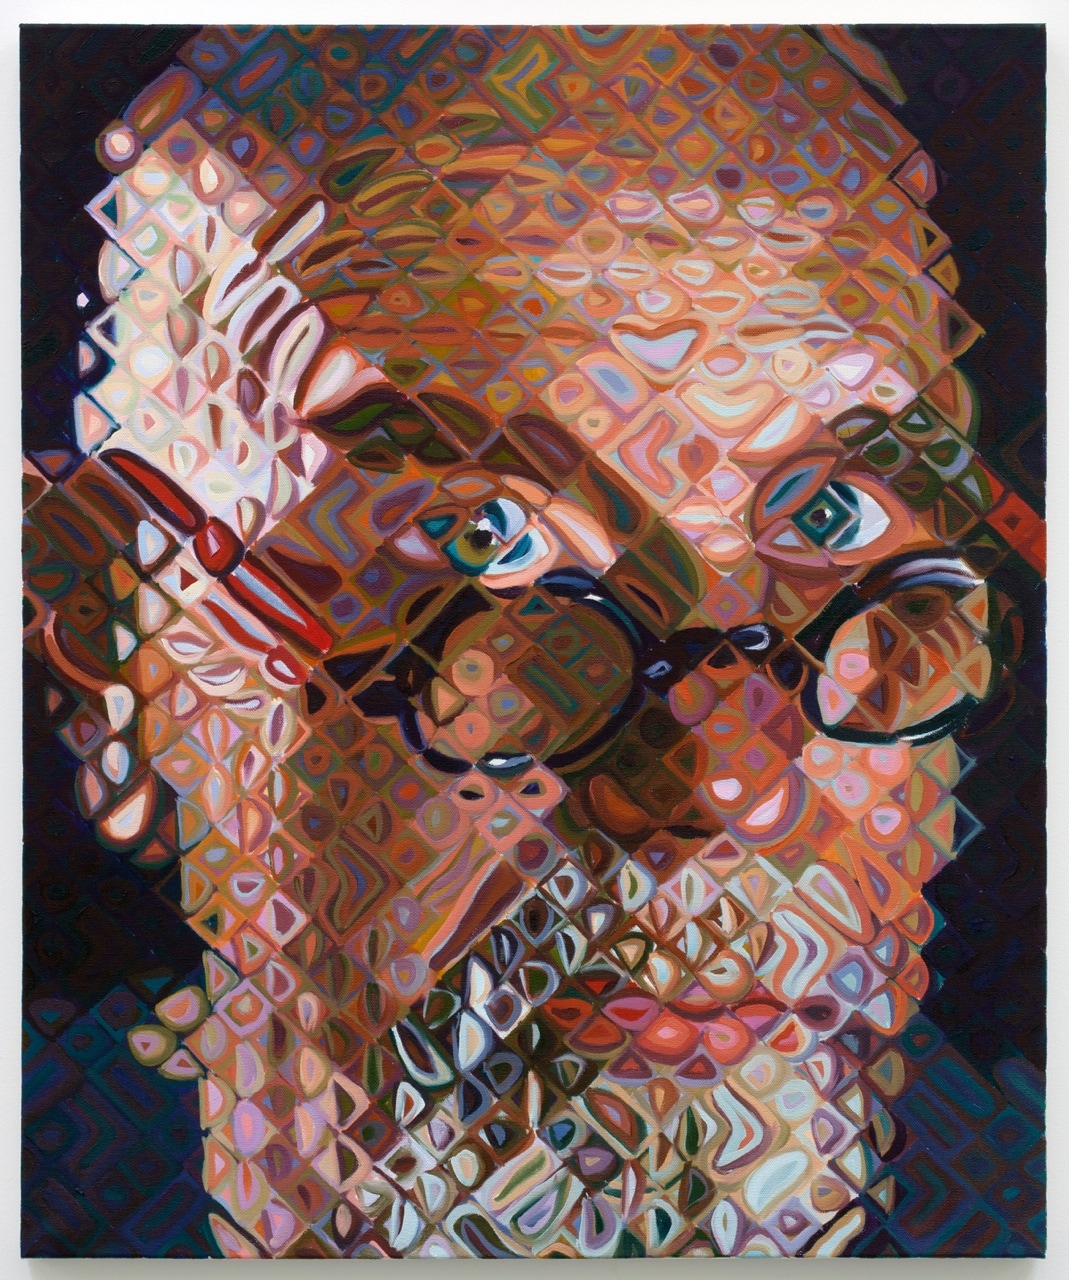
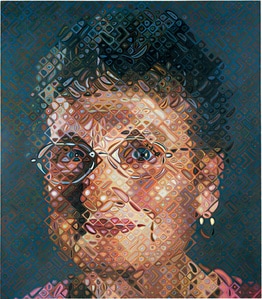


1. Write the Artist's name as your title and glue down both full image and a detail. Then write any relevant details about your Artist.
2. React
- What did you first think when you saw the full image and then what did you think when you saw the detail? Explain if you like or don't like it. Justify
3. Describe and Analyse
- Describe the what you see.
- How do you think it was made?
Art Elements
- What shapes can you see? Are the organic/ geometric. Do they repeat? Do they create a pattern? Are the shapes always the same? When are they different?
- What colours can you see from afar and what colours 'up close'? Is Chuck Close doing something clever with colour?
- What textures are there? Does the art work look smooth or bumby? How has Chuck Close created this feeling?
- How does Close create tones? How can you tell where the light is coming from? Is there contrast (really bright and really dark?
4. Interpret
- Does the artwork make you think of anything else? Does it remind you of anything? or look like something else?
- What do you think Chuck Close is trying to say about the person in his painting? How does he say it?
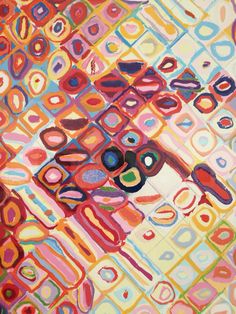
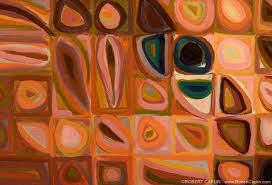
in the style of close
LO: understand how different colours together make up a tone from a distance
Copy some of the details of Chuck Close. Use pencil crayons to colour organic shapes into a grid

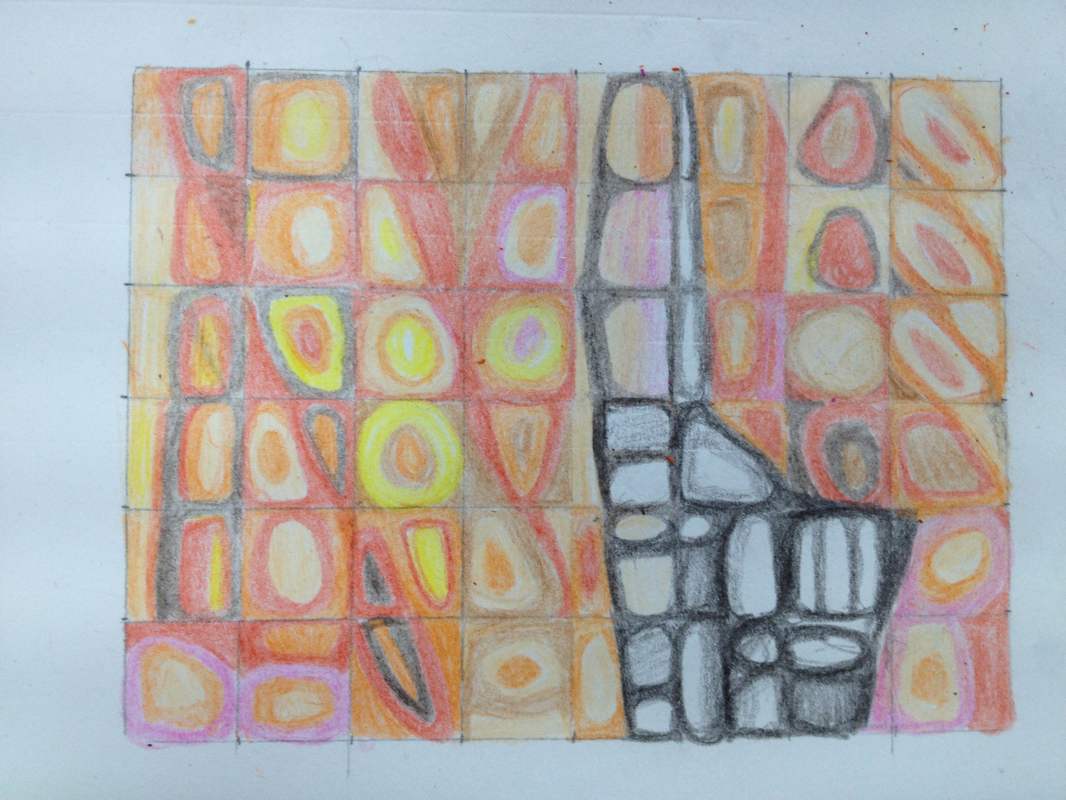
HW: Add a title to your homework page in the style of Chuck Close

observational drawing - too close
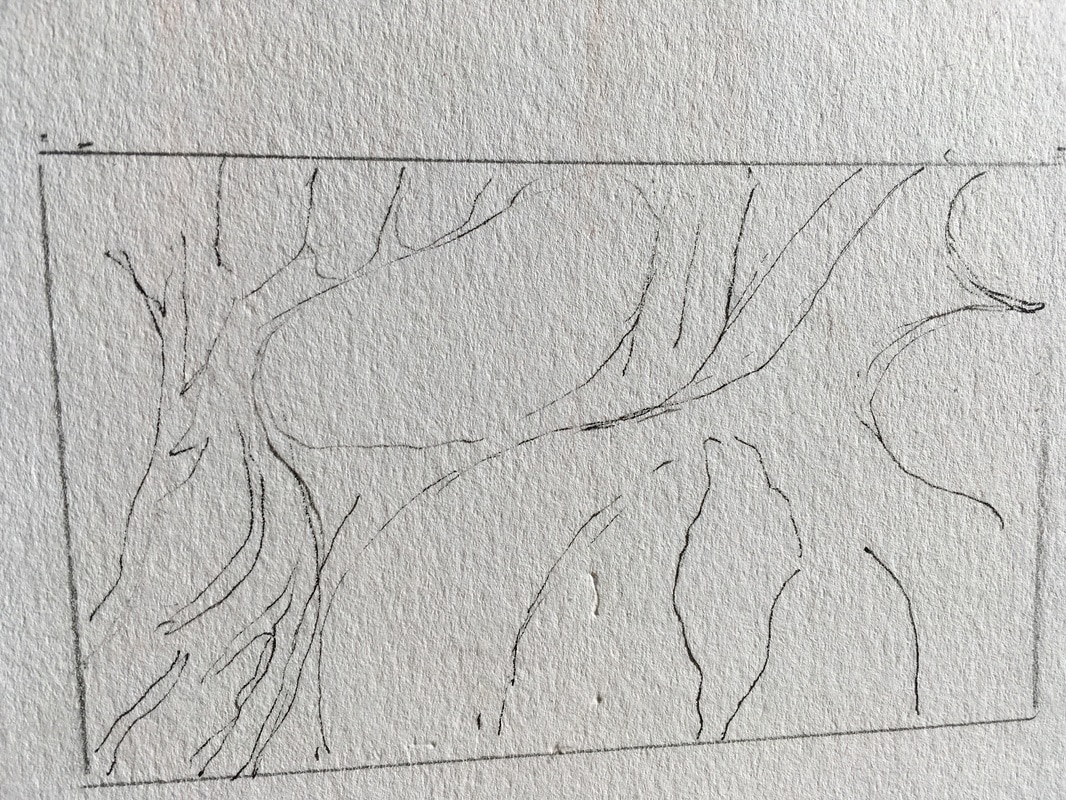
LO: Use direct observation to study shape, drawing accurately details of an object
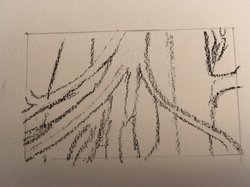
Today, we'll start with pencil. Roughly sketch in the shapes of what you see, then lightly do back in to define the outlines and begin to add tone, start with the darkest areas and work lighter
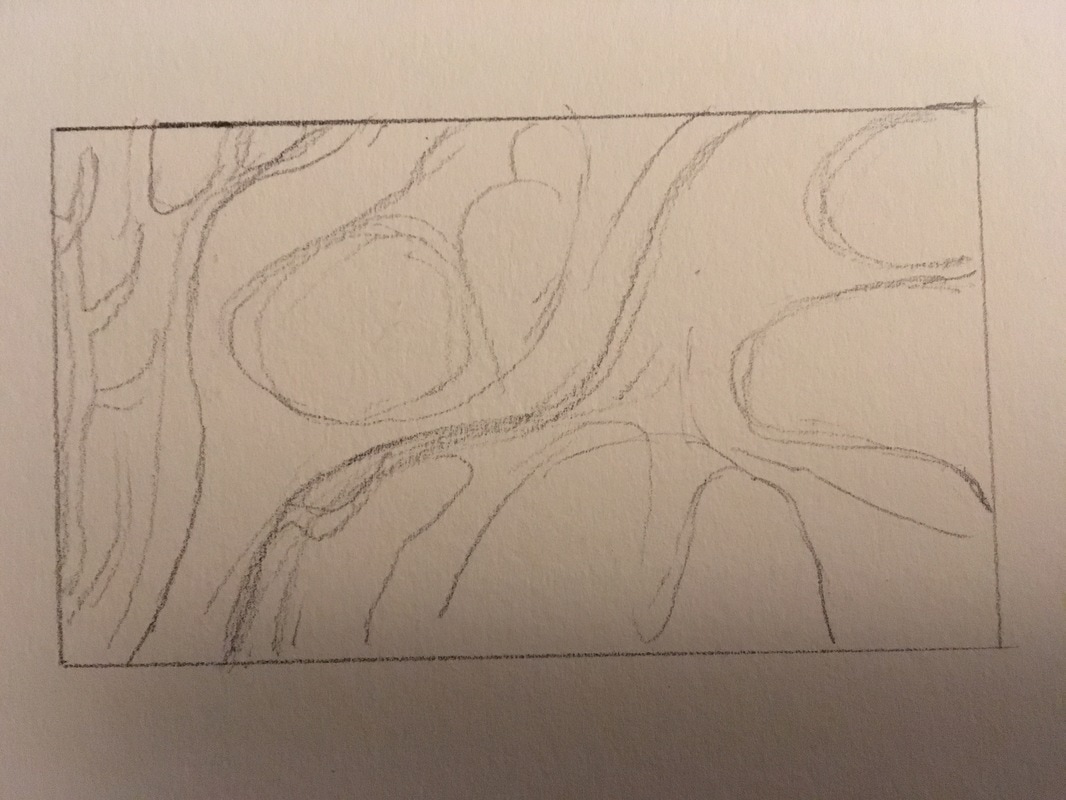
MUST- Light pencil sketches to get your shapes and proportions correct
|
SHOULD - begin to apply dark pencil tones to the darkest areas of the work. Press hard with a 4B pencil
|
COULD - Apply gradient, accurately capturing with the lightest areas are.
|
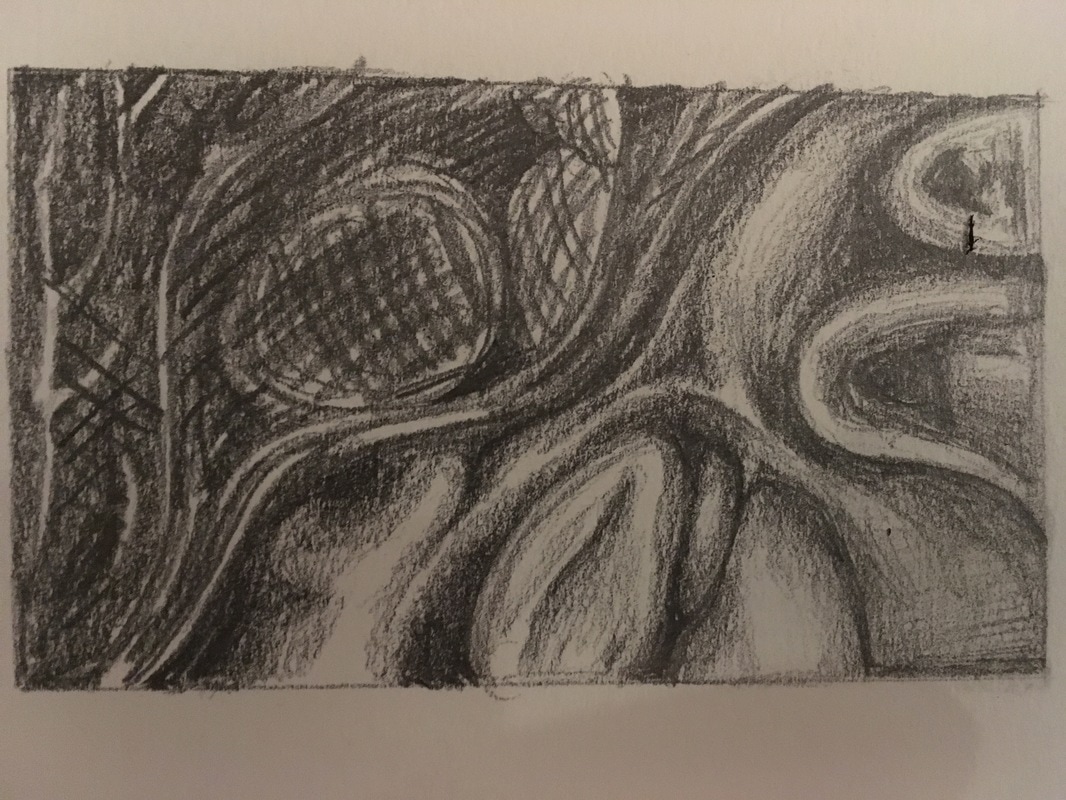
LO: Capture darkest tones with charcoal media
Extending on what we learned last class, try this activity again but use charcoal. This time, focus on the shadows, getting really dark but still leaving empty areas to capture light
MUST- draw out the correct shapes and gently refine the out lines
|
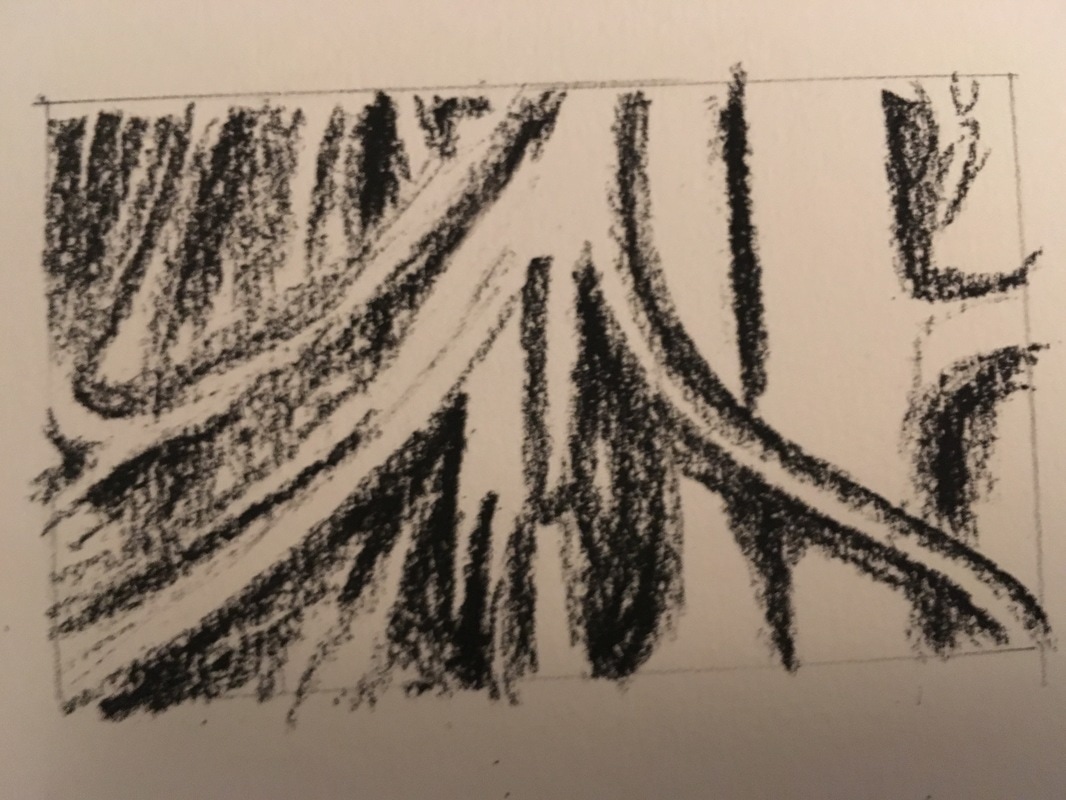
SHOULD - Draw on the darkest areas, pressing hard but less hard when you know an area will be lighter
|
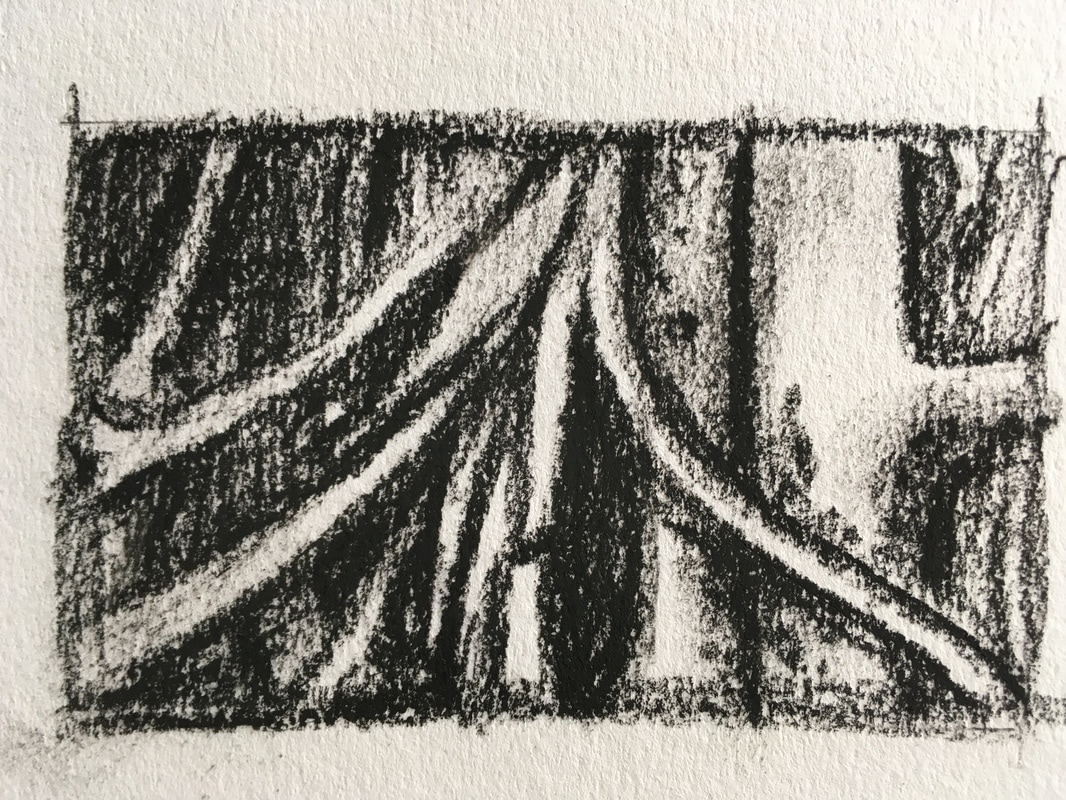
COULD -Blend and smudge the the charcoal creating a smoother texture
|
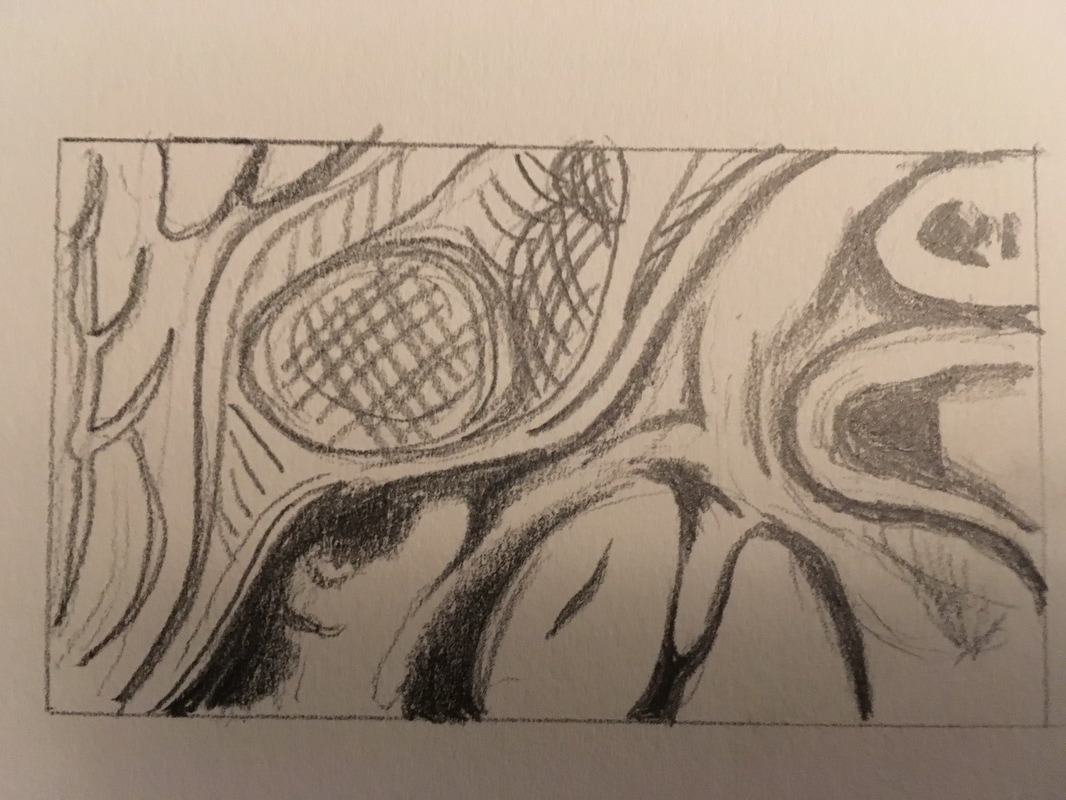
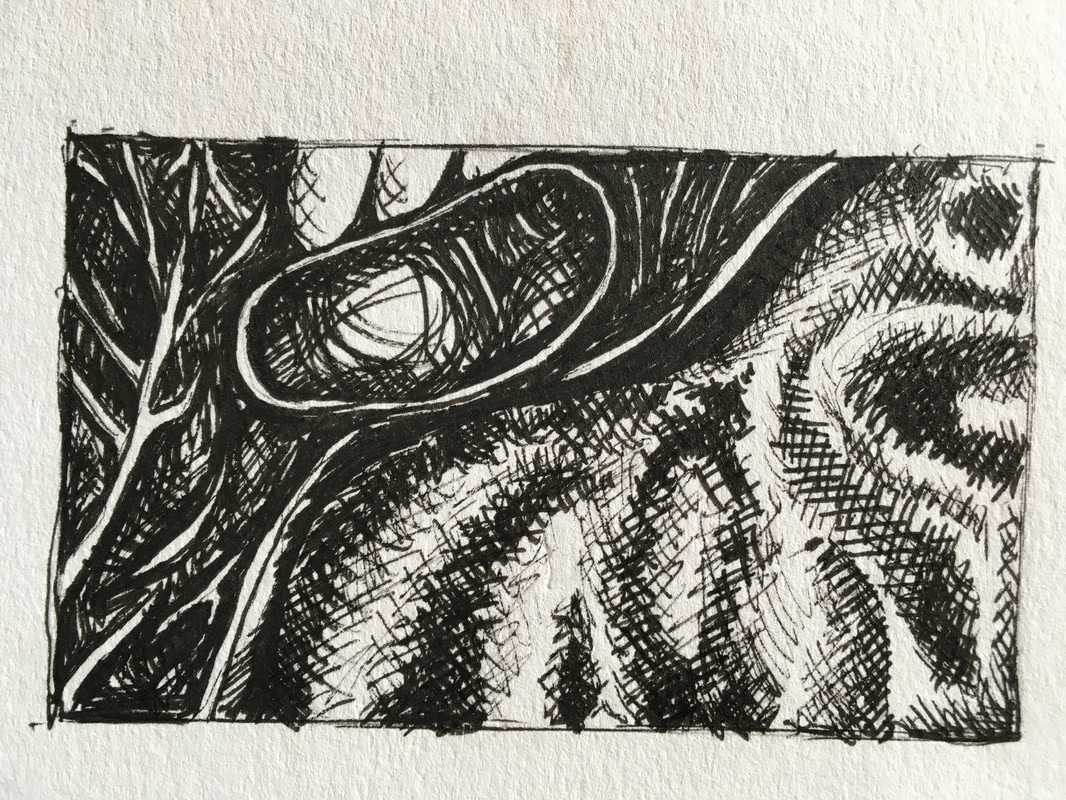
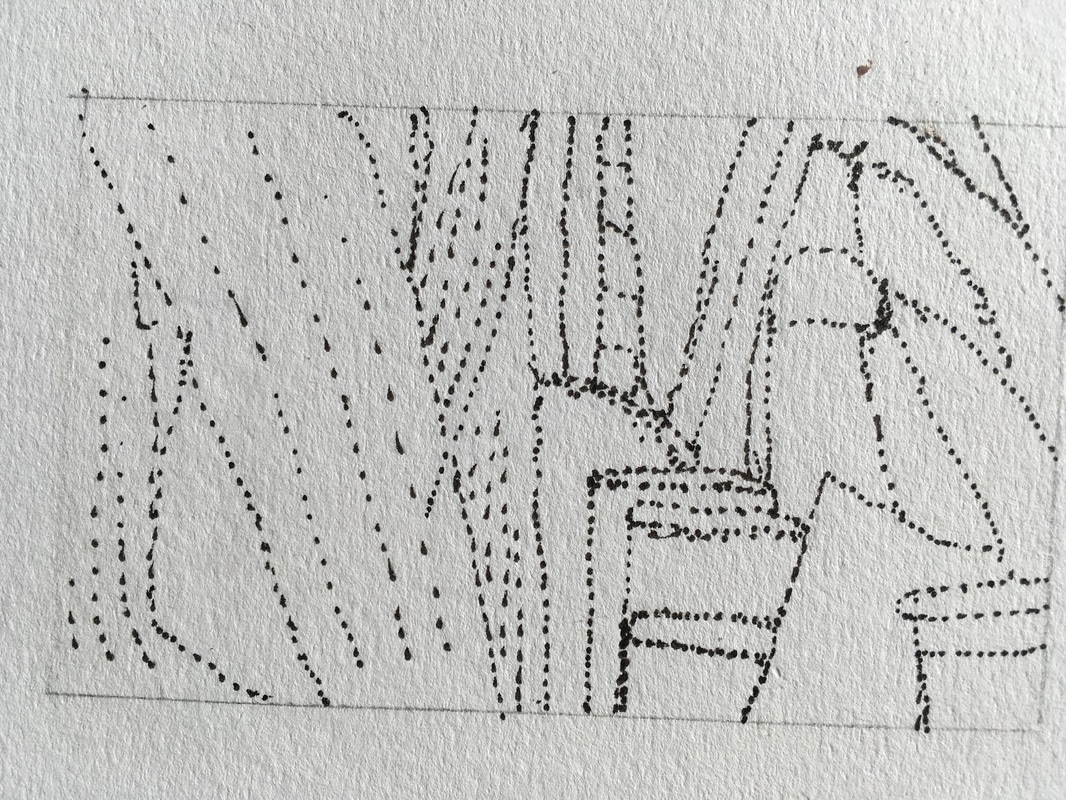
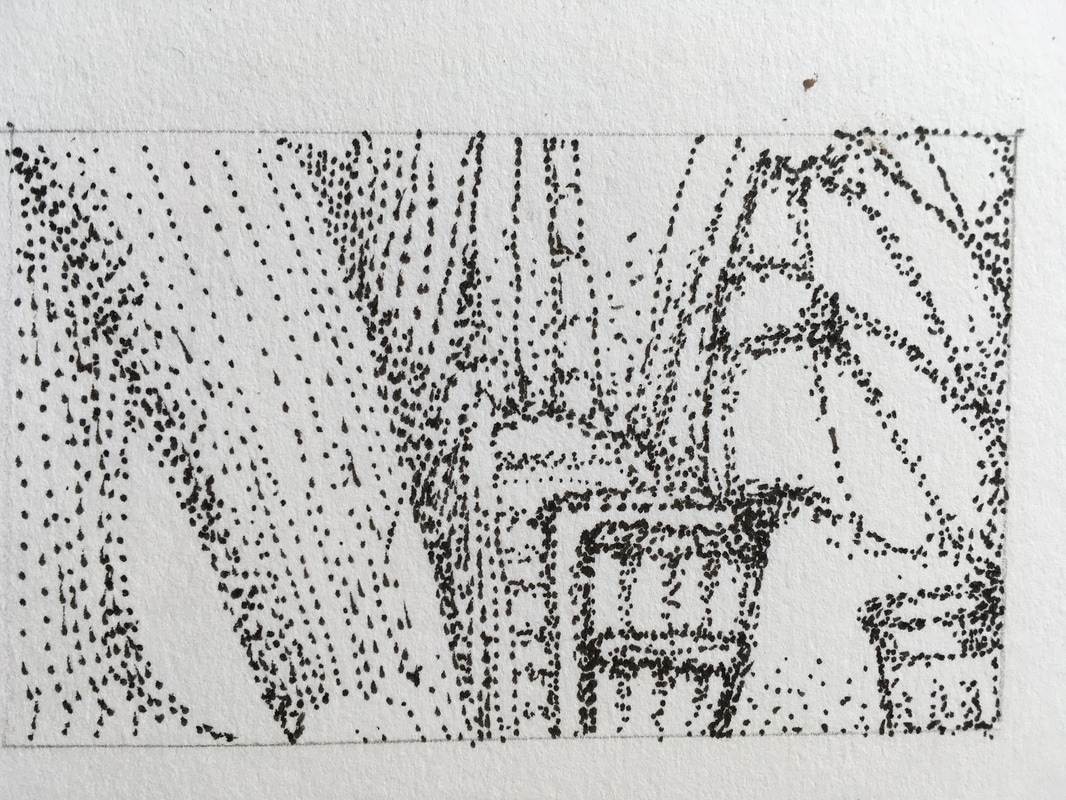
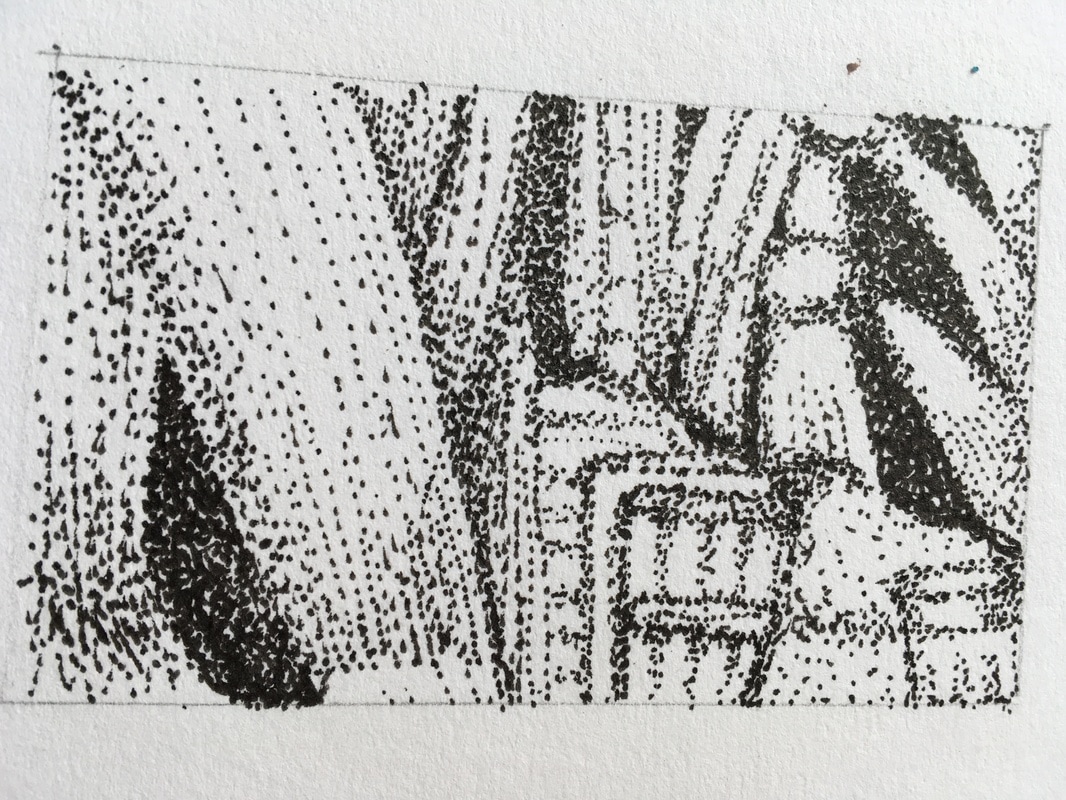
LO: Use careful mark-making techniques to create textural observations
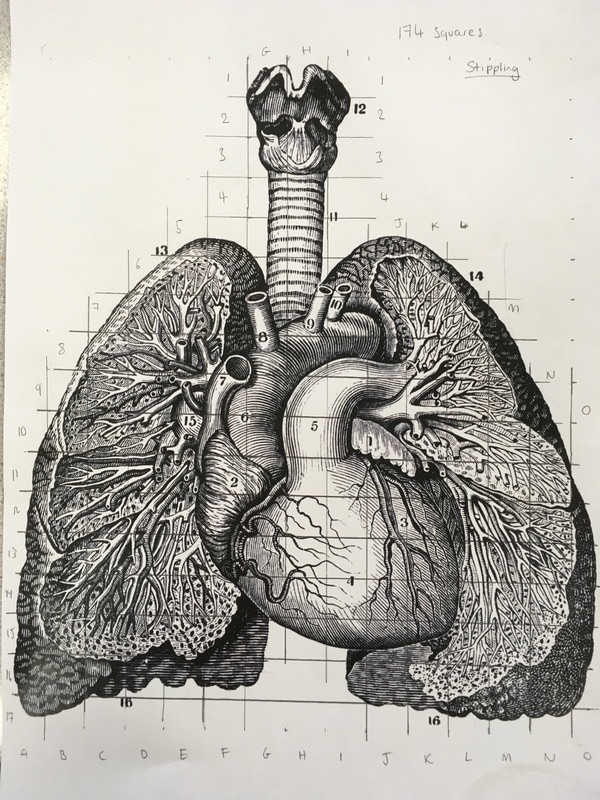
Here, we will use thin fine liners to apply, first a cross-hatching techniques, then try stippling to create more observational squares as done previously.
Cross-hatching - a series a small lines the cross over one another.
Stippling - Lots of small dots
With both techniques the more dense the more dark tone is created
Cross-hatching - a series a small lines the cross over one another.
Stippling - Lots of small dots
With both techniques the more dense the more dark tone is created
CROSS-HATCHING
MUST - Again, light shapes refines with light outlines in pen directly
|
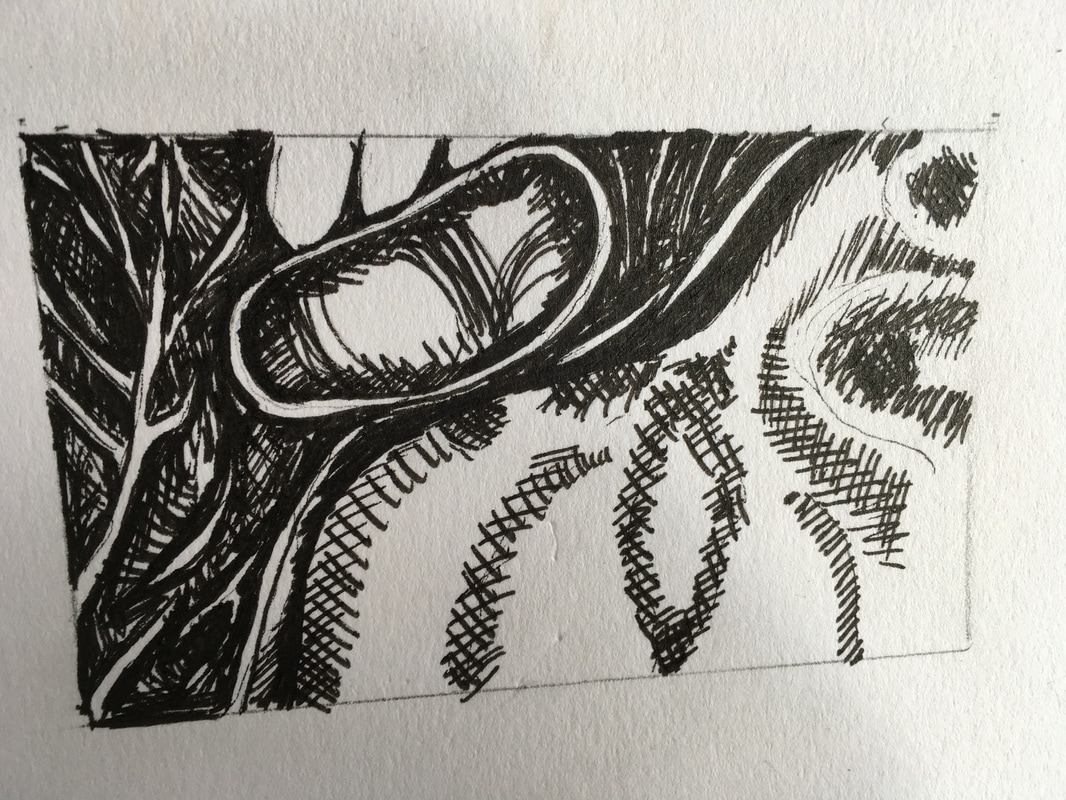
SHOULD- Apply dense cross-hatching in the darkest areas, press hard here but start to spread the lines out where you'd like it to be lighter
|
COULD - Go back over with a second layer, this time pressing lighter. Keep going more sparse for lighter areas.
|
STIPPLING
|
|
|
|
MUST - Draw the outlines by using very tiny and very close dots. Don't worry if you make a mistake, you will cover it up later
|
SHOULD - Start to add dense dots around those lines looking for the darkest tones.
|
COULD - layer over more dots. In some areas, where it's darkest there will be so many they join up
|
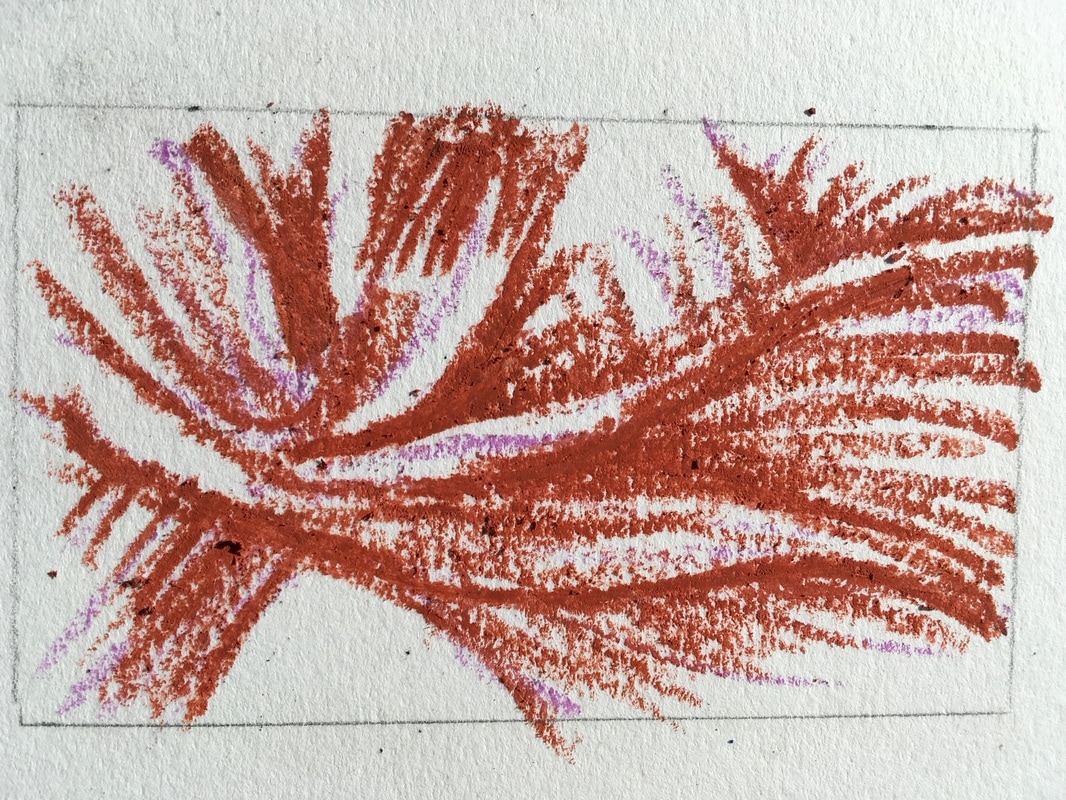
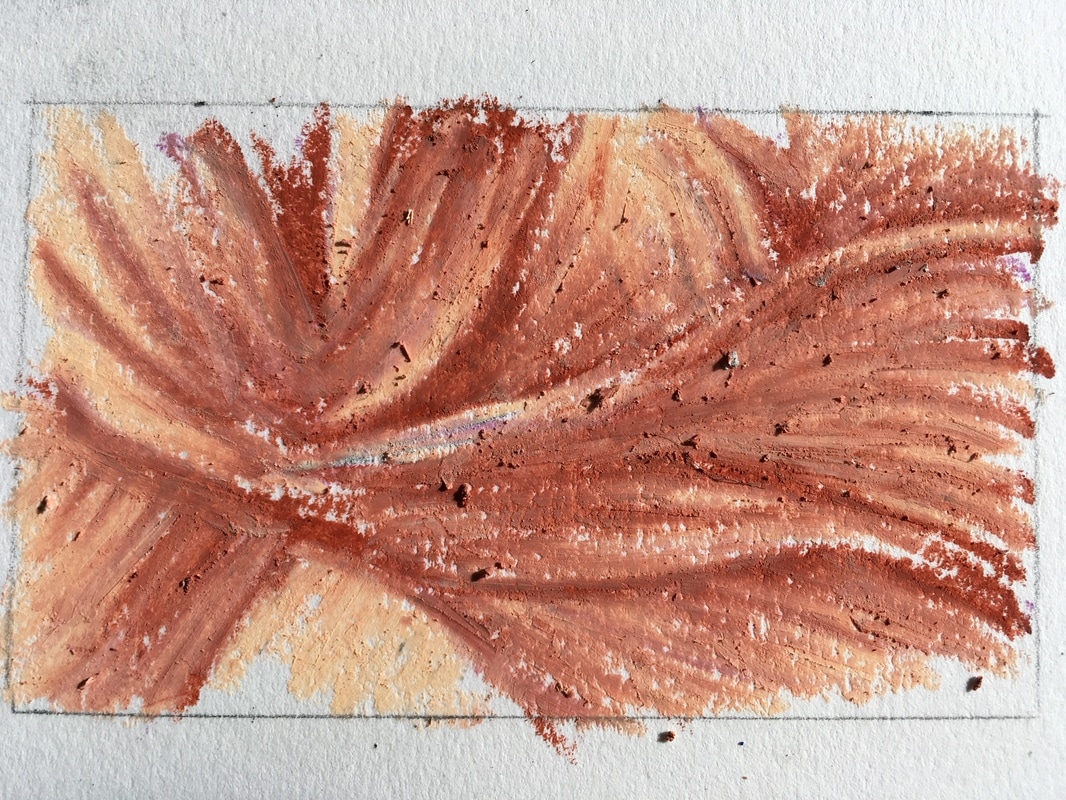
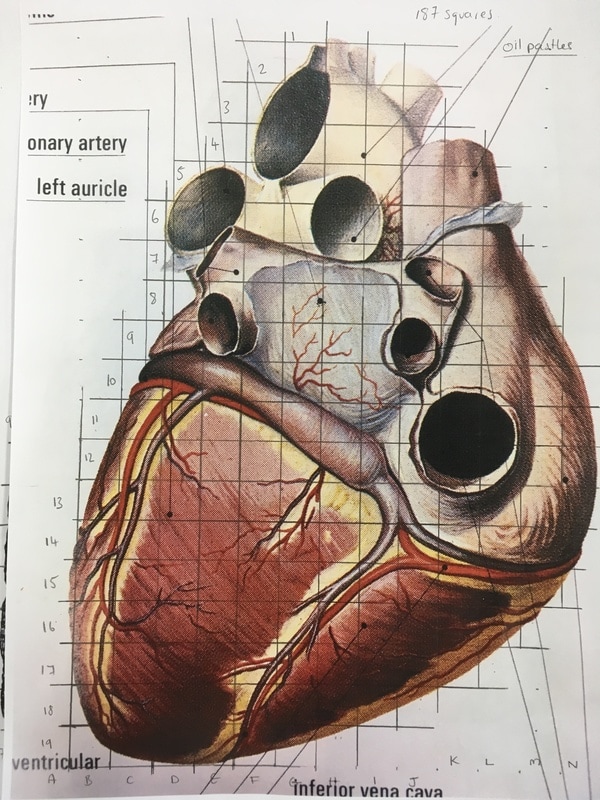
LO: Blend pastels manipulating colour to create accurate tones
Both Oil and Soft pastels can be tricky to use and take some practice. Building up layers and blending the colours together is the key to both.
SOFT-PASTELS
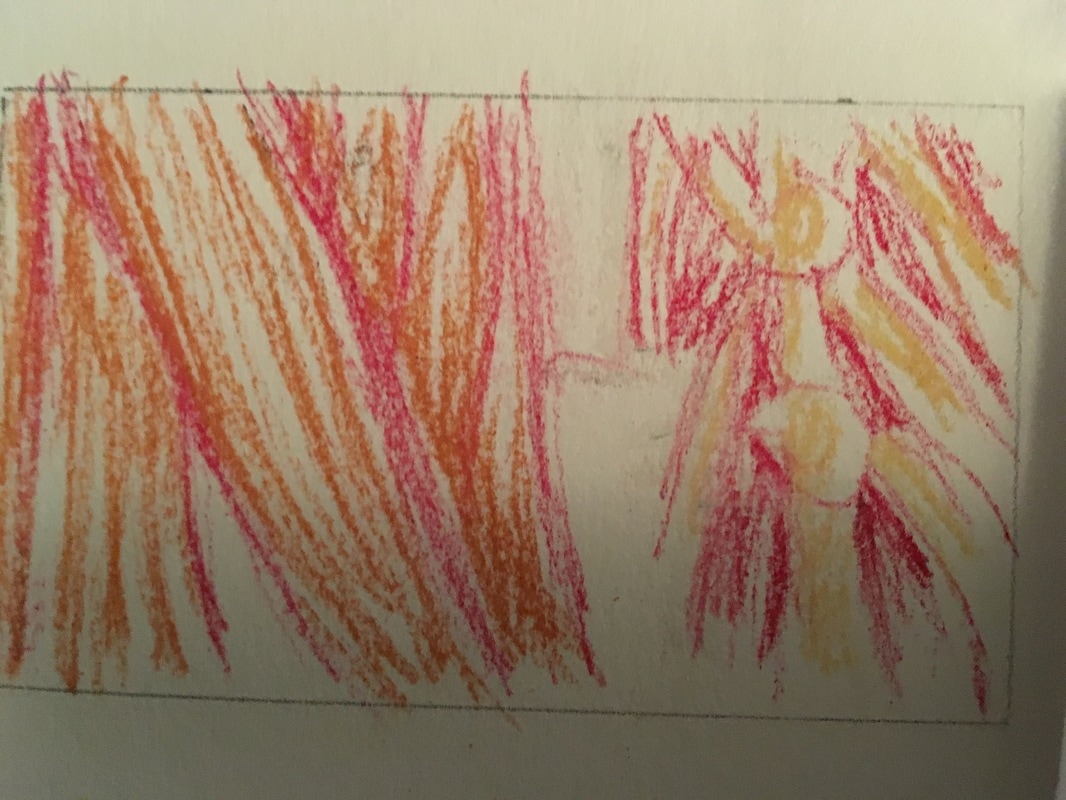
MUST - Start with your out line using one of the main tones from the original image. Add the secondary tones in,working the lines in the correct direction,don't worry about filling all the paper or making it neat at the this stage.
|
SHOULD -Work over with your darkest tone (never black) to capture the shadow, then the second darkest colour over that
|
COULD - Now look for the lightest,blend and smudge this over the top continuing to make lines in the same direction. Finally add those white highlights
|
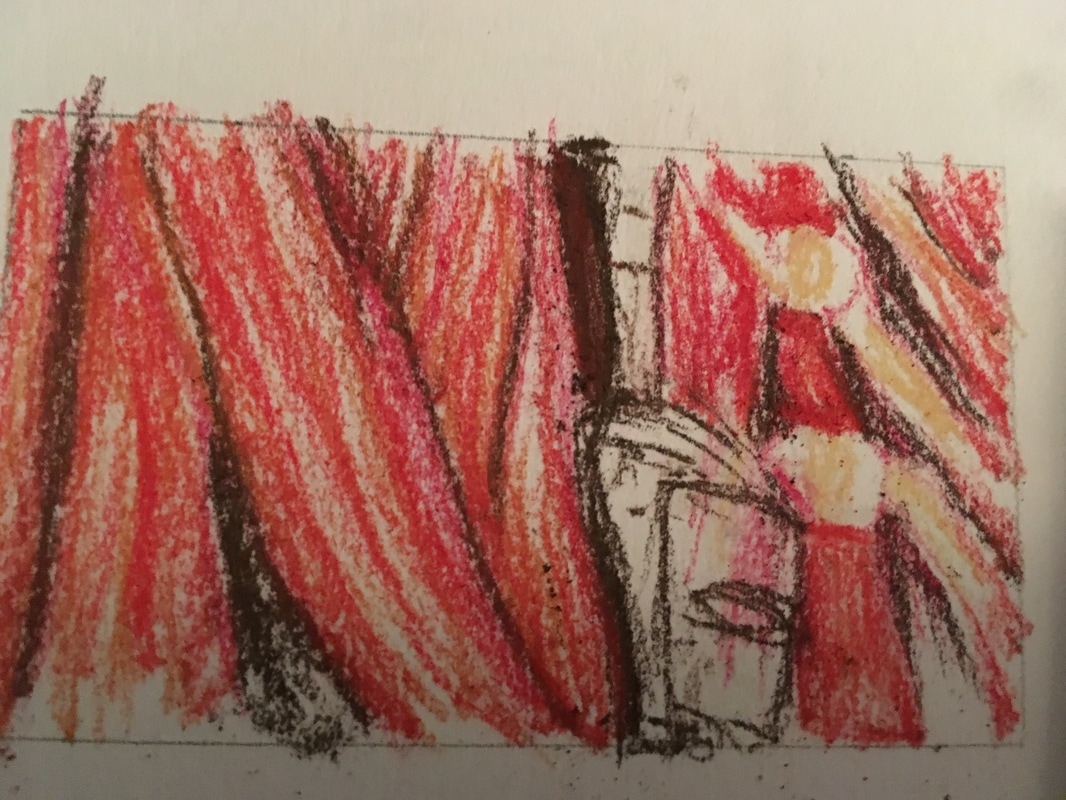
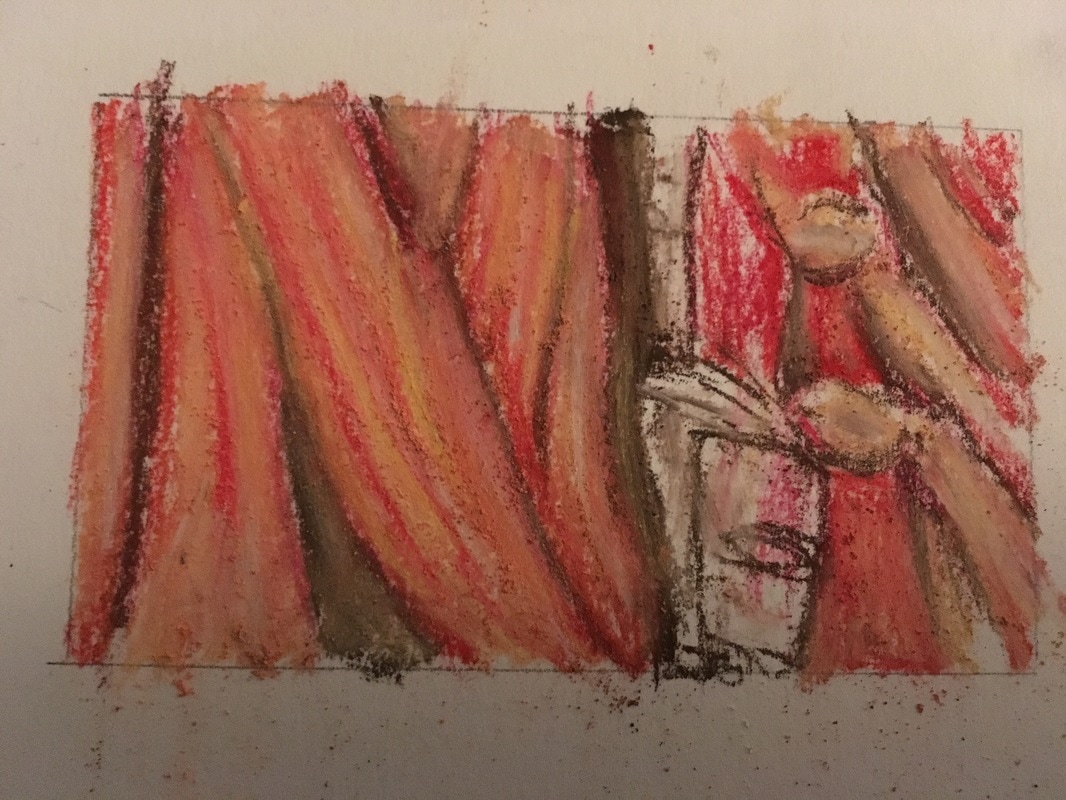
OIL-PASTELS
MUST - Add your outlines in any colour you wish, it doesn't need to appear in the images.
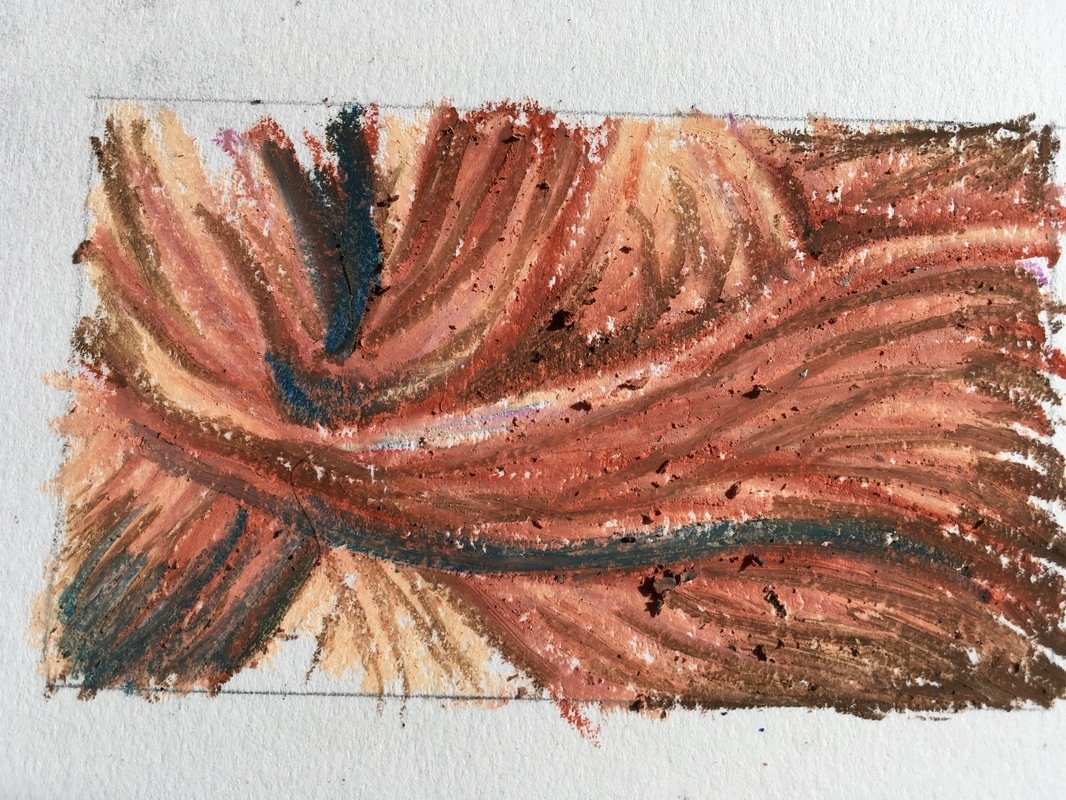
SHOULD - work back in with your 2nd darkest tone, trying to capture details (the darkest brown here)
|
MUST - add your main colour, following the mainlines the same as with the soft-pastels
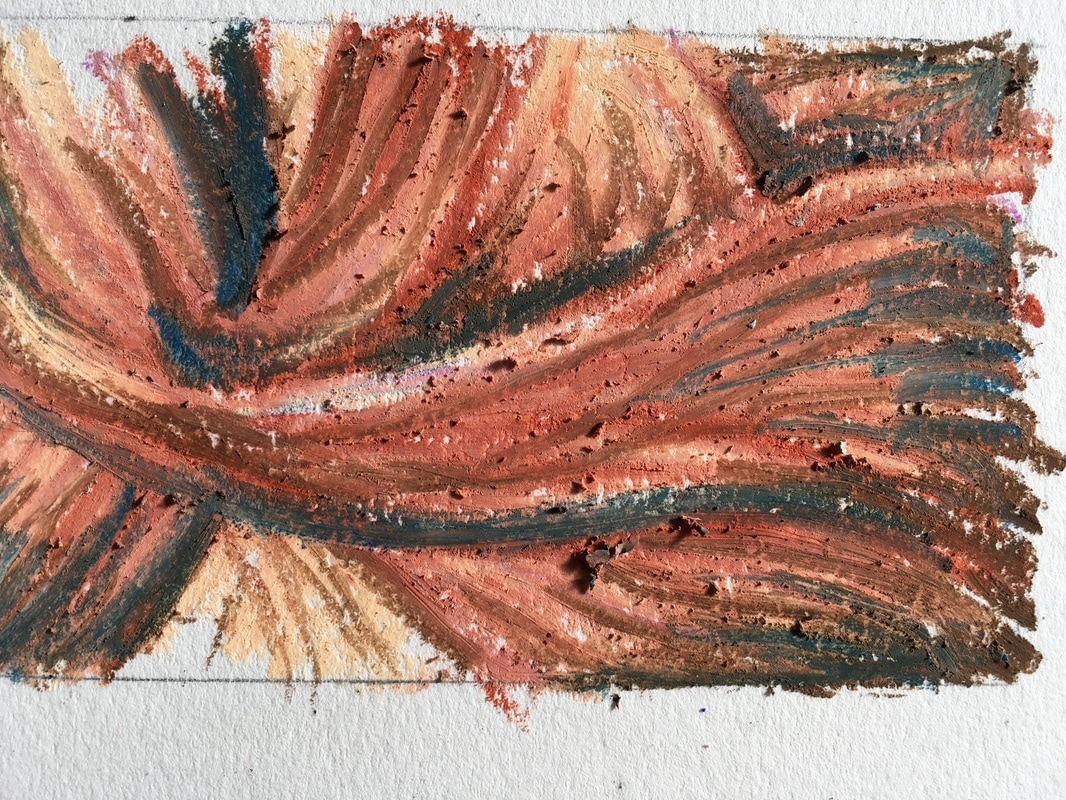
COULD - Add your darkest tone, sparingly (never black)
|
SHOULD - Blend over, layering your 2nd lightest tones
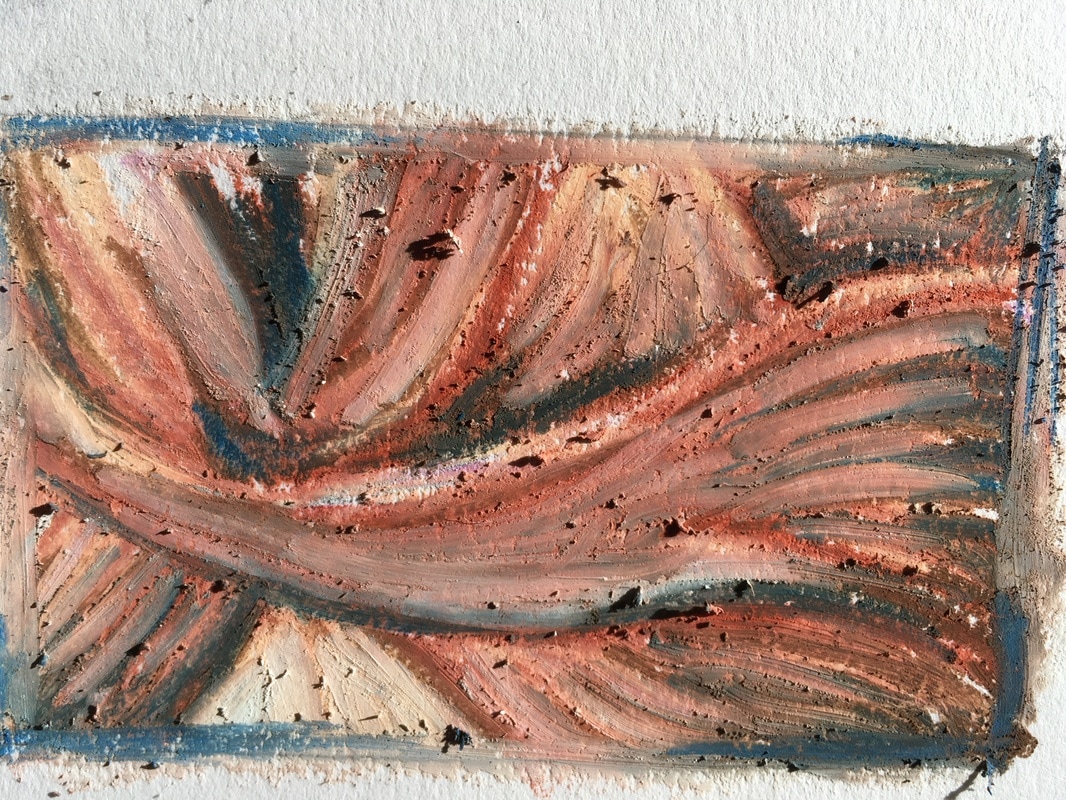
COULD - Go back over with the white filling in and blending the highlights
|
Finals
LO: Use Chuck Close's photo realist technique to build two large scale anatomy drawings.
|
STIPPLING TECHNIQUE
|
OIL PASTELS
|
|
|
Save one of the images above. Open it in paint and crop the image so you only have your squares. This will make you life easier.
Regularly line up your work with your neighbours to make sure it fits!!
Regularly line up your work with your neighbours to make sure it fits!!